You only need one virtual machine to test the main functionality of Acronis Backup 12.5. However, if you wish to test groups, user roles, and other advanced features, you’ll need more.
Assuming you’ve already created free trial Microsoft Azure account, you can now log in to create and prepare your Windows and Linux Virtual Machines for Acronis Backup 12.5.
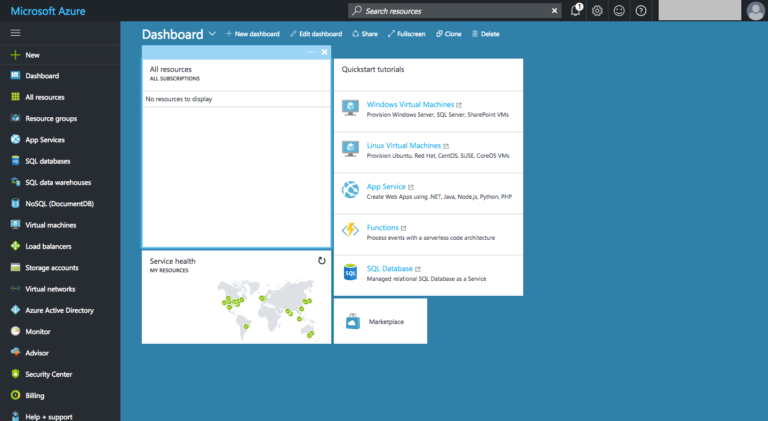
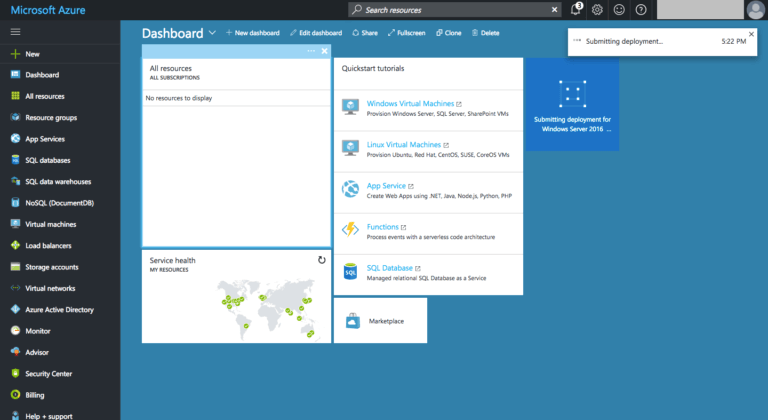
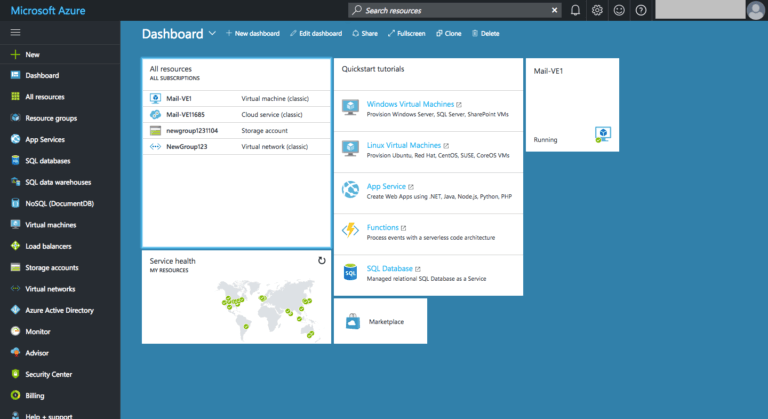
Go to the Microsoft Azure Portal: https://portal.azure.com/ You’ll see the following Azure dashboard. Click the “+ New” at the top left corner.
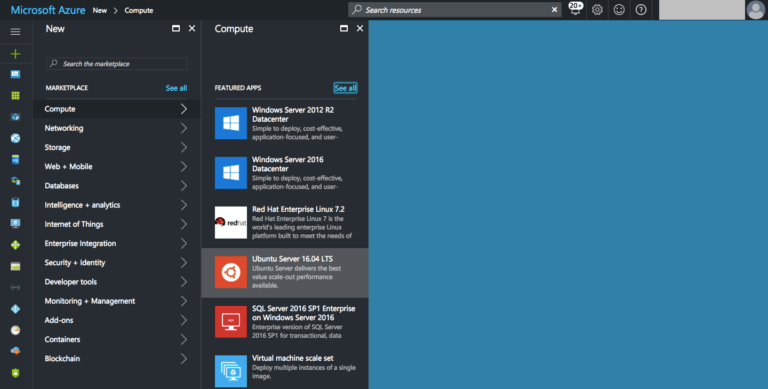
Next, click “Compute.”
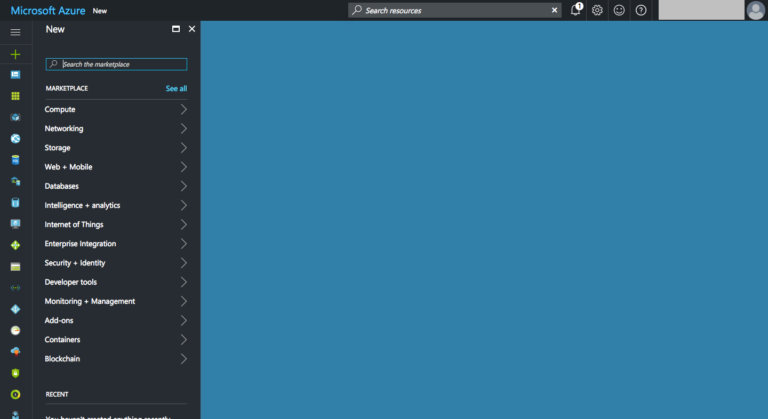
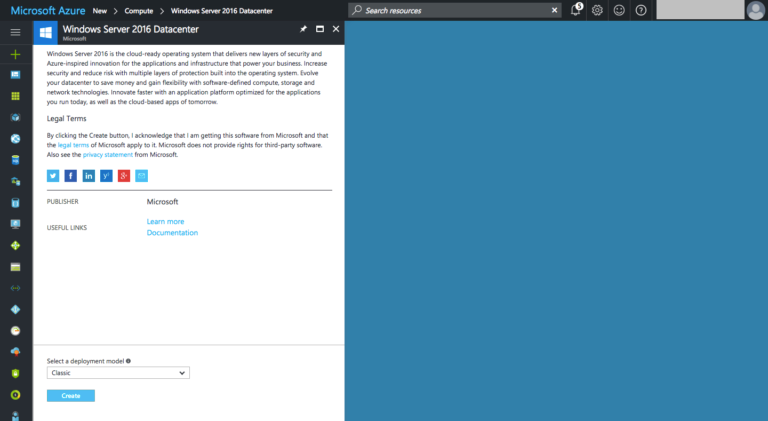
Let’s go with the latest technology! Select “Windows Server 2016 Datacenter.”
IMPORTANT! Make sure to select “Classic” from the “Select a deployment model” menu.
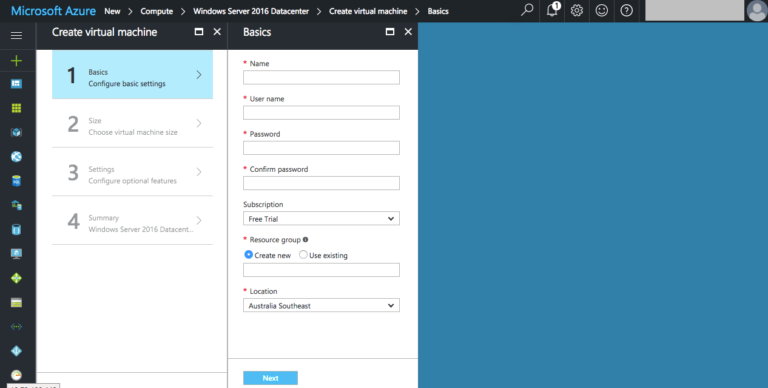
Enter the following details to identify your new VM:
Name: a unique name for your VM
User name: a VM administrator’s username that you’ll use to log in
Password: a new password
Subscription: Free Trial
Resource group: Select “Create New” and enter a descriptive name. If you put your future VMs in the same Resource Group, they’ll share the same local network, which will make things a lot easier.
Location: Choose an Azure Datacenter location closest to you.
IMPORTANT! Make sure that you remember the user name and password that you entered here! You’ll need them later to log in to your VMs.
Click “Next.”
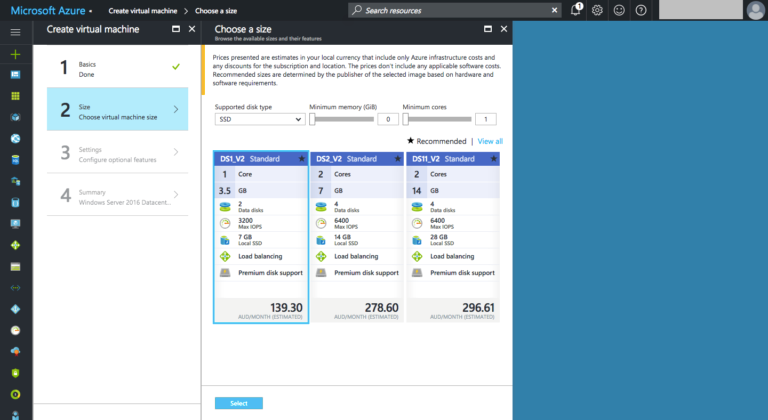
On the next page, you’ll need to choose your VM resources. It’s safe to use the first available option, but please note that Trial Subscriptions have credit limitation and if you overuse the resources, your VMs will be disabled before the end of the free 30-day period.
Click “Select” to continue.
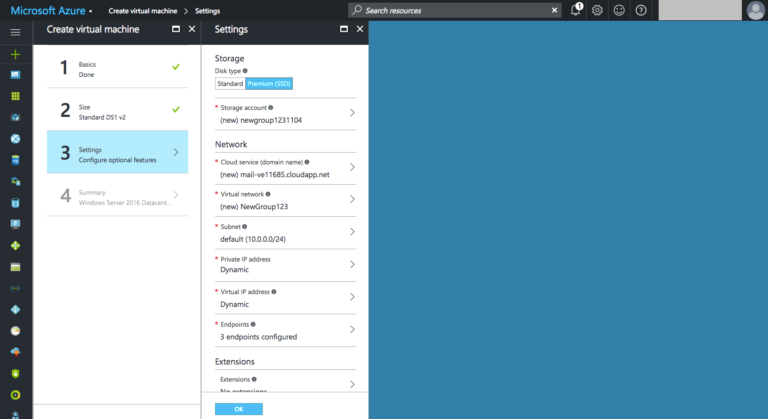
On the next page, just leave everything as is and click “OK.”
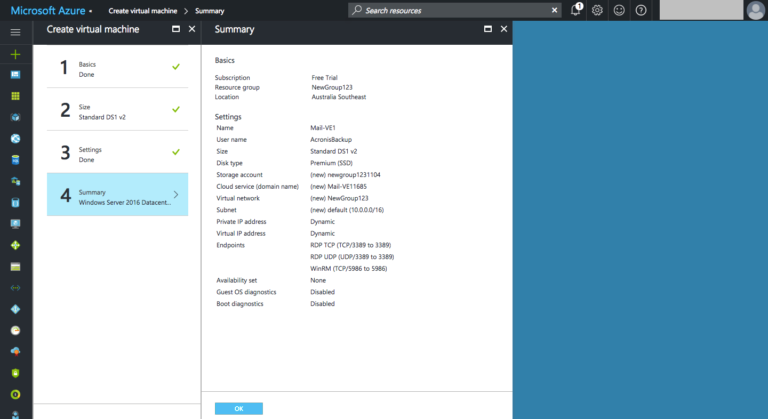
The next page will display a summary of all the settings that you entered. Click “OK.”
That’s it! You’ll be sent back to the main Azure Dashboard where you’ll see a blue square at the top right corner, showing the status of creating your VM. It will take a few minutes for the VM to be created.
Once provisioned, your VM will appear in the “All resources” widget. You only need to worry about the “Virtual machine (classic)” item. Don’t worry about the cloud service, storage account, virtual network etc. It just shows the resources your new VM is using:
Now, if you wish, repeat the steps to create additional VMs. For Windows, select “Windows 2016 Server.” For Linux, use “Ubuntu Server.”
PLEASE NOTE: some Linux operating systems don’t like long usernames. So, to be on a safe side and to prevent the VM creation process from failing, choose a short username (8 characters) when creating your Linux VM.
About Acronis
Acronis is a Swiss company, founded in Singapore. Celebrating two decades of innovation, Acronis has more than 1,800 employees in 45 locations. The Acronis Cyber Protect Cloud solution is available in 26 languages in over 150 countries and is used by 20,000 service providers to protect over 750,000 businesses.