Making sure that your bootable media can be used when needed
To maximize the chances of your computer's recovery, you must test that your computer can boot from the bootable media. In addition, you must check that the bootable media recognizes all your computer's devices, such as the hard drives, the mouse, the keyboard, and network adapter.
If you purchased a boxed version of the product that has a bootable CD and you did not update Acronis True Image 2019, you can test this CD. Otherwise, please create a new bootable media. Refer to Creating bootable media for details.
To test the bootable media
If you use external drives for storing your backups, you must attach the drives before booting from the rescue CD. Otherwise, the program might not detect them.
Configure your computer to enable booting from the bootable media. Then, make your bootable media device (CD-ROM/DVD-ROM drive or USB drive) the first boot device. See Arranging boot order in BIOS.
If you have a rescue CD, press any key to start booting from the CD, when you see the prompt "Press any key to boot from CD". If you do not press a key within five seconds, you will need to restart the computer.
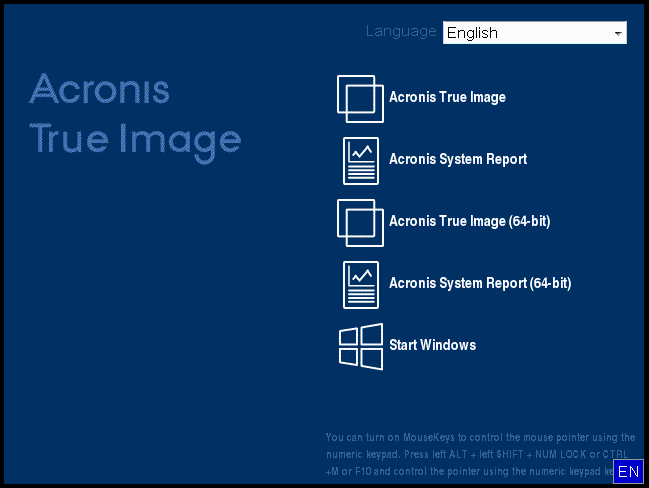
After the boot menu appears, choose Acronis True Image 2019.
If your wireless mouse does not work, try to replace it with a wired one. The same recommendation applies to the keyboard.
If you do not have a spare mouse or keyboard, contact Acronis Support. They will build a custom rescue CD that will have drivers for your models of the mouse and keyboard. Please be aware that finding the appropriate drivers and making the custom rescue CD may take some time. Furthermore, this may be impossible for some models.
When the program starts, we recommend you try recovering some files from your backup. A test recovery allows you to make sure that your rescue CD can be used for recovery. In addition, you will check that the program detects all the hard drives you have in your system.
If you have a spare hard drive, we strongly recommend that you try a test recovery of your system partition to this hard drive.
How to test recovery, as well as check the drives and network adapter
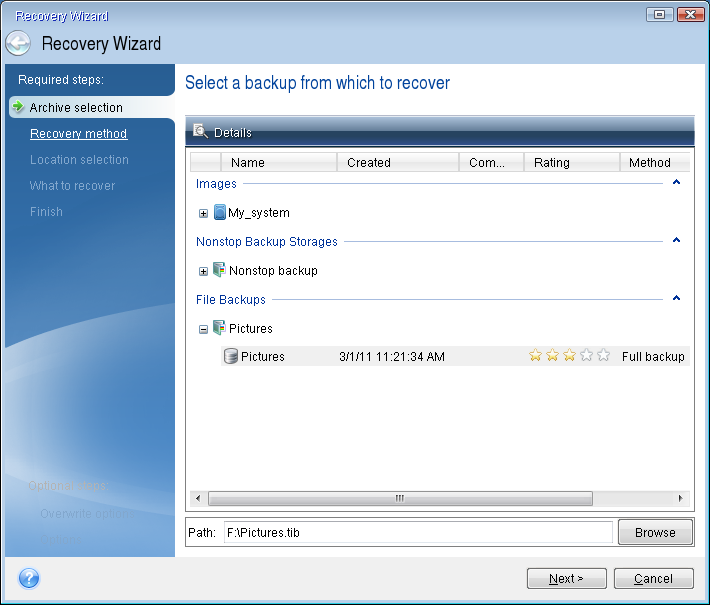
If you have file backups, start Recovery Wizard by clicking Recovery -> File Recovery on the toolbar.
If you have only disk and partition backup, Recovery Wizard also starts and the recovery procedure is similar. In such a case, you need to select Recover chosen files and folders at the Recovery Method step.
Select a backup at the Archive location step and then click Next.
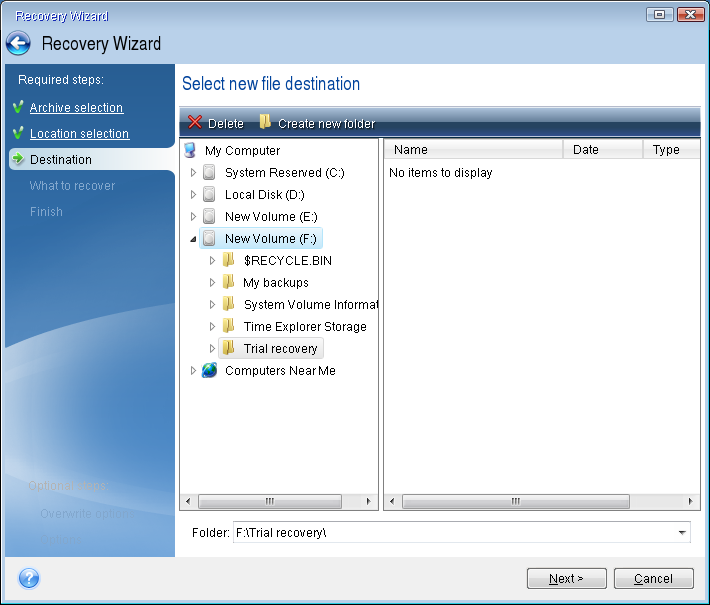
When recovering files with the rescue CD you are able to select only a new location for the files to be recovered. Therefore just click Next at the Location selection step.
After the Destination window opens, check that all your drives are shown under My Computer.
If you store your backups on the network, you should also check that you can access the network.
If no computers are visible on the network, but the Computers Near Me icon is found under My Computer, specify network settings manually. To do this, open the window available at Tools & Utilities®Options®Network adapters.
If the Computers Near Me icon is not available under My Computer, there may be problems either with your network card or with the card driver provided with Acronis True Image 2019.
Select the destination for the files and then click Next.
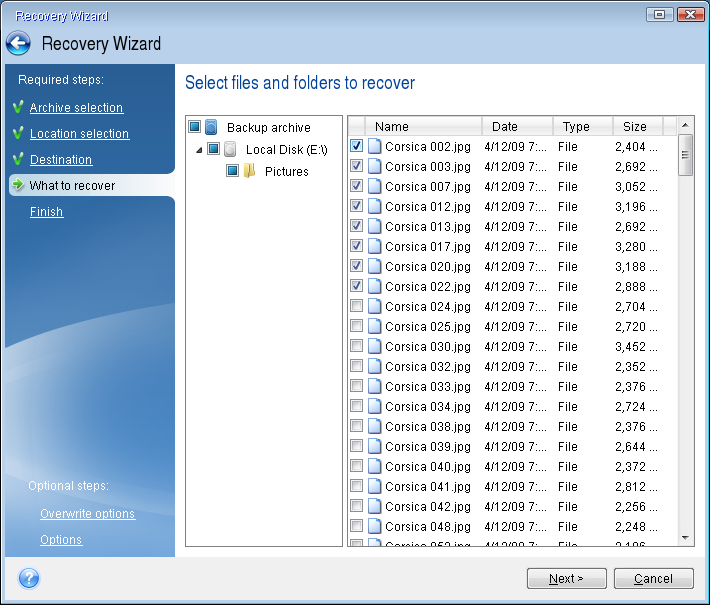
Select several files for recovery by selecting their check boxes and then click Next.
Click Proceed on the Summary window to start recovery.