Step 3.1: Configuring IIS 7 Web Server on Windows Server 2008
IIS is not installed by default in some Windows installations.
To install IIS on Windows Server 2008:
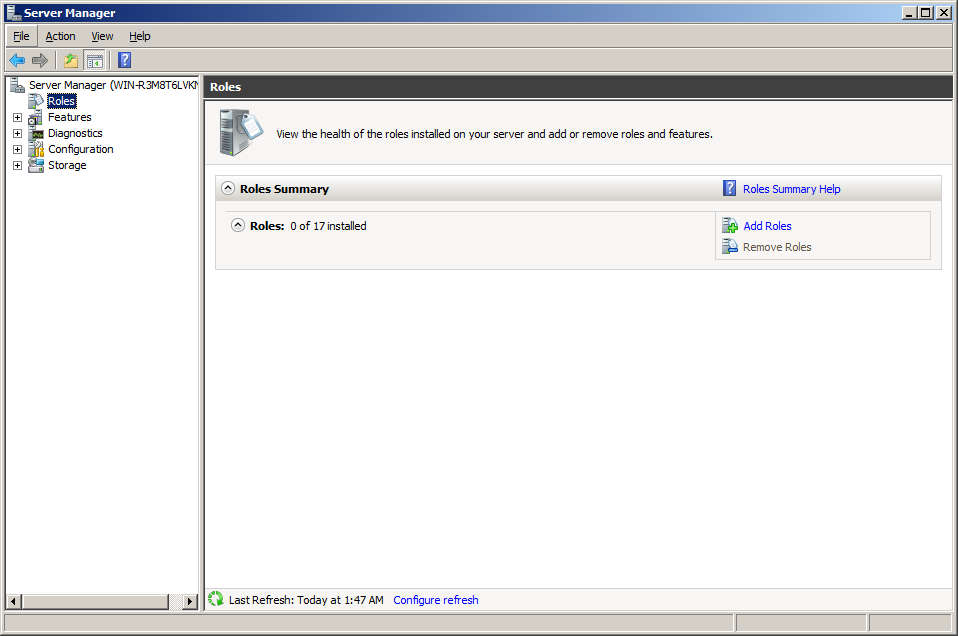
Оpen Windows Server Manager and select Roles in the left pane.
In the main pane, under Roles Summary, click Add Roles.
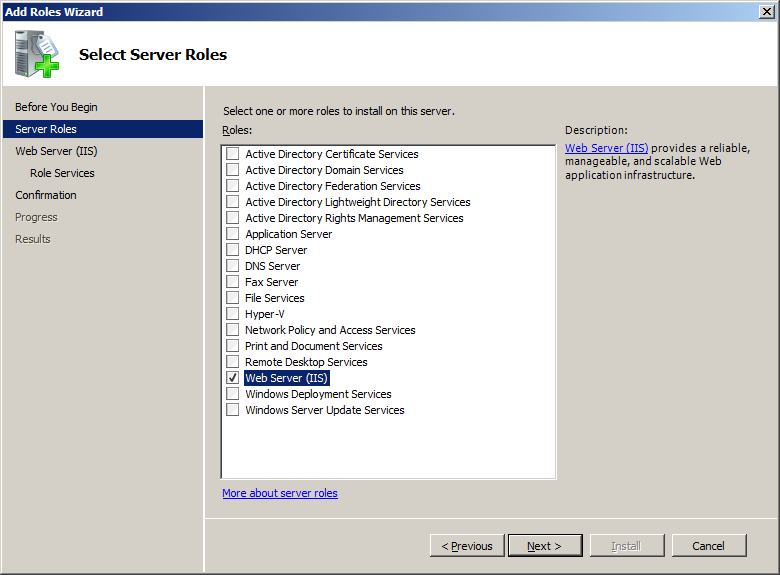
In the Add Roles Wizard, click Server Roles and select the Web Server (IIS) check box. Click Next.
On the Role Services page, ensure that you add the CGI module, which is located in the Application Development section. Click Next, and then click Install.
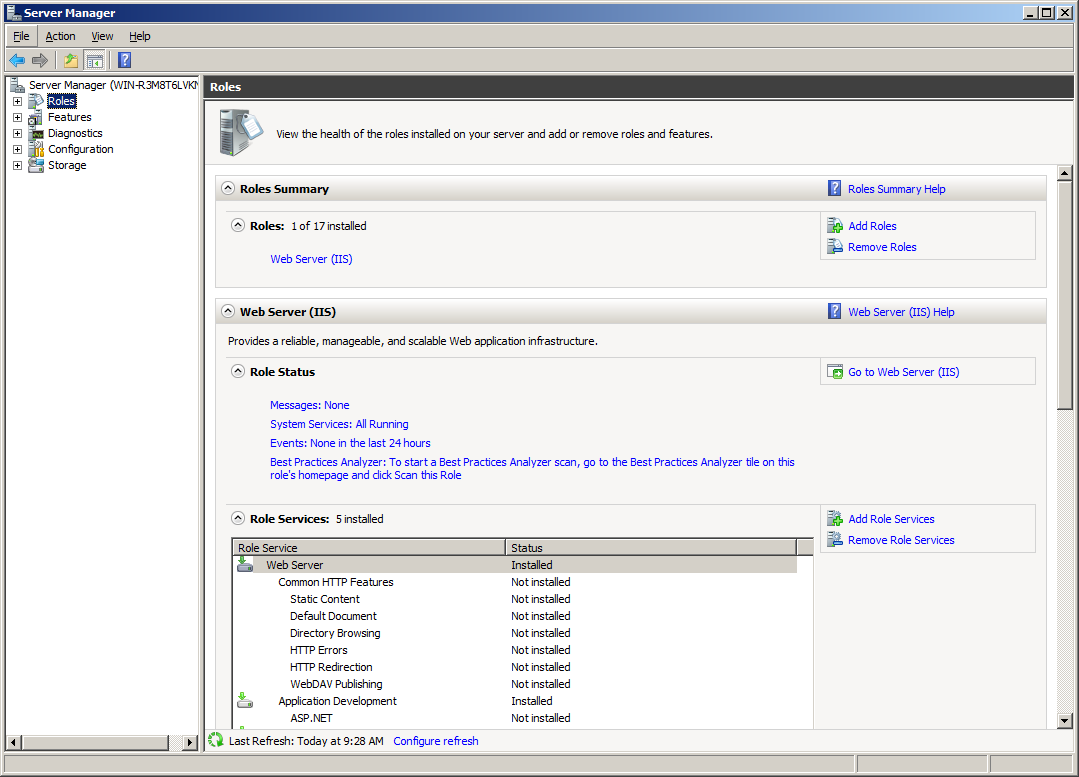
Note: If you have IIS already installed, ensure that the CGI service is included. To add this service to a current installation, go to Windows Server Manager and, in the left pane, select Roles. Then, in the main pane, scroll to Role services section, and click Add Role Services. In the wizard window that opens, select the CGI check box under the Application Development section. Click Next,and then click Install.
In the Default Web Site Home pane, double-click the Handler Mappings icon.
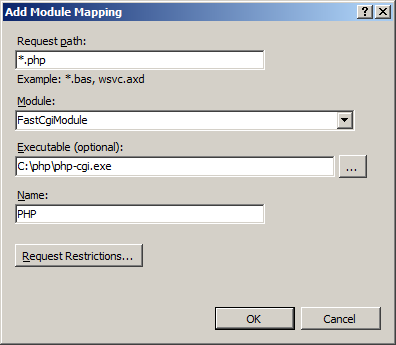
In the Actions pane, click Add Module Mapping…
In the Request path field, enter: *.php.
In the Module field, select: FastCgiModule.
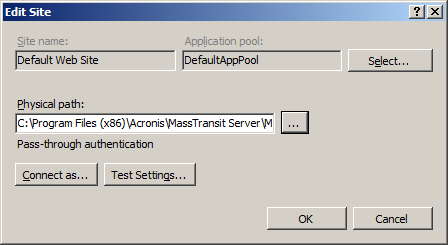
In the Executable (optional) field, select the path to the php-cgi.exe file. For example, C:\php\php-cgi.exe.
In the Name field, enter: PHP.
Click OK.
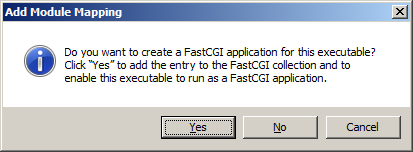
If the following dialog appears, click Yes.
Note: You must repeat steps 4.a through 4.g for each extension that you want to associate with PHP scripts. Extensions such as .php3 may be required for legacy applications, but are not necessary for MassTransit.
In the IIS Manager Connections pane, click Default Web Site. Then double-click MIME Types in the Home pane.
In the Actions pane, click Add...
In the File name extension field, enter: .dmg.
In the MIME type field, enter: x-application/applediskimage.
Click OK.
In the IIS Manager Connections pane, click Default Web Site. Then double-click MIME Types in the Home pane.
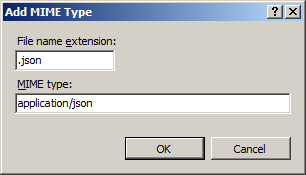
In the Actions pane, click Add...
In the File name extension field, enter: .json.
In the MIME type field, enter: application/json.
Click OK.
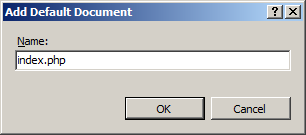
In the IIS Manager Connections pane, click Default Web Site. Then double-click Default Document in the Home pane.
In the Actions pane, click Add…
In the Name field, enter: index.php.
Click OK.
Move the index.php to the top by clicking Move Up in the Actions pane.
Open the Command Prompt as an administrator.
Navigate to the inetsrv folder, by entering the following command:
cd C:\Windows\system32\inetsrv
Note: Modify this path according to your actual Windows installation folder.
To set the maximum allowed content length for the transferred files, enter the command below.
appcmd set config /section:requestfiltering /requestlimits.maxallowedcontentlength:value
If you are using the preconfigured php.ini file, set the value to 2147483647.
If you are configuring this setting after upgrading MTWeb, replace this value with the same value (in bytes) that was set for the upload_max_filesize. For more information on this topic, refer to Step 2: Upgrading and Configuring PHP.
Note: It is recommended to set this value to 2147483647 bytes (2GB). This is also the highest value that can be set for upload_max_filesize.
To set the maximum allowed time for an HTTP transfer, enter the commands bellow. Replace value with a value greater than the maximum time in seconds that an HTTP transfer takes.
appcmd set config /section:system.webServer/fastCgi /[fullPath='c:\php\php-cgi.exe'].ActivityTimeout:value
appcmd set config /section:system.webServer/fastCgi /[fullPath='c:\php\php-cgi.exe'].RequestTimeout:value
Note: It is recommended to set these values to 3600 (1 hour). This is also the highest value that can be set for ActivityTimeout.
Restart the IIS server, so that the changes made to PHP and IIS settings are properly loaded. To do so, go to the IIS Manager Connections pane, and click Default Web Site. Then, in the Actions pane, navigate to the Manage Web Site section, and click Restart.
Restart the machine. This is required to ensure that all new settings for IIS and MassTransit are properly loaded, and to remove any cached versions of the old website that may be in the memory.

manager11.png)