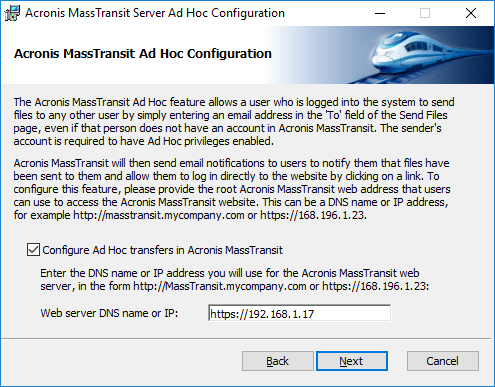
- If you want to enable this feature, enter the web server DNS name or IP address that users will use to access the MassTransit website. Then, click Next.
- If you don’t want to allow Ad Hoc transfers, clear the check box and click Next.
Note: The Ad Hoc Delivery feature is available on MassTransit production servers only.
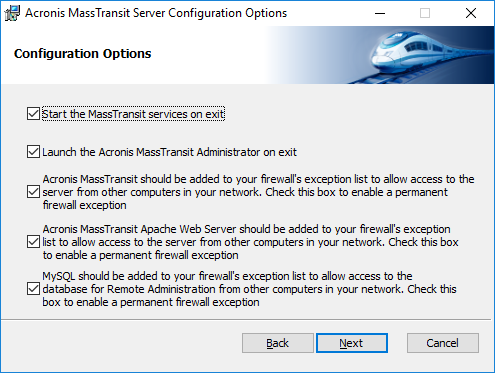
- Select the first check box to start the MassTransit services immediately after the installation.
- Select the second check box to launch the MassTransit Administrator for managing MassTransit immediately after the installation.
- Select the third check box to create a permanent firewall exception for MassTransit, so that other computers in your network can access the server.
- [Only for the trial version] Select the next check box to create a permanent firewall exception for the Apache web server, so that other computers in your network can access it.
- Select the last check box to create a permanent firewall exception for MySQL, so that other computers in your network can access the database for remote administration.
When ready, click Next.