You can set up the following options for creating the master image.
Protection
Defines whether to protect the master image with a password. You may want to use this option to prevent unauthorized deployment.
The preset is: No password
To specify a password, type it in the Enter the password and Confirm the password fields.
Setting up a password does not lead to encrypting the contents of the image.
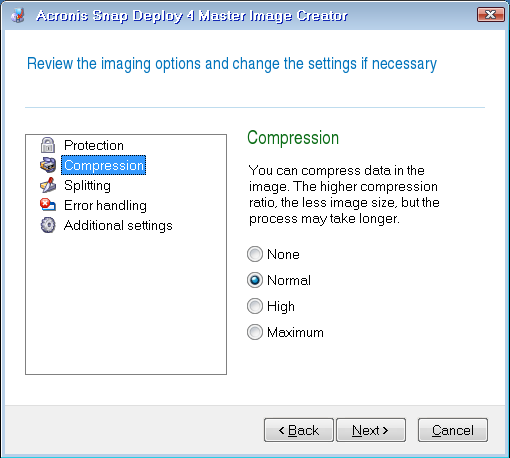
Compression
Defines the compression level for the image.
The preset is: Normal
A higher compression level may lead to a smaller size of the image, but creating the image will take longer. The default Normal level is recommended in most cases.
Selecting the data compression level
Process priority
This option is available only for online imaging.
The preset is: Low
Defines the priority of the imaging process.
The priority of any process running in the operating system determines the amount of CPU usage and system resources allocated to that process. Decreasing the image creation priority will free more resources for other programs. Increasing the image creation priority could speed up the imaging by taking resources from the other running processes. The effect will depend on the total CPU usage and other factors.
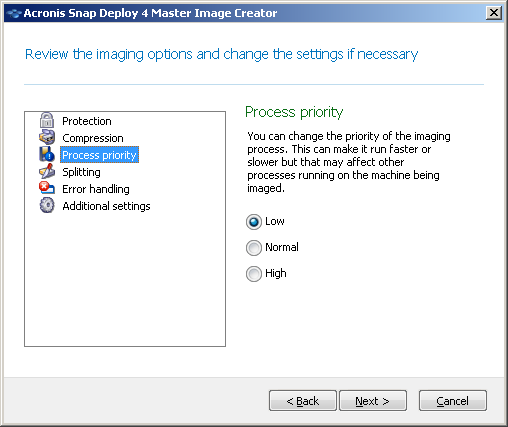
Setting up the process priority
Splitting
Defines how to split a sizable image into two or more files that together make up the original image.
The preset is: Only when it is required
With this setting, the program will act as follows.
When creating the image on a hard disk
If the selected disk has enough space and its file system allows the estimated file size, the software will create a single image file.
If the storage disk has enough space, but its file system does not allow the estimated file size, the image will automatically be split into two or more files. Such might be the case when the image is placed on FAT16 and FAT32 file systems that have a 4-GB file size limit.
If free space on the disk runs out while creating an image, the operation will stop with an error.
When creating an image on a CD-R/RW, DVD-R/RW, DVD+R/RW, or recordable Blu-ray Disc (BD-R, BD-RE)
Acronis Snap Deploy 4 Master Image Creator will ask you to insert a new disc when the previous one is full.
Alternatively, you can click Always, into the files of fixed size and type the desired file size or select it from the list. The image will then be split into multiple files of the specified size. This comes in handy when creating an image that you plan to burn to multiple discs later on.
You can enter the file size in bytes (B), kilobytes (KB), megabytes (MB), gigabytes (GB), or terabytes (TB).
Note: Creating images directly on CD-R/RW, DVD-R/RW, DVD+R/RW, or recordable Blu-ray Discs usually takes more time than it would on a hard disk.
Error handling
Defines how to handle errors that may occur during imaging.
Ignore bad sectors
The preset is: Disabled
When the option is disabled, the software will display a pop-up window each time it comes across a bad sector and ask for a user decision as to whether to continue or stop imaging.
Enable silent mode (no prompts during imaging)
The preset is: Disabled
With the silent mode enabled, the software will automatically handle situations requiring user interaction (except handling bad sectors, which is defined by the Ignore bad sectors option). If an operation cannot continue without user interaction, it will fail. Details of the operation, including errors, if any, can be found in the operation log.
In case of error, re-attempt in (minutes)
The preset is: 5
When a recoverable error occurs, the software re-attempts to perform the unsuccessful operation. You can set the time interval between attempts. The attempts will be stopped as soon as the operation succeeds.
For example, if the location of the image on the network becomes unavailable or not reachable, the software will attempt to reach the destination every five minutes. The attempts will be stopped as soon as the connection is resumed.
Additional settings
Check the image when it is created
The preset is: Disabled
If enabled, the program will check the integrity of the just-created image.
You can perform this check after imaging.