Stand-alone deployment is deployment to a machine that is isolated from the network or included in a network without Acronis Snap Deploy 5 infrastructure (to be exact, without OS Deploy Server). Stand-alone deployment is performed locally by using the bootable component called Standalone Utility.
Note: Standalone Utility can be placed on a physical media only. This component is not designed to boot from a PXE server.
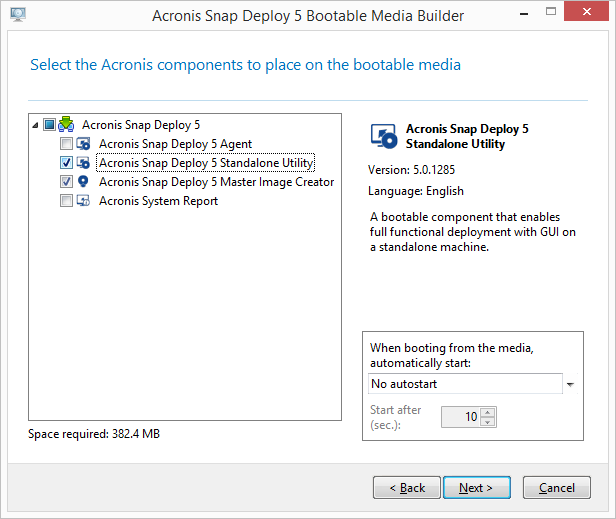
The Acronis stand-alone components to be placed on the bootable media
Configure the master machine.
Boot the master machine into Master Image Creator. If the machine fails to boot into the master image creator and the machine has Secure Boot enabled, we recommend temporarily disabling Secure Boot on this machine as a workaround.
Create an image of the master machine and save it to a network folder, detachable media, or removable media. You should not save the image to an internal hard disk of the target machine, because it cannot be accessed during the stand-alone deployment.
Boot the target machine into Standalone Utility. If the machine fails to boot into the stand-alone utility and the machine has Secure Boot enabled, we recommend temporarily disabling Secure Boot on this machine as a workaround.
If you saved the master image to a media, attach or insert the media.
Standalone Utilitycan deploy an image located:
In a network folder.
On a USB or FireWire (IEEE-1394) storage device (such as a flash drive) attached to the target machine.
On DVD+R/RW, DVD-R/RW, CD-R/RW, or recordable Blu-ray Discs (BD-R, BD-RE) loaded in the target machine’s media drive.
Configure the deployment operation as described in “Creating a deployment template”. Note that the template cannot be saved because the stand-alone utility does not access OS Deploy Server.
Review the deployment settings, and then start the stand-alone deployment.