 Step 1. Installing Acronis Snap Deploy 5
This section describes how to install Acronis Snap Deploy 5 and perform a simple deployment.
By following the procedures in this section, you will:
 Step 1. Installing Acronis Snap Deploy 5
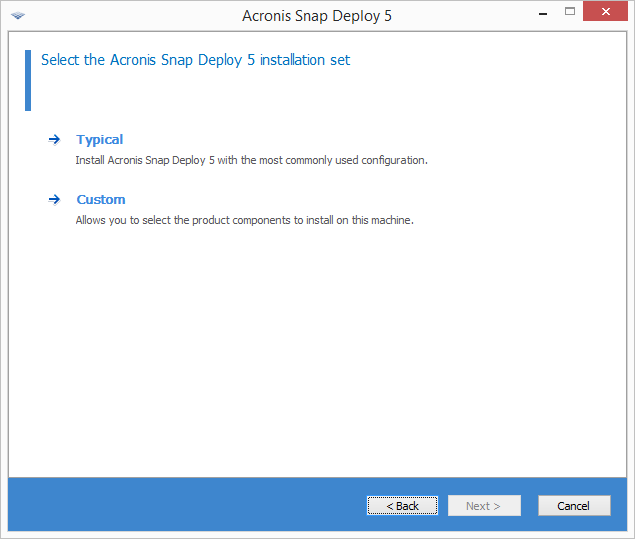
In this step, you will install Acronis Snap Deploy 5 in a typical configuration. For the complete description of installation methods and procedures, see the installation section.
Before installation, make sure that:
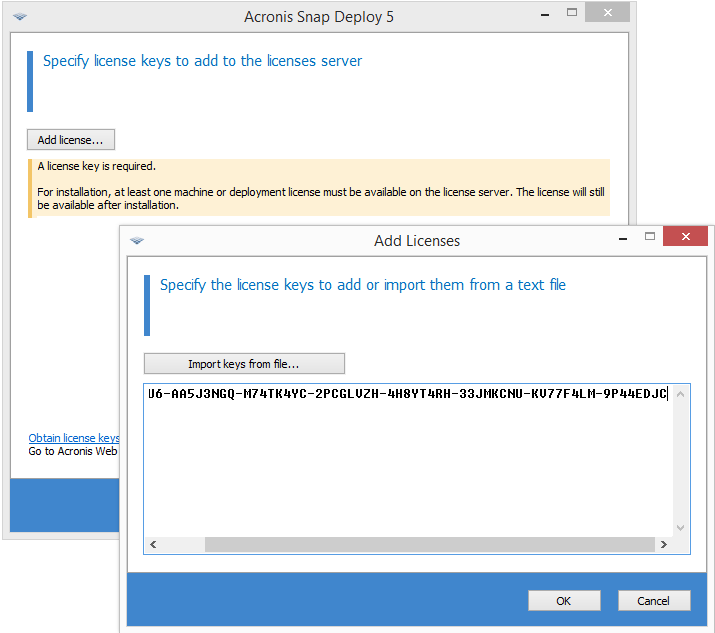
On the machine where you want to install Acronis Snap Deploy 5, do the following:
 Step 2. Starting Acronis Snap Deploy 5
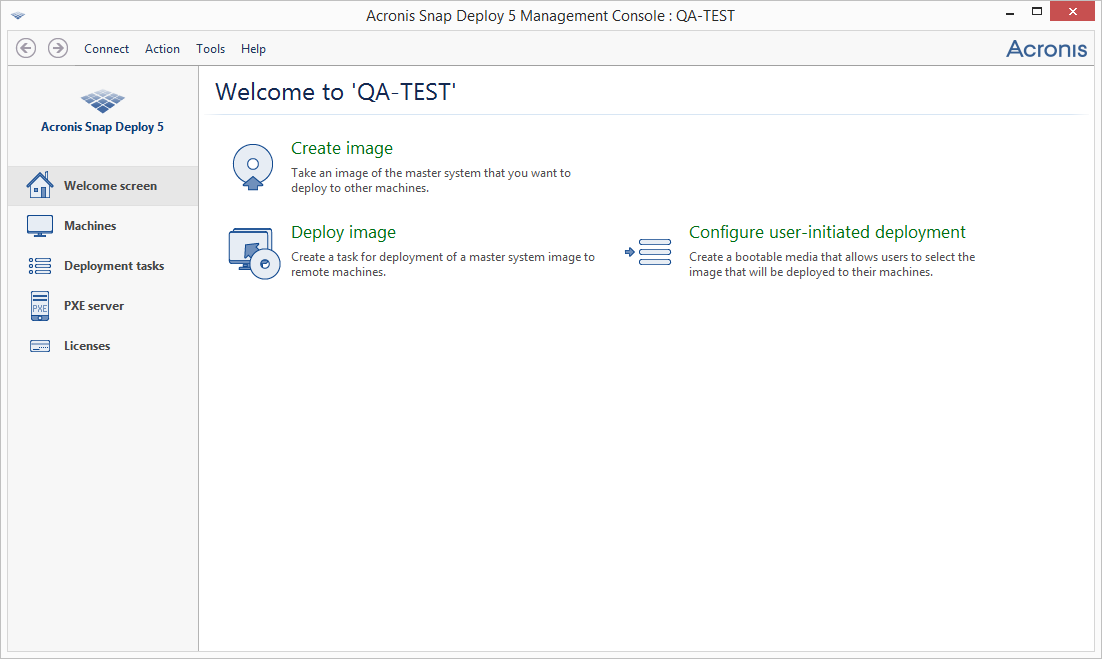
On the machine where you installed Acronis Snap Deploy 5:
When Acronis Snap Deploy 5 starts, the welcome screen appears.
 Step 3. Creating a bootable media
In this step, you will create a bootable media that enables creating master images and performing deployment.
On the machine where you installed and started Acronis Snap Deploy 5, do the following:
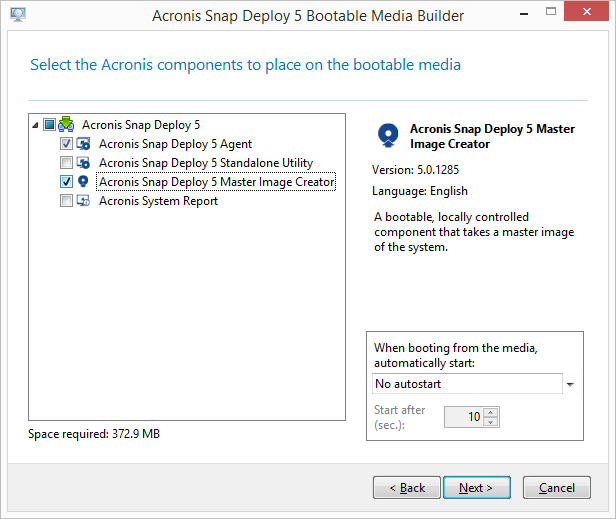
Tip. If no CD-RW, DVD-RW, or a similar optical disc drive is present on the machine, you can choose to create an ISO file that you can later burn to an optical disc on another machine. You can also create the media on a USB drive. For details, see “Creating a bootable media”.
 Step 4. Creating a master image
In this step, you will create an image of a machine and save the image to a USB hard disk.
Choose a machine whose image you want to create. No license is required for imaging the machine. However, a server or a workstation license will be used for deploying the machine, depending on whether the machine is running a server operating system (such as Windows 2008 Server or Linux) or a workstation operating system (such as Windows 7). For the list of server and workstation operating systems, see “Supported operating systems for imaging and deployment”.
On the machine whose image you want to create, do the following:
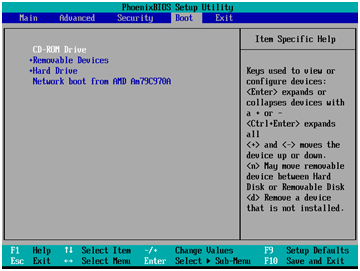
Tip. Alternatively, you will be able to save the image to a network folder, as described later in this procedure.
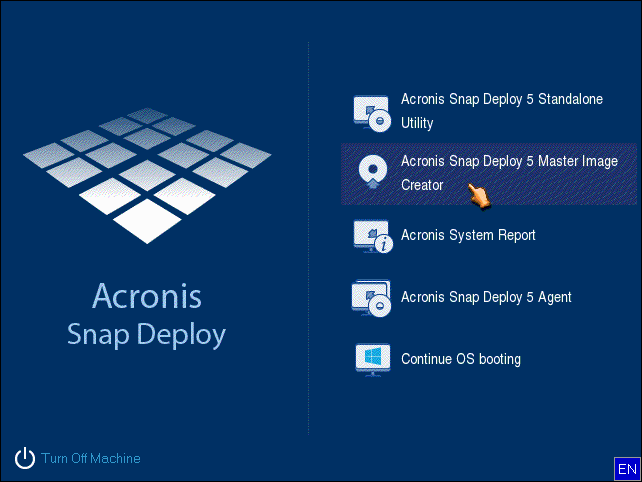
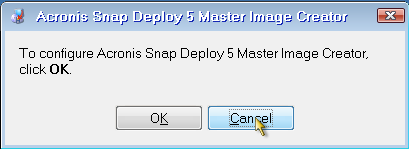
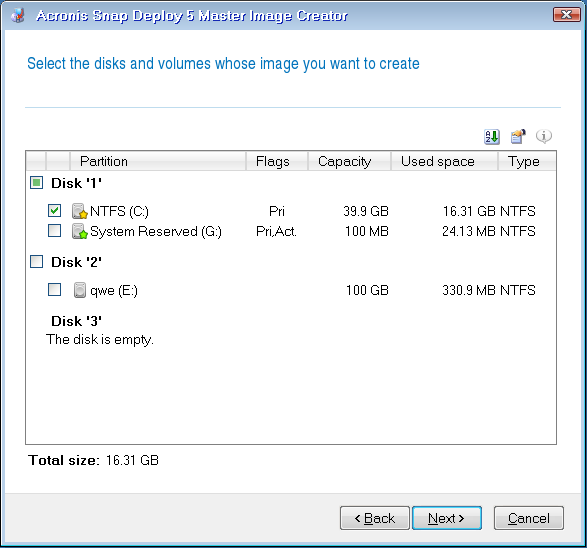
Alternatively, specify a network folder, and the user name and password to access that folder.
Acronis Snap Deploy 5 starts creating the image.

After the image is created, the machine will restart.
In this step, you will deploy the created master image to a single machine (the target machine).
Tip: For getting started, we recommend performing deployment to the same machine from which you created the image, or to a machine with identical hardware. This way, no extra steps, such as using the Universal Deploy option, are required.
Preparing the target machine
On the target machine, do the following:
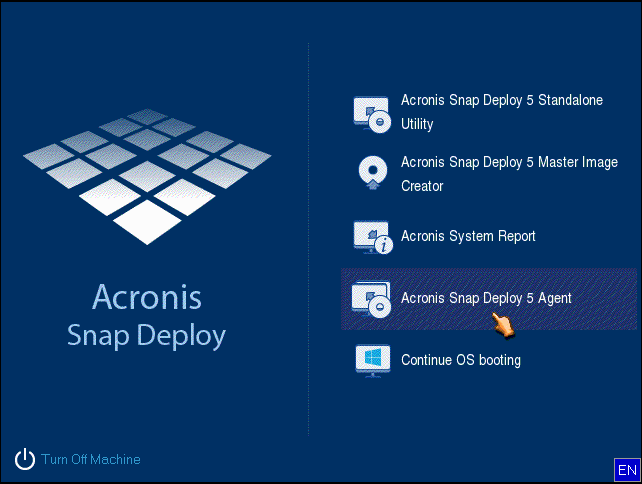
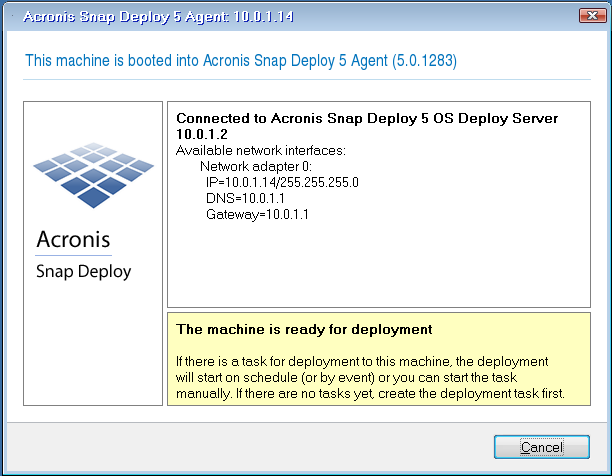
Details. The target machine becomes ready for deployment when it connects to OS Deploy Server. This server is part of Acronis Snap Deploy 5. If the machine does not connect to the server, you may need to adjust network settings, as described in “Booting the target machines”.
After the target machine is ready, you can deploy the master image to it.
Deploying the master image
On the machine where you installed Acronis Snap Deploy 5, do the following:
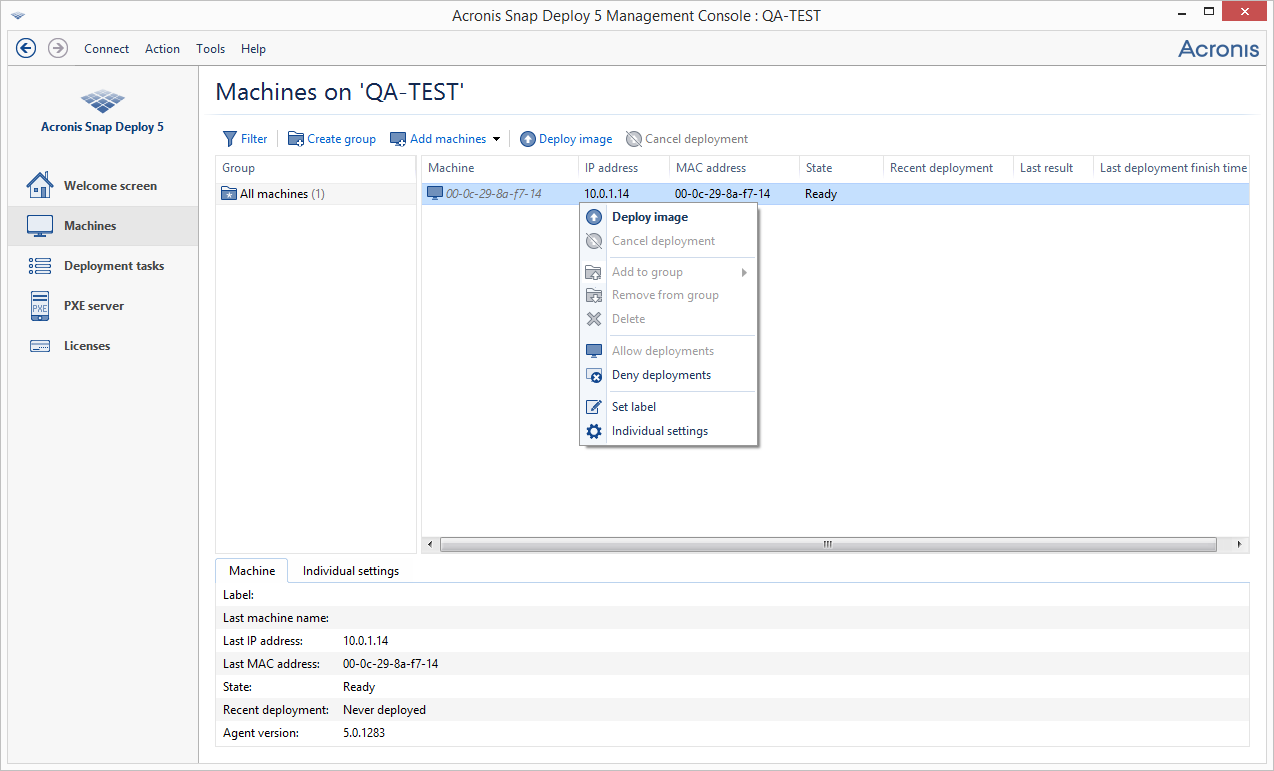
Note. If you imaged a machine running a workstation operating system (such as Windows 7) but you only have server licenses (such as Acronis Snap Deploy 5 for Server – Trial License), you may want to allow the software to use this type of license to deploy the machine. To do so, click Licensing in the deployment settings window, and then click Use a server license automatically.
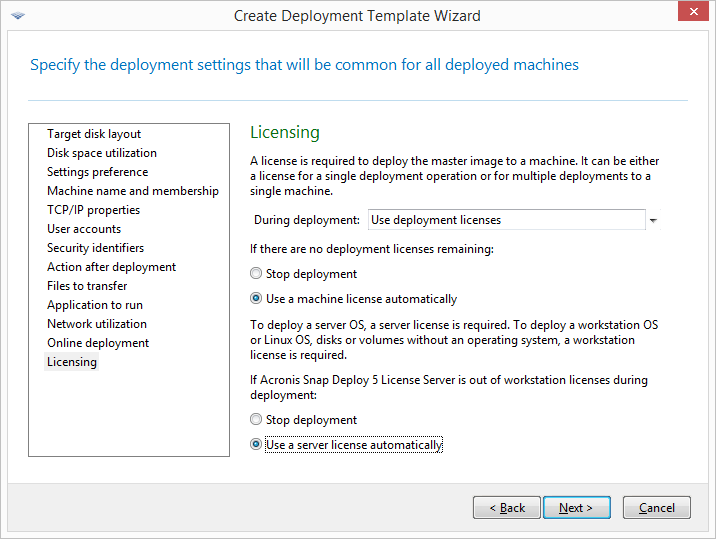
Alternatively, you can add a workstation license before starting the deployment, by opening the Licenses view and clicking Add license on the toolbar.
Details. You have created a deployment template. It determines how to perform deployment. You can reuse this template in other deployment tasks.
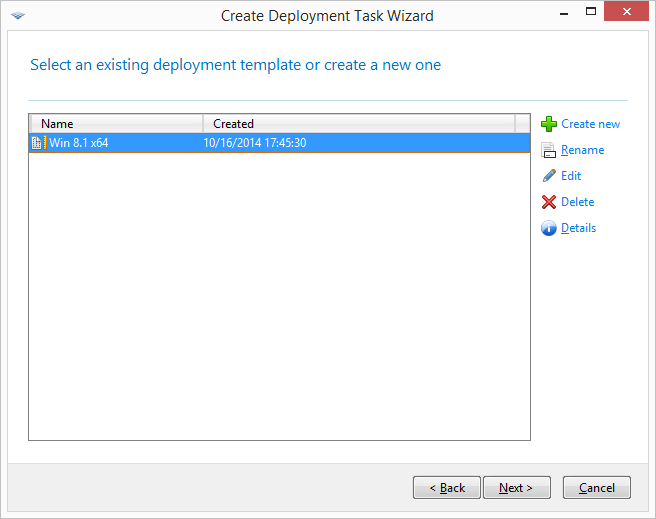
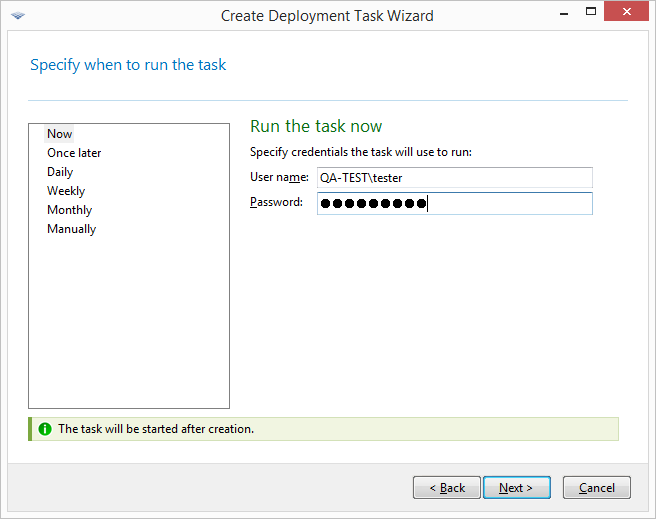
You can view the progress of the deployment both on the machine where you installed Acronis Snap Deploy 5 and on the target machine.
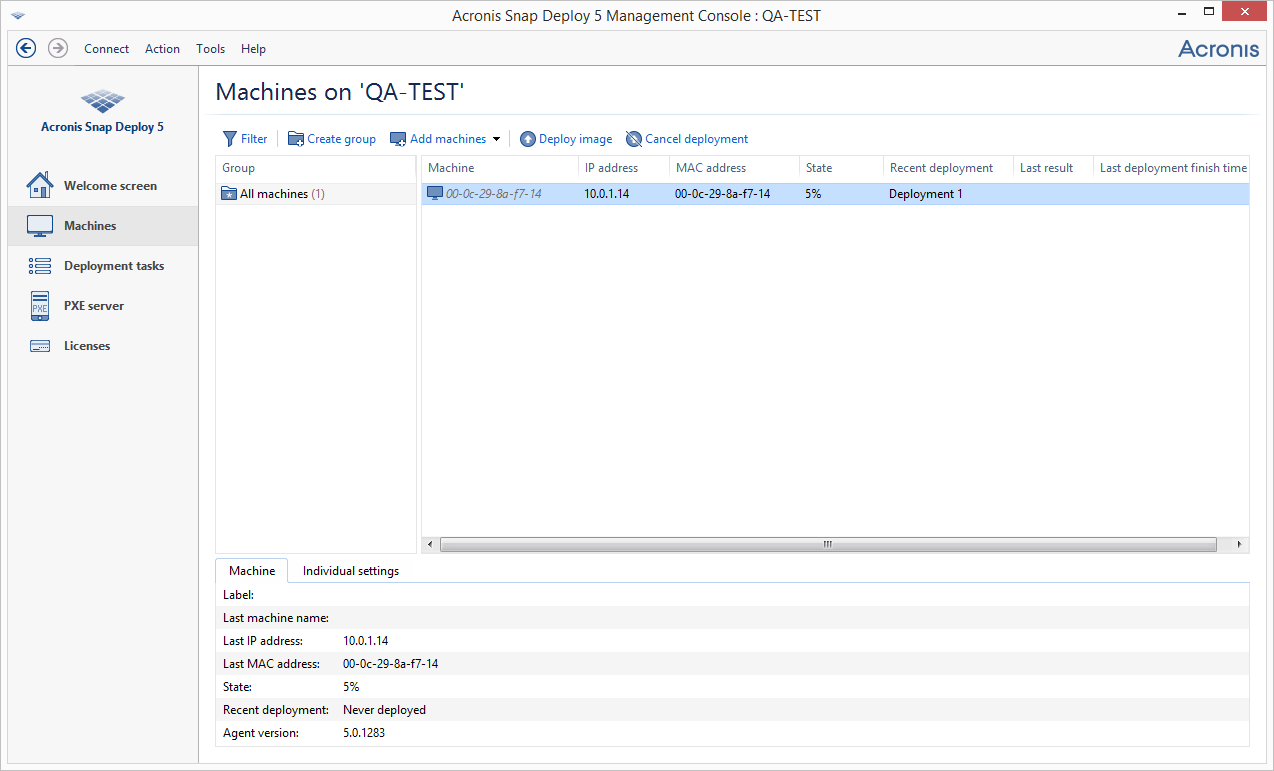
Viewing the deployment progress on the machine with Acronis Snap Deploy 5
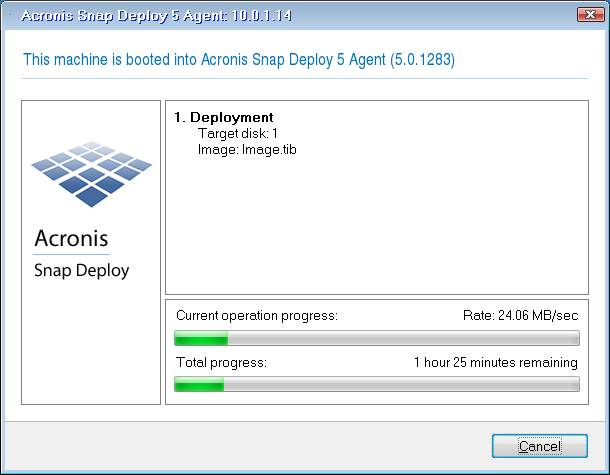
Viewing the deployment progress on the target machine
In the navigation pane, you can open the corresponding views to navigate across the software.
For details about the Deployment tasks view, see “Managing deployment tasks”.
Another way to add a machine to this view is to boot the machine so that it becomes ready for deployment, as described in “Preparing the target machine” earlier in this section. You can then turn off or restart the machine without performing deployment. The machine remains in the view.
For details about the Machines view, see “Managing the list of machines”.
For details about managing licenses, see “Using License Server”. For information about license types, see “Licensing policy”.
For details about setting up the network booting, see “Configuring Acronis PXE Server”.