Step 4. Creating a master image
In this step, you will create an image of a machine and save the image to a USB hard disk.
Choose a machine whose image you want to create. No license is required for imaging the machine. However, a server or a workstation license will be used for deploying the machine, depending on whether the machine is running a server operating system (such as Windows 2008 Server or Linux) or a workstation operating system (such as Windows 7). For the list of server and workstation operating systems, see “Supported operating systems for imaging and deployment”.
On the machine whose image you want to create, do the following:
-
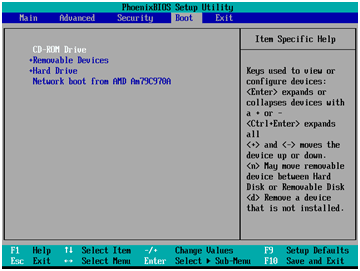
Make sure that the CD or DVD drive has a higher boot priority than the hard disk drive. You may need to open the BIOS setup utility of the machine and adjust the boot priority setting, similarly to what is shown in the following picture.
-
Attach the USB hard disk drive to the machine.
Tip. Alternatively, you will be able to save the image to a network folder, as described later in this procedure.
- Boot the machine from the bootable media you created.
-
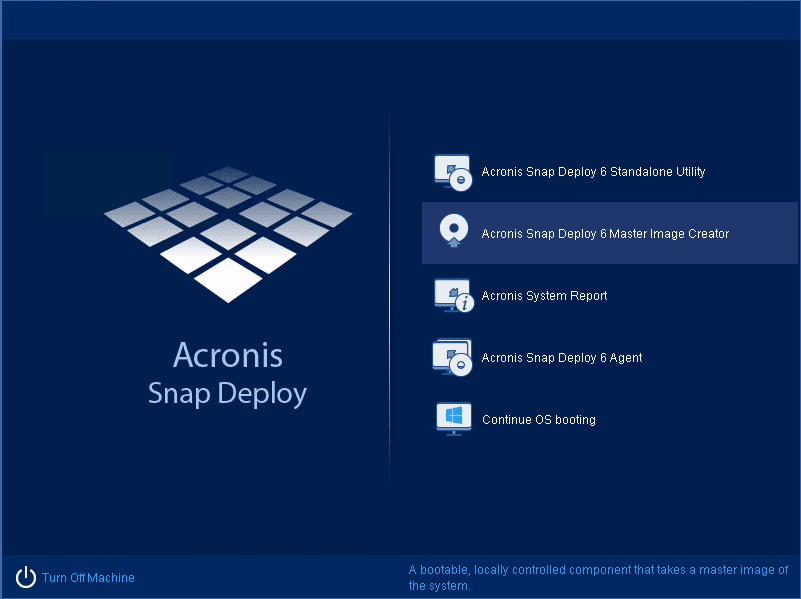
On the boot menu, click Master Image Creator.
-
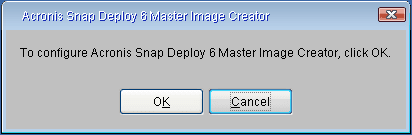
In the pop-up window, click Cancel or wait until that window closes.
-
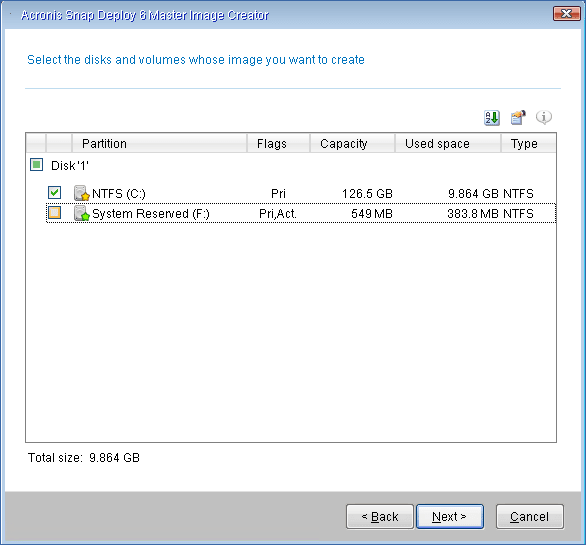
Select the volumes that you want to include in the master image. You can leave the default selection, which normally includes the volumes that contain the operating system.
-
Specify a folder on the USB hard disk where you want to save the image.
Alternatively, specify a network folder, and the user name and password to access that folder.
- Keep clicking Next until the summary screen appears. Click Create in that screen.
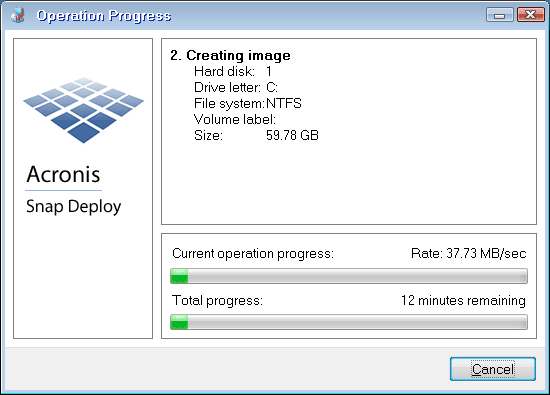
Acronis Snap Deploy 6 starts creating the image.
After the image is created, the machine will restart.