Signing a file

To sign a file:

  1. Start from the original file in the Acronis True Image backup that needs to be signed.
  2. Right-click the file and choose ASign.

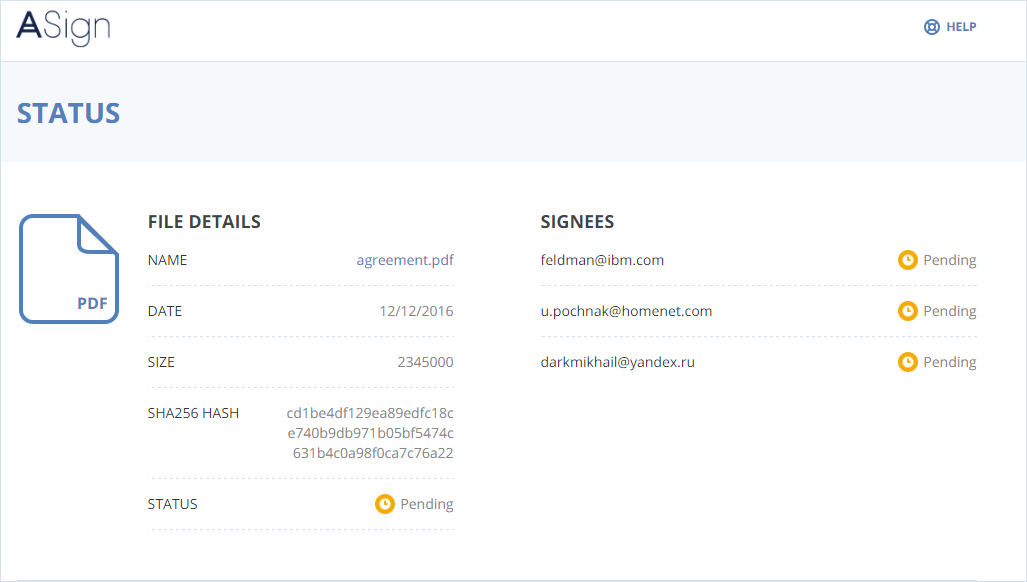
    The ASign service receives the file, calculates an electronic digital hash of the file (using the SHA-256 cryptographic hash function) and displays a Status page with all information about the file.

    Note: The email address linked to your Acronis Cloud account will automatically be added to the list of signees.

    signee_init

  3. Check the file information: name, size, and date of creation or modification. The Status field (Pending by default) indicates that your file is still waiting for signatures.
  4. Add other signees (by using their emails) on the ASign Status page.
  5. Enter an email in the Signee email field and click the plus sign.

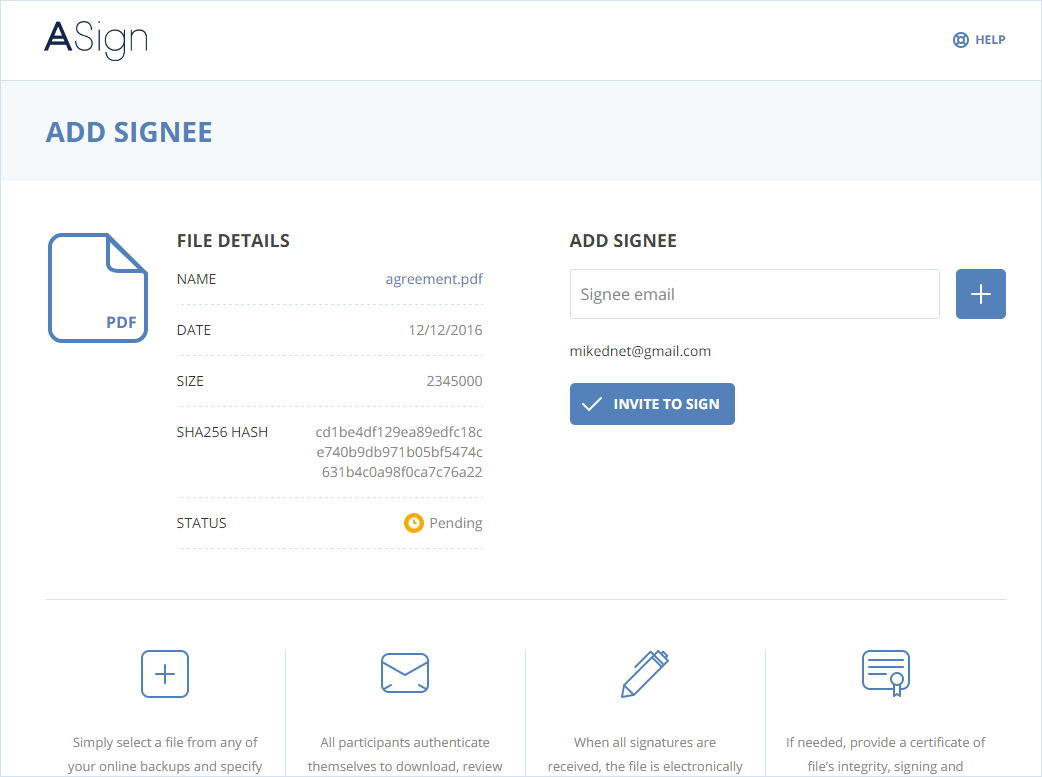
    The email address is added to the list of signees.

    Email addresses are validated first.

    signee_init

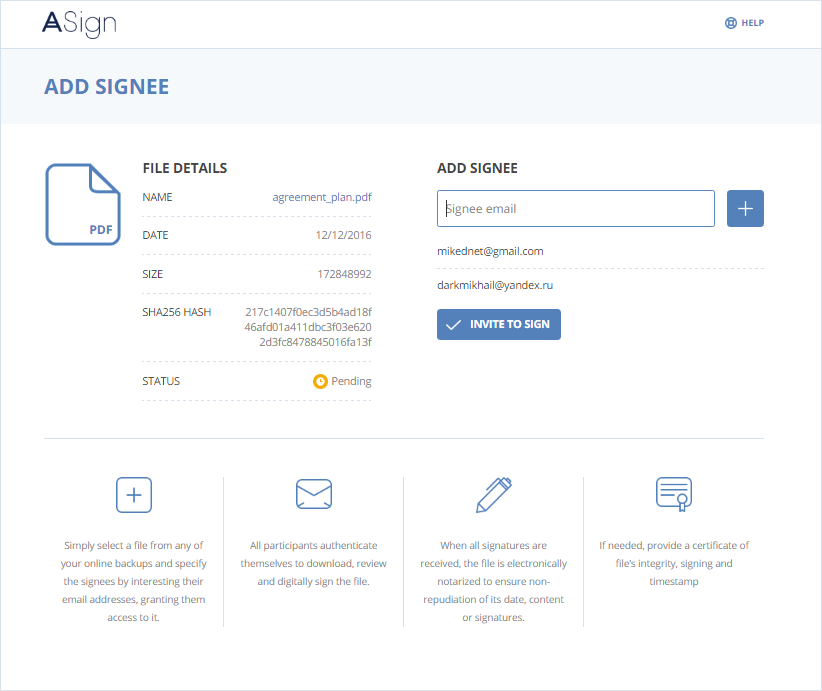
    To remove an address from the list of signees, place the mouse pointer over the email address, and then click the cross sign.

  6. After you complete the list of signees, click the Invite to sign button to send invitations to the signees.

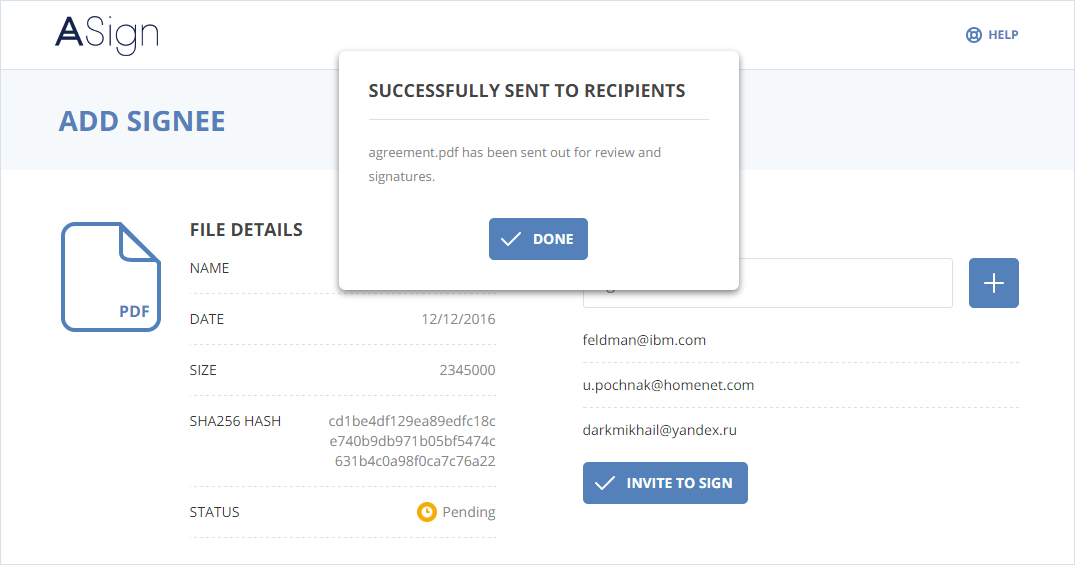
    Warning: You cannot modify the list of signees after sending invitations so make sure the list includes the emails for everyone that needs to sign the document.

    signee_init

The Status page displays the current status of each signee's invitation.

signee_init