Using Try&Decide
- Start Acronis True Image.
- In the Tools section, click Try&Decide.
- Set up the Try&Decide options, if necessary. Refer to Try&Decide options and notifications for details.
-
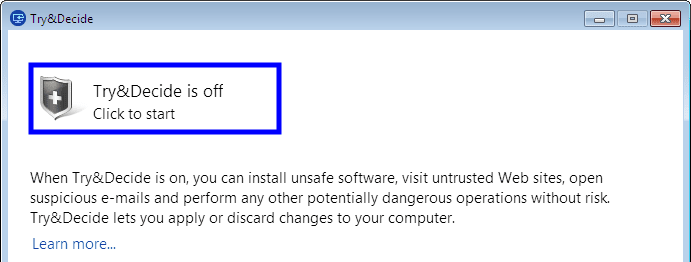
To start the Try mode, click the Try&Decide icon. The program starts tracking all changes made to the OS and files and temporarily stores all the changes on the selected disk.
-
Perform all the changes you wanted to try.
When the disk space in the location selected for storing virtual changes is minimal for applying the changes, the program asks you whether to apply or discard the changes. If you ignore the alert message, the program will automatically restart the system when the disk is full, and discard the changes.
-
To stop the Try mode, click the Try&Decide icon in the Try&Decide window.
-
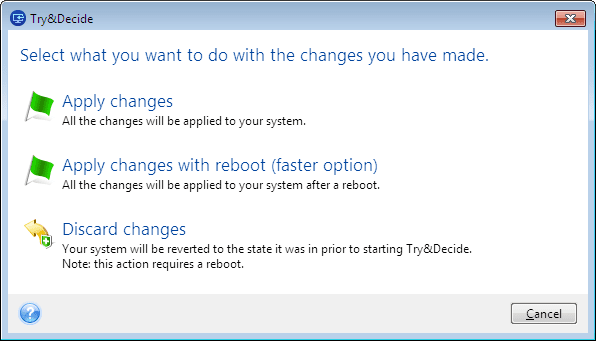
Choose one of the following:
- Select Apply changes if you want to keep the changes made to the system.
- Select Apply changes with reboot if you want to speed up the applying process. When you click the button, Try&Decide restarts your computer and applies the changes during the reboot.
- Select Discard changes if you want to return your system to the state it was in prior to turning on the Try mode. When you select this option, a pop-up window is displayed with the following options: Reboot to discard changes and Do not reboot. If you select the Do not reboot option, the Try&Decide feature remains on, and the changes will not be discarded.
If you have chosen Discard Changes and rebooted the computer with multiple operating systems installed, you won’t be able to boot other operating systems except the one used for working in the Try mode. A second reboot will recover the original MBR and make other operating systems bootable.