Installation
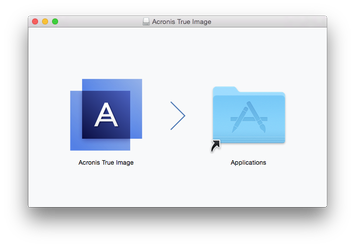
To install Acronis True Image 2019:
When you start Acronis True Image 2019 for the first time, sign in to your Acronis account. The product will be automatically activated. You can skip this step. In this case, enter your serial number, and then click Activate. Refer to Activating Acronis True Image 2019 for details.
Note: If your Mac is running macOS High Sierra 10.13 or Mojave 10.14, you need to perform additional steps after the installation in order to have disk backup, disk cloning, and ransomware protection. Please do the following:
On macOS Mojave 10.14, you also need to grant full disk access to Acronis True Image 2019 if you want to back up your personal data (e.g., Mail, Calendar, Messages). For this, when the window requesting Full Disk Access appears, follow the on-screen instructions. Refer to https://kb.acronis.com/content/61832 for details.
Update
When an update for Acronis True Image 2019 is available from the Acronis website, you can download it, and then install it over your version of Acronis True Image 2019. All your backups and settings will be kept.
To turn on an automatic check:
To check for updates manually:
Uninstallation
To remove Acronis True Image 2019 from your Mac: