Access Restrictions
You can use the default access restrictions set in the Policies section or you can set custom access restrictions for each Gateway Server.
Setting custom access restrictions for this Gateway Server
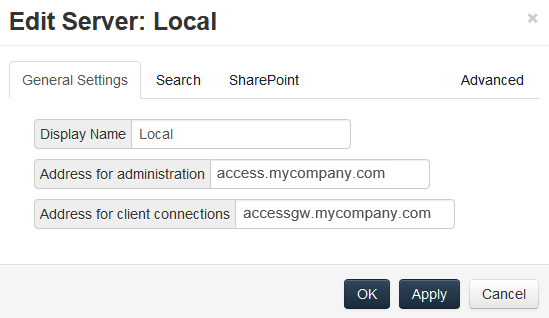
General Settings
Display Name - Sets the display name of the Gateway Server.
Address for administration - Sets the address on which the Gateway Server is reachable by the Acronis Access Server.
Address for client connections - Sets the address on which mobile clients will connect to the Gateway Server.
Logging
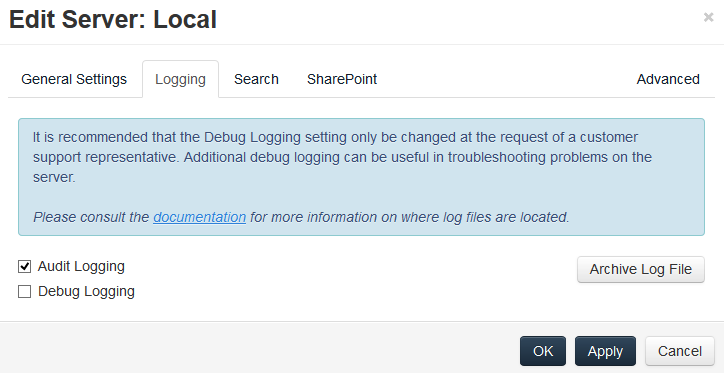
The Logging section allows you to control whether the logging events from this specific Gateway Server will be shown in the Audit Log and allows you to enable Debug logging for this server.
To enable Audit Logging for a specific gateway server:
To enable Debug Logging for a specific gateway server:
Note: The default location for the debug logs is: C:\Program Files (x86)\Acronis\Access\Gateway Server\Logs\AcronisAccessGateway
Search
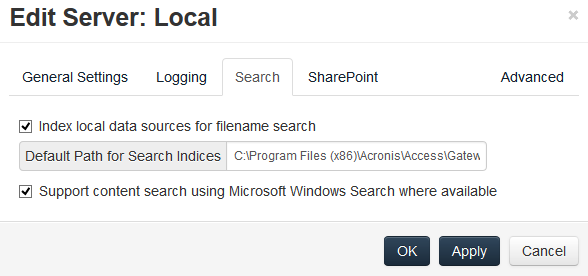
Index local data sources for filename search
By default, indexed searching is enabled on all Gateway Servers. You can disable or enable indexed searching for each Gateway Server in the Gateway’s Edit Server dialog.
Default path
By default on a standalone server, Acronis Access stores index files in the Search Indexes directory in the Acronis Access Gateway Server application folder. If you would like to locate the index files in a different location, enter the path to a new folder.
Support content search using Microsoft Windows Search where available
Support for content search of shared is enabled by default, and can be enabled or disabled by checking this option. You can enable or disable content searching for each Gateway Server in the Edit Server dialog.
In addition to enabling this setting, content search requires that the Microsoft Windows Search application be installed on the Acronis Access Gateway server and be configured to index any data source where content search is enabled. Windows Search is built into Windows Vista and no additional installation is required. It is also built into Windows Server 2008, but it is not enabled by default. To enable it add the Role called File Services in the Server Manager, and have the Windows Search Service enabled. Windows Search can be configured to index the necessary data sources by right clicking the Windows Search icon in the Start bar and selecting Windows Search Options. You can do Windows content searches on Windows reshares but the remote machine(s) must be in the same domain as the Gateway Server.
Note: The Data Source's volume path must be a hostname or a fully qualified name in order to use content search on Windows Reshares. IP addresses are not supported by Windows Search.
SharePoint
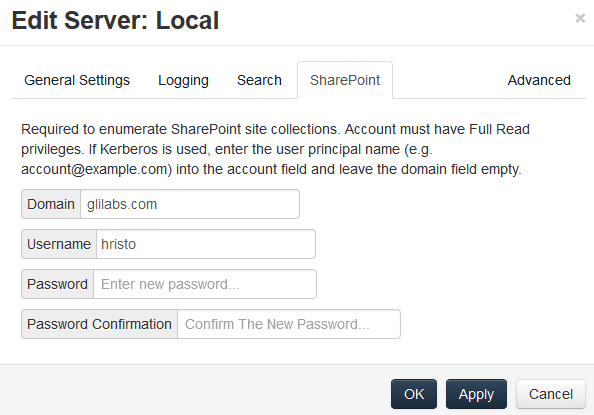
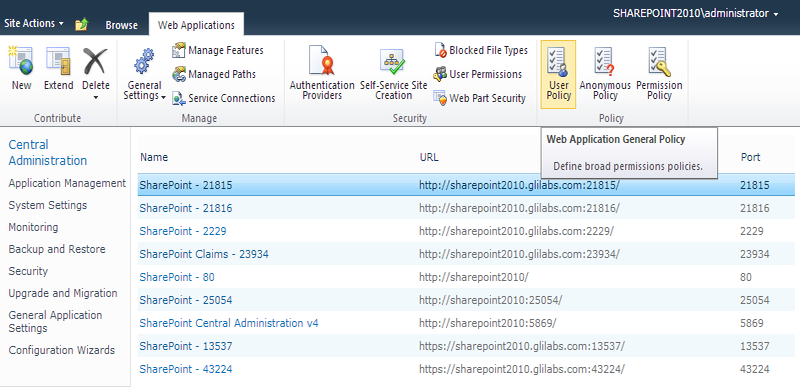
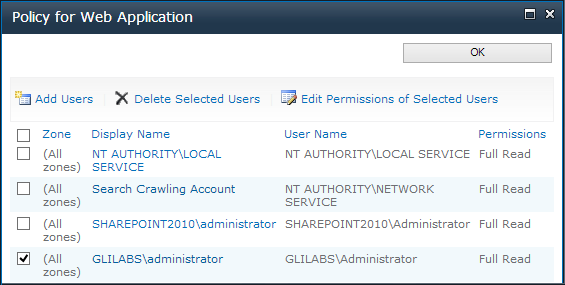
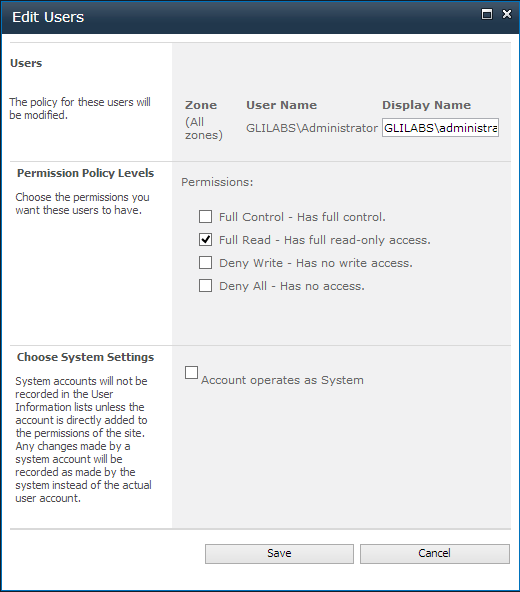
Entering these credentials is optional for general SharePoint support, but required to enumerate site collections. For example, say you have two site collections: http://sharepoint.example.com and http://sharepoint.example.com/SeparateCollection. Without entering credentials, if you create a volume pointing to http://sharepoint.example.com, you will not see a folder called SeparateCollection when enumerating the volume. The account needs to have Full Read access to the web application.
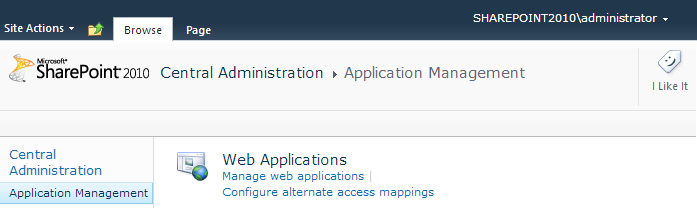
To give your account Full Read permission, follow these steps (for SharePoint 2010):
Advanced
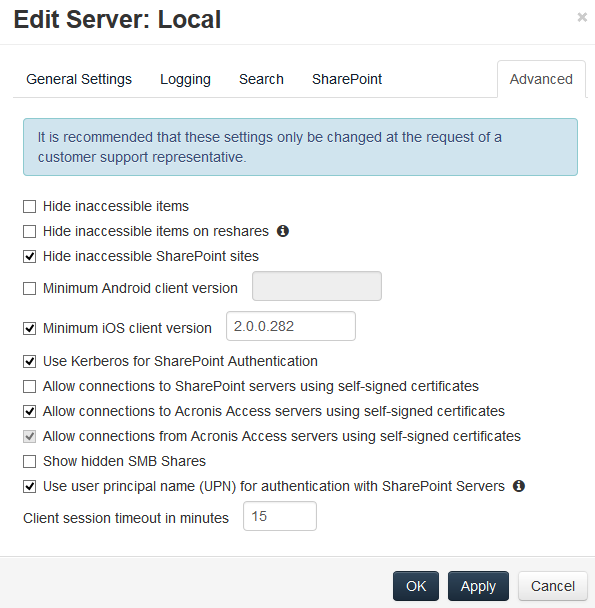
Note: It is recommended that these settings only be changed at the request of a customer support representative.
Note: Enabling this feature can have a significant negative impact while browsing folders.
Note: Please allow 15 to 20 minutes for these change to propagate through AD and be applied before testing client connectivity. They will not take effect immediately.