Installing and Configuring the Mac Acronis Access Desktop Client
- Using your web browser, go to the log-in page of your Acronis Access server, for instance https://myserver_
- Log in.
- Click on your account.
- Click the Download Access Desktop Client link and save the installer to your computer.
- Double-click the Acronis AccessClientInstaller.dmg file.The following window appears:
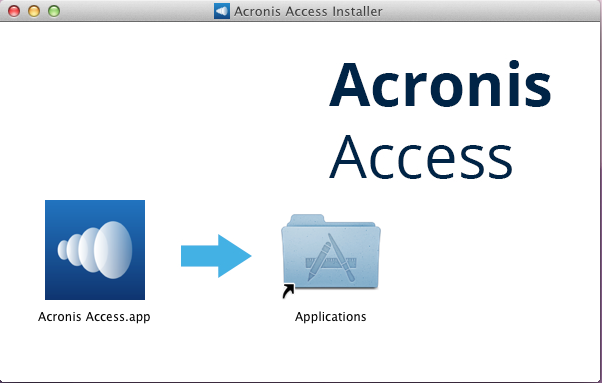
- Drag the Acronis Access icon into the Applications folder.
- Go to your Applications folder and launch Acronis Access.
- An AA icon appears in the Menu bar. Click on it and select Preferences.
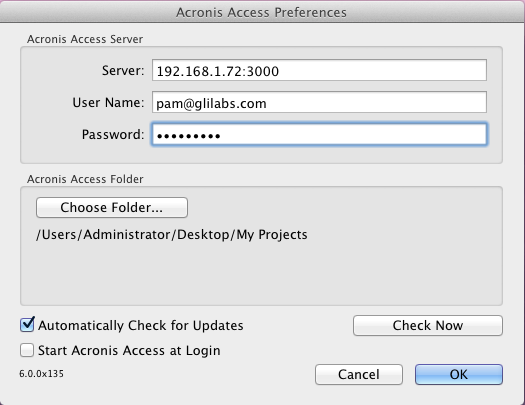
- Click the "Choose Folder..." button, select the folder where your files will be synced, and then click OK.
- In the Server URL field enter the address of the Acronis Access server, including the "https://" or "http://" prefix.
- In the Username field enter your email address.
- In the Password field enter your password. What password you use depends on how your organization has implemented Acronis Access:
- If you received an invitation email and you set your own personalized password in Acronis Access Web, this is the one to use.
- If Acronis Access uses your organization’s Active Directory, enter your network password.
Note: In case of doubt, please ask your IT department what to use.
- Click OK to save the configurations.
Once you have successfully installed and configured your Access Desktop Client, it’s time to start using it.