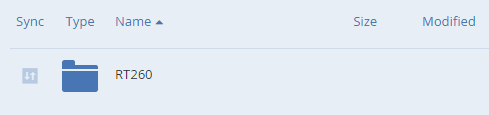
Note: The sync icon represents the type of sync that this folder has enabled. 1 downward arrow means 1-way sync and 2 arrows (one upward and 1 downward) mean 2-way sync.
Note: You will not see this icon if your Acronis Access policy does not allow you to sync Network content.
Note: You cannot sync SharePoint sites but you can sync SharePoint libraries.
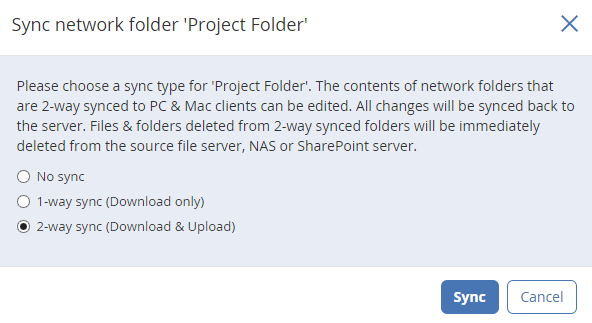
Warning!: If 2-way sync is selected, all files deleted from your sync folder will also be deleted from the server! These files and folders cannot be recovered.
Note: The folders will be named as <Folder Name> - <Data Source>.
e.g. If you have a Data Source called Test and in it you have a folder named RT260, when that folder is synced, it will be named RT260 - Test.