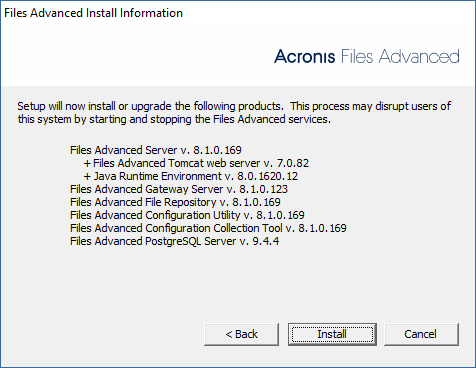
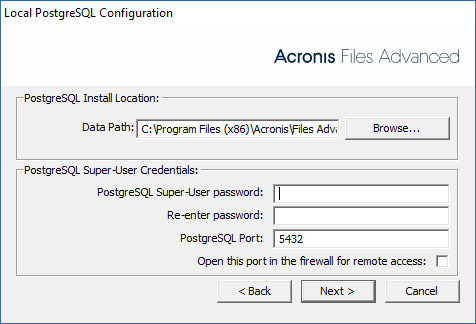
Read and accept the license agreement.
Note: If you're deploying multiple Files Advanced servers, or you are installing a non-standard configuration, you can select which components to install from the Custom Install button.


The following steps will allow you to perform a fresh install and test Files Advanced with HTTPS using the provided Self-Signed certificate.
Note: For upgrade instructions visit the Upgrading section.
Note: For instructions on installing on a cluster visit the Loadbalancing section.
The installation of Files Advanced involves three steps:
Installing Files Advanced
Please make sure you are logged in as an administrator before installing Files Advanced.
Read and accept the license agreement.
Note: If you're deploying multiple Files Advanced servers, or you are installing a non-standard configuration, you can select which components to install from the Custom Install button.


For instructions on using the Configuration utility, visit the Using the Configuration Utility page.