Getting started with DeviceLock Group Policy Manager
DeviceLock Group Policy Manager integrates into the Windows Group Policy Object (GPO) editor. To use DeviceLock Group Policy Manager on your local PC rather than on the domain controller, you install the Group Policy Management console (GPMC).
For Windows Server 2003 or Windows XP you can download the Group Policy Management console at
microsoft.com/download/details.aspx?id=21895. On a later version of the Windows client operating system, you should install Remote Server Administration Tools (for instructions see Microsoft’s article at
support.microsoft.com/kb/2693643).
Use the following steps to access DeviceLock Group Policy Manager:
1. Start the Group Policy Management console.
2. In the console tree, select your Active Directory domain.
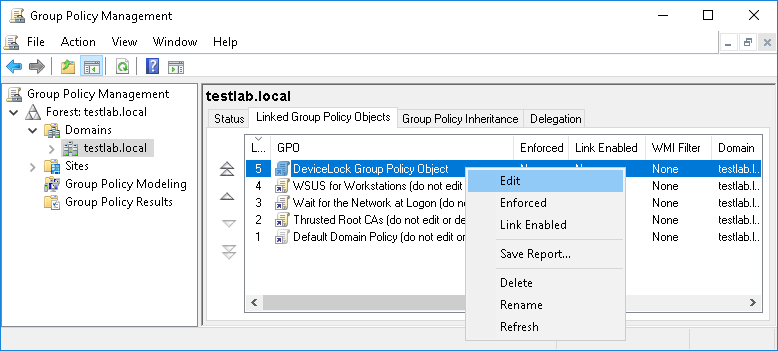
3. On the Linked Group Policy Objects tab in the details pane, right-click the desired Group Policy object, and then click Edit.
If you wish to create a new Group Policy object, right-click the domain in the console tree and choose the following command: Create a GPO in this domain, and Link it here.
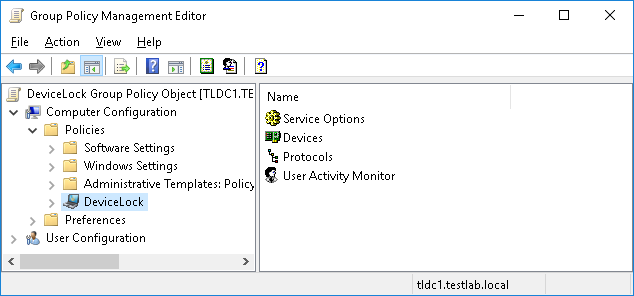
4. Wait while the Group Policy Management editor starts. It may take up to several seconds.
5. Under Computer Configuration, select DeviceLock.
Alternatively, you can start MMC and open the Group Policy Management Editor snap-in as follows:
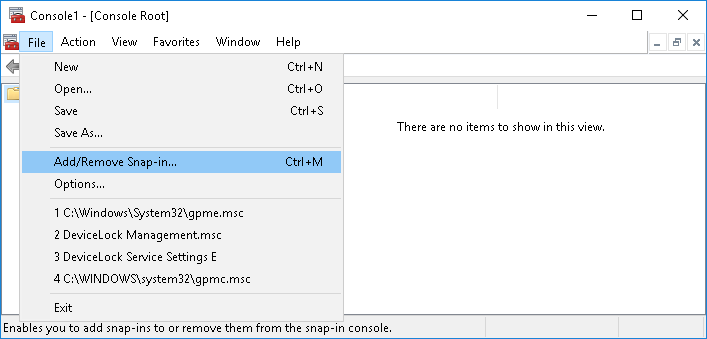
1. Run mmc from the command line or use the Run menu to execute this command.
2. On the File menu, click Add/Remove snap-in.
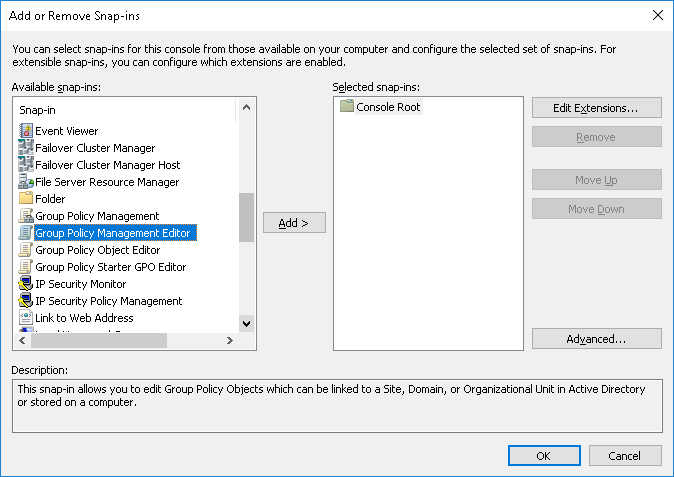
3. In the dialog box that appears, select the Group Policy Management Editor snap-in, and then click the Add button.
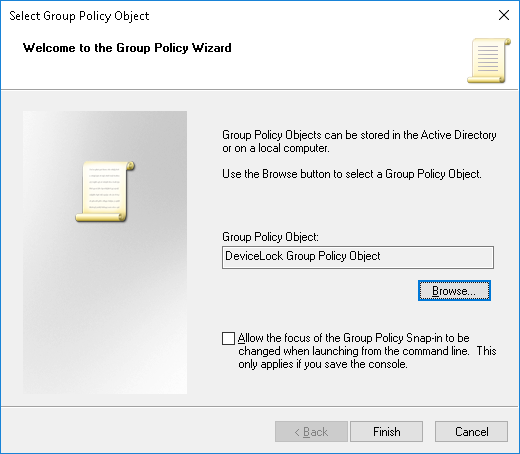
4. Click the Browse button to select the desired Group Policy object from your Active Directory domain, and then click Finish.
5. Click OK to close the Add or Remove Snap-ins dialog box.
6. Expand the Computer Configuration container, and then select DeviceLock.