Creating a recovery server
To create a recovery server that will be a copy of your workload, follow the procedure below. You can also watch the video tutorial that demonstrates the process.
When you perform a failover, you can select only recovery points that were created after the creation of the recovery server.
Prerequisites
- A protection plan must be applied to the original machine that you want to protect. This plan must back up the entire machine, or only the disks, required for booting up and providing the necessary services, to a cloud storage.
- One of the connectivity types to the cloud site must be set.
To create a recovery server
- On the All devices tab, select the machine that you want to protect.
- Click Disaster recovery, and then click Create recovery server.
-
In the Create recovery server wizard, on the Server configuration tab, do the following:
-
Select the number of virtual cores and the size of RAM.
You can see the compute points for every option. The number of compute points reflects the cost of running the recovery server per hour. For more information, see Compute points.
-
Change the default name of the recovery server.
-
Add a description.
-
-
On the Network tab, do the following:
-
Specify the cloud network to which the server will be connected.
-
Select the DHCP option.
DHCP option Description Provided by cloud site This is the default setting. The IP address of the server will be provided by an automatically configured DHCP server in the cloud. Custom The IP address of the server will be provided by your own DHCP server in the cloud. -
Specify the MAC address.
The MAC address is a unique identifier that is assigned to the network adapter of the server. If you use custom DHCP, you can configure it to always assign a specific IP address to a specific MAC address. Thus you will ensure that the recovery server always gets the same IP address. You can run applications that have licenses that are registered with the MAC address.
-
Specify the IP address that the server will have in the production network. By default, the IP address of the original machine is set.
If you use a DHCP server, add this IP address to the server exclusion list in order to avoid IP address conflicts.
If you use a custom DHCP server, you must specify the same IP address in IP address in production network as the one configured in the DHCP server. Otherwise, test failover will not work properly, and the server will not be reachable via a public IP address.
-
[Optional] Select the Test IP address check box, and then specify the IP address.
If you select this setting, you can test a failover in the isolated test network and connect to the recovery server via RDP or SSH during a test failover. During a test failover, the VPN gateway will replace the test IP address with the production IP address by using the NAT protocol.
If you do not select the setting, the console will be the only way to access the server during a test failover.
If you use a DHCP server, add this IP address to the server exclusion list to avoid IP address conflicts.
You can select one of the proposed IP addresses or enter a different one.
-
[Optional] Select the Internet access check box.
If you select this setting, the recovery server will have access to the Internet during a production or test failover. By default, the TCP port 25 is open for outbound connections to public IP addresses.
-
[Optional] Select the Use public IP address check box.
With a public IP address, the recovery server becomes accessible from the Internet during a failover or test failover. If you do not select this option, the server will be available only in your production network.
The Use public IP address option requires the Internet access option to be selected.
The public IP address will be shown after you complete the configuration. By default, TCP port 443 is open for inbound connections to public IP addresses.
If you clear the Use Public IP address check box or delete the recovery server, its public IP address will not be reserved.
-
-
On the Settings tab, select Set RPO threshold, and then set the value.
The RPO threshold defines the maximum time interval between the last recovery point that is suitable for a failover and the current time. The value can be set within 15 – 60 minutes, 1 – 24 hours, 1 – 14 days.
-
[Optional] [If the backups for the selected machine are encrypted by using encryption as a machine property], specify the password that will be automatically used when creating a virtual machine for the recovery server from the encrypted backup.
-
Click Enter password, and then enter the password for the encrypted backup and define a name for the credentials.
By default, you will see the most recent backup in the list.
- To view all the backups, select Show all backups.
- Click Save.
Although the password that you specify will be stored in a secure credentials store, saving passwords might be against your compliance obligations.
-
-
On the Cloud firewall rules tab, edit the default firewall rules. For more information, see Setting firewall rules for cloud servers.
- Click Create.
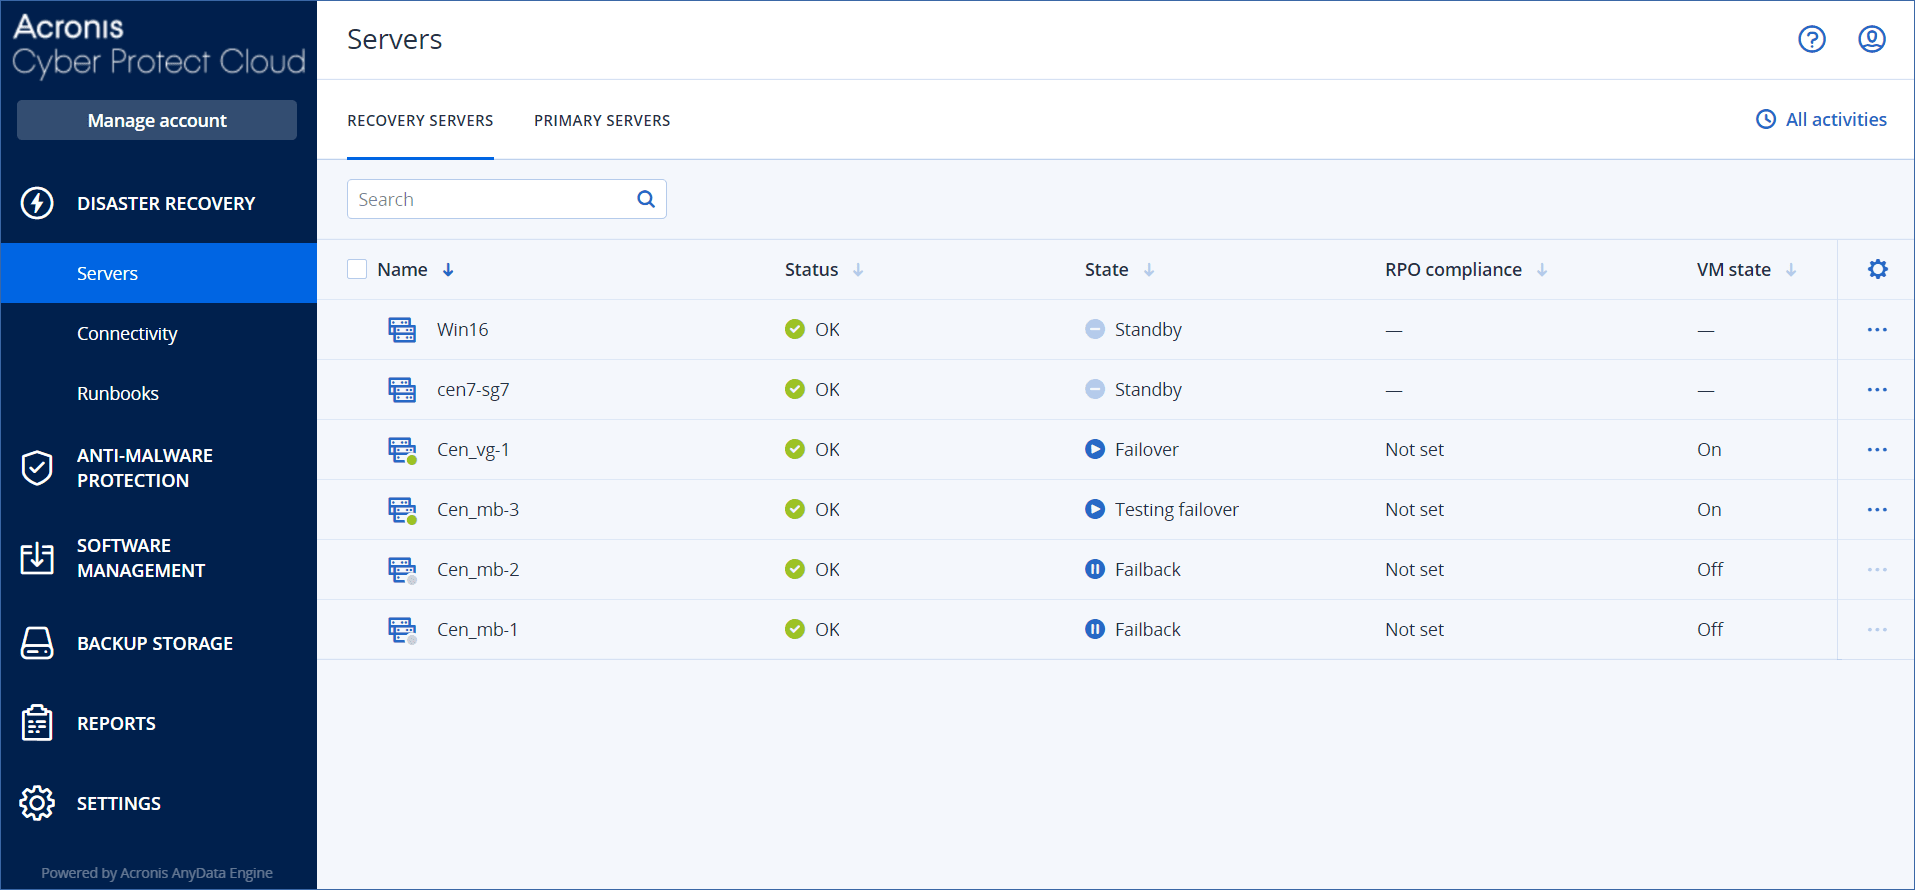
The recovery server appears in the Disaster Recovery > Servers > Recovery servers tab of the Cyber Protect console.
