The following steps are not the only way to create a new cluster group, but they are generally the fastest and most reliable.
To create a group, do the following:
Launch Cluster Administrator.
Right click on Groups and select Configure Application.
Click Next to start the wizard.
Select Create a new virtual server and click Next.
Select Create a new resource group and click Next.
Enter a Group Name. Click Next.
Enter a Network Name and an IP Address. Click Next.
Click Next on the Advanced properties for the new virtual server dialog.
Select Create a cluster resource for my application now and click Next.
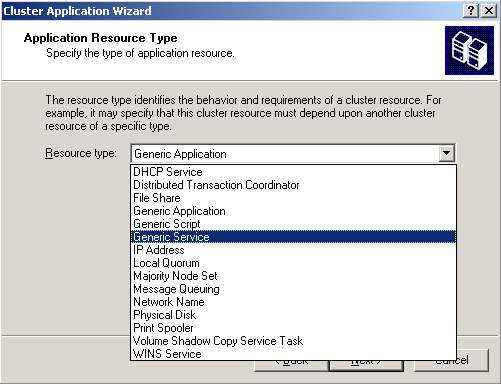
Select Generic Service as the Resource Type.
Note: Make sure you select Generic Service. Selecting Generic Application, which is the default entry, is a common mistake.
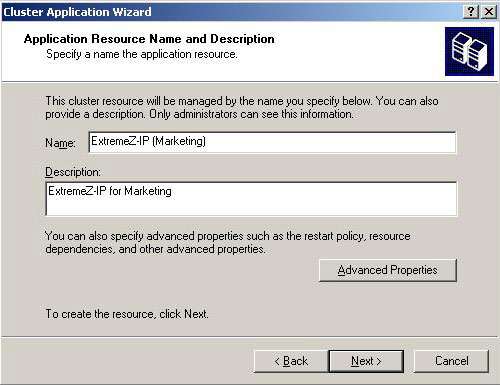
Enter the Resource Name in the Name field. Use a meaningful name such as the one used in the examples - e.g. Access Connect Service-Marketing.
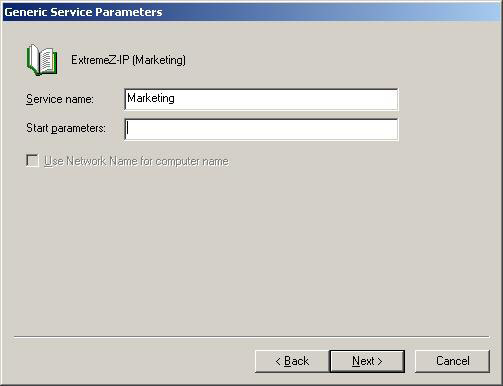
Enter the service name with no Start parameters.
Note: This name must match the Service Name configured in the command line in Configuring an Access Connect Service.
Click Next on the registry replication dialog. Then, click Finish.
To add a disk resource to the newly created group, do the following:
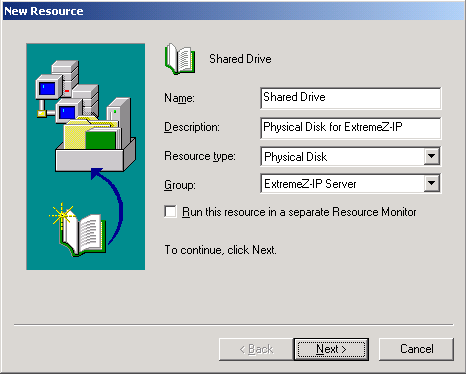
Right click on the group and select New > Resource. Then, select Physical Disk in the Resource Type drop-down list.
ClickNext.
Configure the owners of the Physical Disk resource to be all of the nodes Access Connect will run under. You can add dependencies for the Physical Disk, if needed, but this configuration is not required for Access Connect.
Select the Physical Disk containing the folders you want to share with Access Connect, and click Finish.