This is the recommended method for creating a new cluster group that includes an Access Connect service. If you already have a role configured and would like to add Access Connect to that role, right click on the role and select Add Resource ->Generic Service. Then follow the steps below to select the desired Access Connect service. This will bypass the role network and storage configuration steps.
To create a role, do the following:
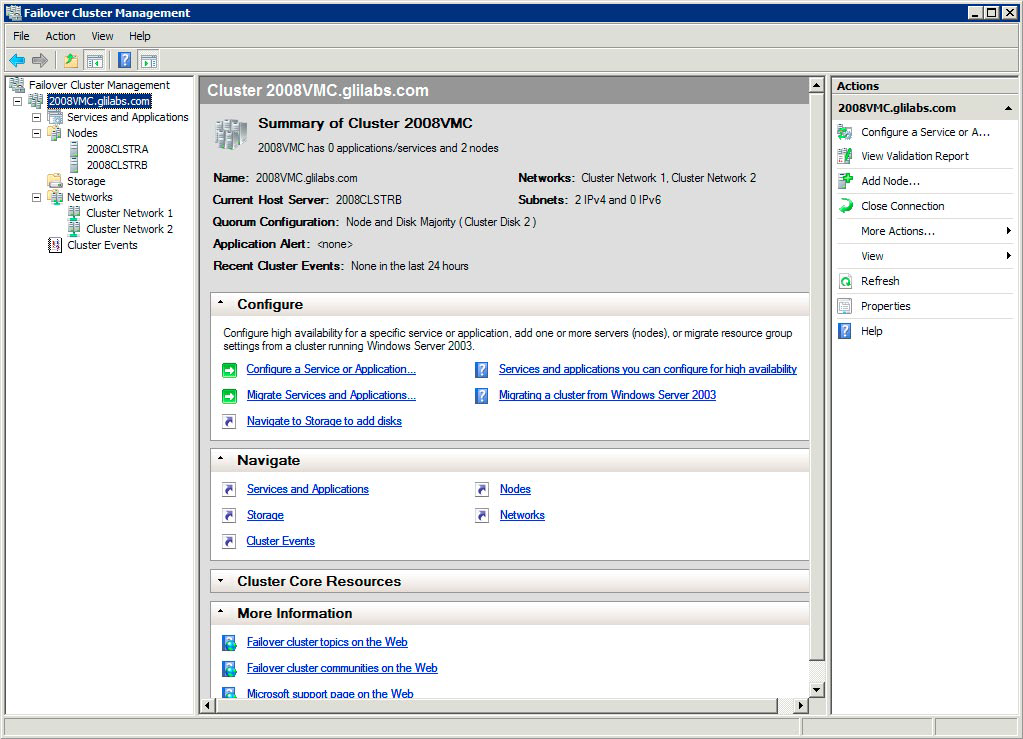
Open Failover Cluster Management in Administrative Tools and select your cluster on the left pane.
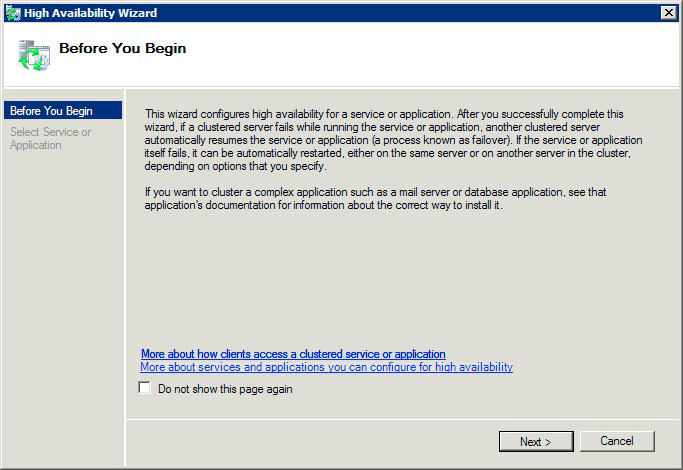
Right click on Roles and select Configure a Role. This will launch the High Availability Wizard. Click Next.
SelectGeneric Service and click Next.
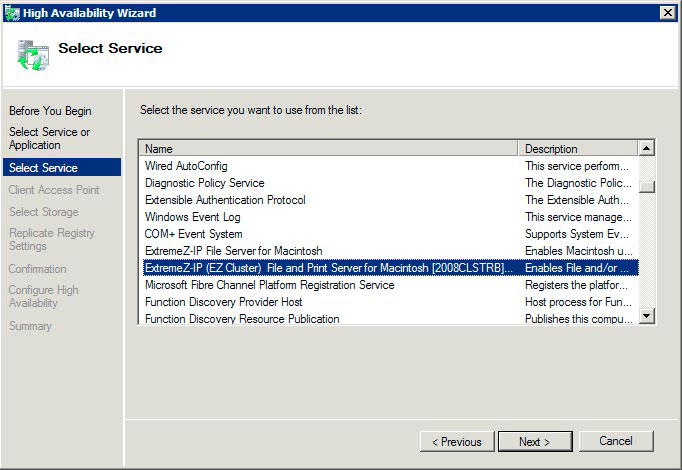
You must now select the service to add. You may see multiple entries for Access Connect in the list. Each entry will display the Access Connect service name as defined when the service was created. See the clustering section for more information. Select the entry that includes the specific Access Connect service name you would like to configure and click Next.
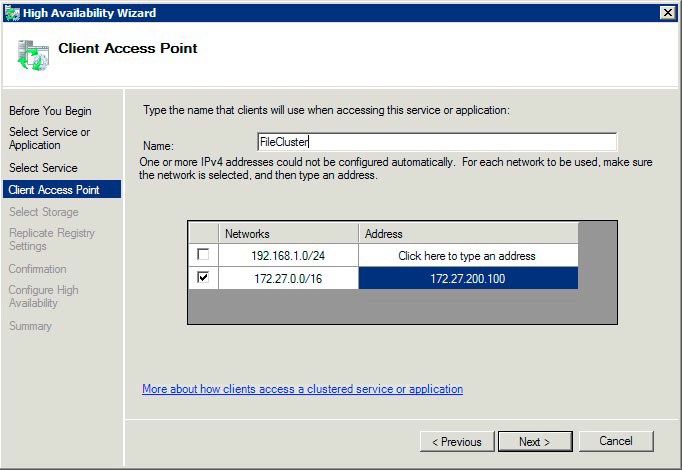
Enter the network service name for your cluster group. This will define the DNS name that clients will use to connect to this cluster group. Select the Networks that this cluster group will use and define an IP address for the cluster group on each selected network.
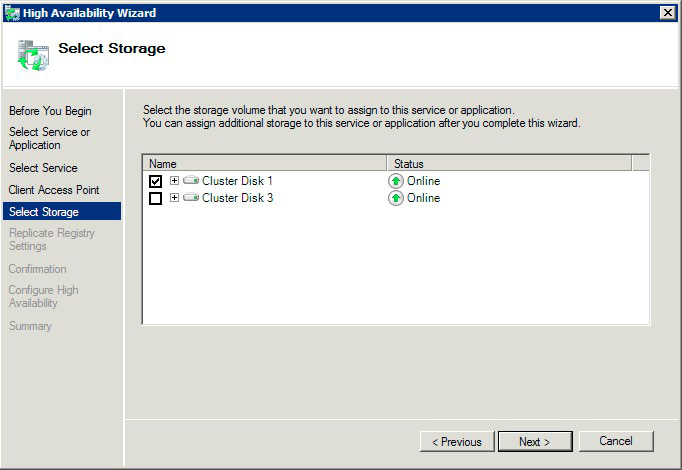
Select the volume(s) you would like to make available to this cluster group and click Next. These should be the volumes that contain the directories to be shared with Access Connect.
Click Next on the Replicate Registry Settings step. No changes are necessary.