To add a new Client entry to your MassTransit FTP Server, follow these steps:
General Steps
Open the Contacts window by clicking on the Contacts button from the Navigation Bar or by selecting the Contacts option from the Window main menu.
In the Contacts window, click on the Add Contact... button.
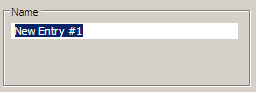
The Contact Information window appears. In the General tab, enter a name for the Client contact under the "Name" area.
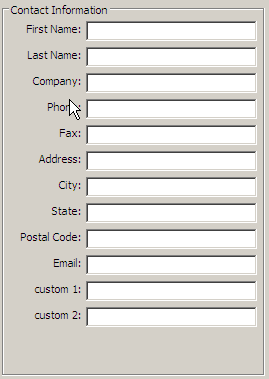
Enter the Client information in the "Contact Information" area of the General tab.
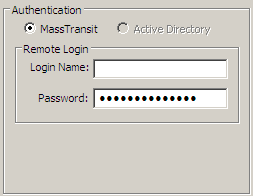
Under the "Authentication" area, choose the authentication method for the Client:
MassTransit – if you select this option, the Client will have to authenticate with the username and password set in the MassTransit Administrator.
Active Directory – this option allows the Client to use his Active Directory credentials to log in to the MassTransit server. If you select this option, a green light should appear when MassTransit finds the domain account. If the domain account cannot be found, a red light appears.
Info: For information about creating a contact using Active Directory, see Active Directory Contacts section or Active Directory page.
Setting Mailbox Options When you add a new contact, MassTransit creates a folder for that contact called mailbox. MassTransit uses this folder to store all the incoming files for that contact.
Info: For detailed information about contacts' mailboxes, see the Mailboxes page.
Open the Mailbox tab of the Contact Information window.
Select a location for the Client's mailbox. The default location is:
for MassTransit HP 7.0:
on 32-bit machines: C:\Program Files\Group Logic\MassTransit Server 7\User Mailboxes
on 64-bit machines: C:\Program Files (x86)\Group Logic\MassTransit Server 7\User Mailboxes
for MassTransit HP 7.1 to 7.6:
on 32-bit machines: C:\Program Files\Group Logic\MassTransit Server\User Mailboxes
on 64-bit machines: C:\Program Files (x86)\Group Logic\MassTransit Server\User Mailboxes
for MassTransit HP 7.6 and newer:
on 64-bit machines: C:\Program Files (x86)\Acronis\MassTransit Server\User Mailboxes
To configure a different directory for the mailbox, select the Use Custom Mailbox option and click on the Select... button next to it to browse for a custom location.
Note: If you are changing from a custom mailbox to a default mailbox, or changing from one custom mailbox to another, MassTransit does not affect your original custom mailbox. To delete or move its contents, you must do so manually using the Windows Explorer.