Step 5. Performing deployment
In this step, you will deploy the created master image to a single machine (the target machine).
For getting started, we recommend performing deployment to the same machine from which you created the image, or to a machine with identical hardware. This way, no extra steps, such as using the Universal Deploy option, are required.
Preparing the target machine
On the target machine, do the following:
- Make sure that the CD or DVD drive has a higher boot priority than the hard disk drive. You may need to open the BIOS setup utility of the machine and adjust the boot priority setting.
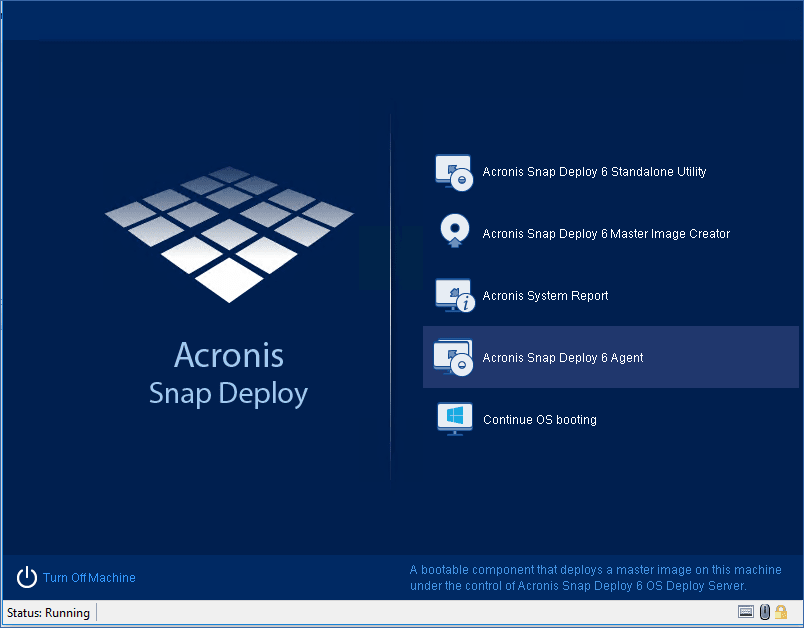
- Boot the machine from the bootable media you created.
-
On the boot menu, click Agent.
- In the pop-up window, click Cancel or wait until that window closes.
-
Make sure that the machine is ready for deployment. The window should look similar to the following picture.
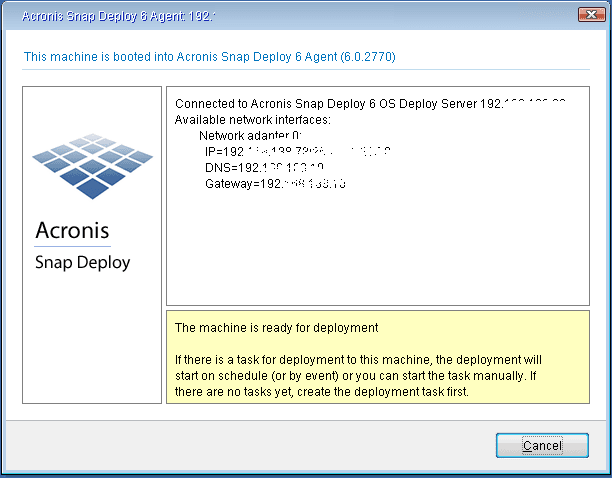
Details. The target machine becomes ready for deployment when it connects to OS Deploy Server. This server is part of Acronis Snap Deploy 6. If the machine does not connect to the server, you may need to adjust network settings, as described in “Booting the target machines”.
After the target machine is ready, you can deploy the master image to it.
Deploying the master image
On the machine where you installed Acronis Snap Deploy 6, do the following:
- Attach the USB hard disk drive with the master image to the machine. Optionally, copy the image to the local hard disk of the machine.
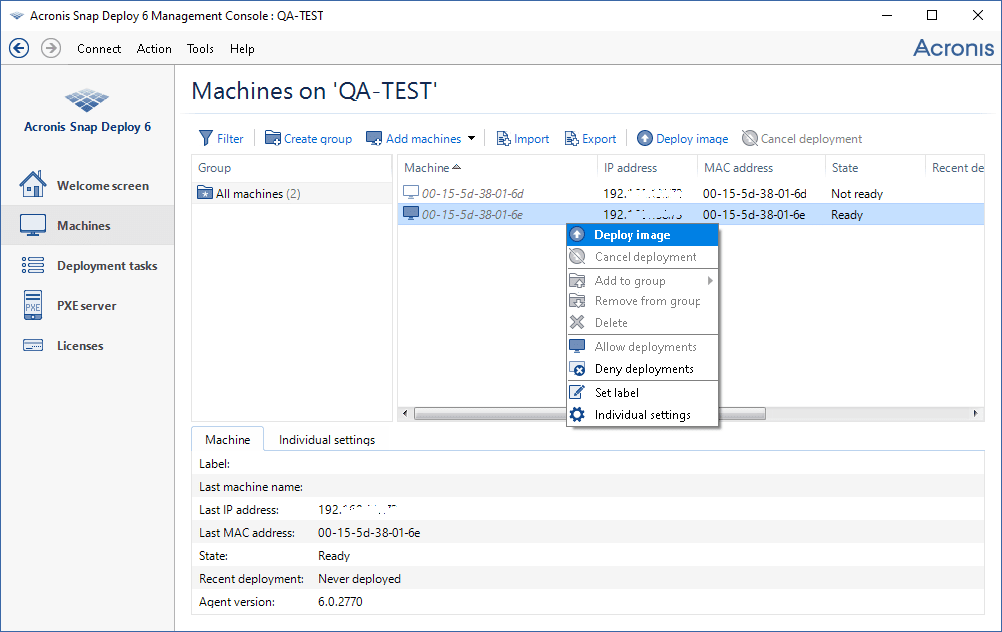
- Click the Machines view. Make sure that the target machine you prepared is shown in the list and has the Ready state.
-
Right-click the target machine, and then click Deploy image.
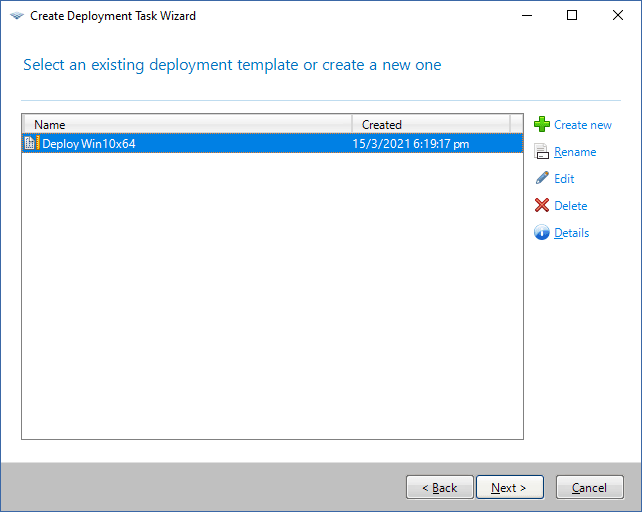
- Keep clicking Next until the template selection window appears. Click Create new in that window.
- Click Create a new template, and then click Next.
- Select the master image (the .tib file) that you created, and then click Next.
-
In the deployment settings window, click Next.
Note. If you imaged a machine running a workstation operating system (such as Windows 7) but you only have server licenses (such as Acronis Snap Deploy 6 for Server – Trial License), you may want to allow the software to use this type of license to deploy the machine. To do so, click Licensing in the deployment settings window, and then click Use a server license automatically.
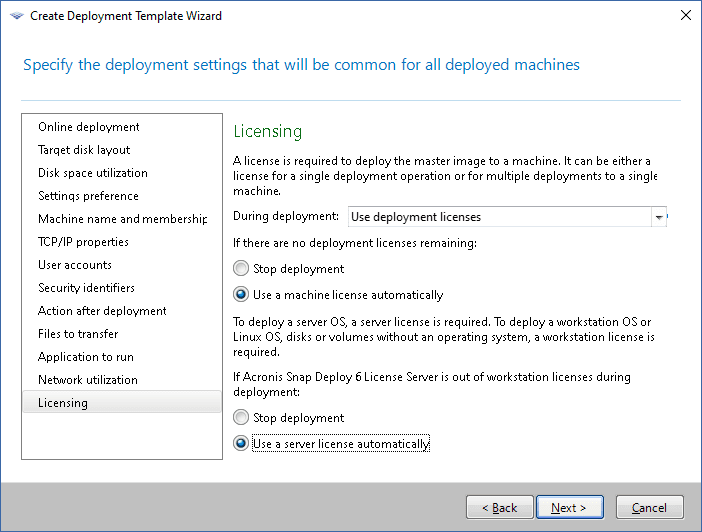
Alternatively, you can add a workstation license before starting the deployment, by opening the Licenses view and clicking Add license on the toolbar.
-
Keep clicking Next until the summary window appears. Click Save in that window.
Details. You have created a deployment template. It determines how to perform deployment. You can reuse this template in other deployment tasks.
-
Select the deployment template you created, and then click Next.
-
When asked about when to run the deployment, select Now and type the user name and password that you use to log on to Windows.
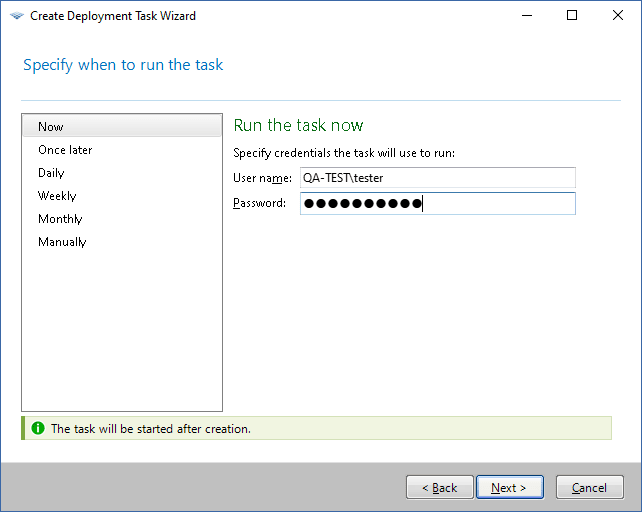
- Keep clicking Next until the summary window appears. Click Create in that window.
You can view the progress of the deployment both on the machine where you installed Acronis Snap Deploy 6 and on the target machine.

Viewing the deployment progress on the machine with Acronis Snap Deploy 6
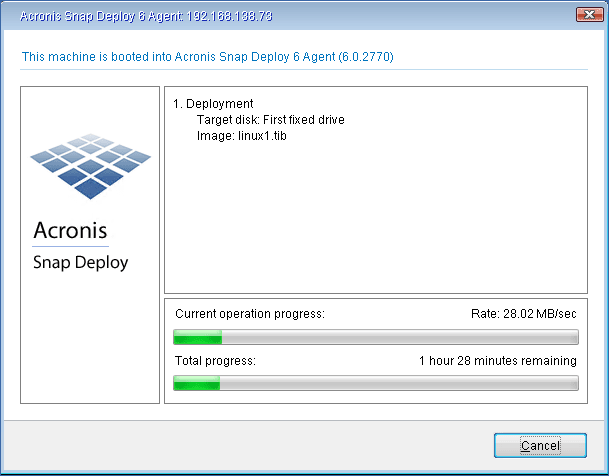
Viewing the deployment progress on the target machine