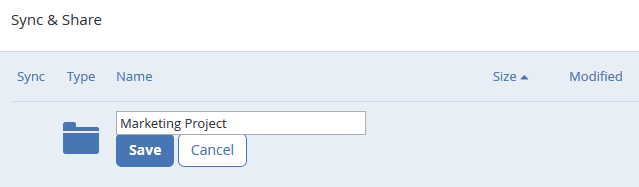
Click the Create Folder button and enter a name for the new folder.
Press the Save button.
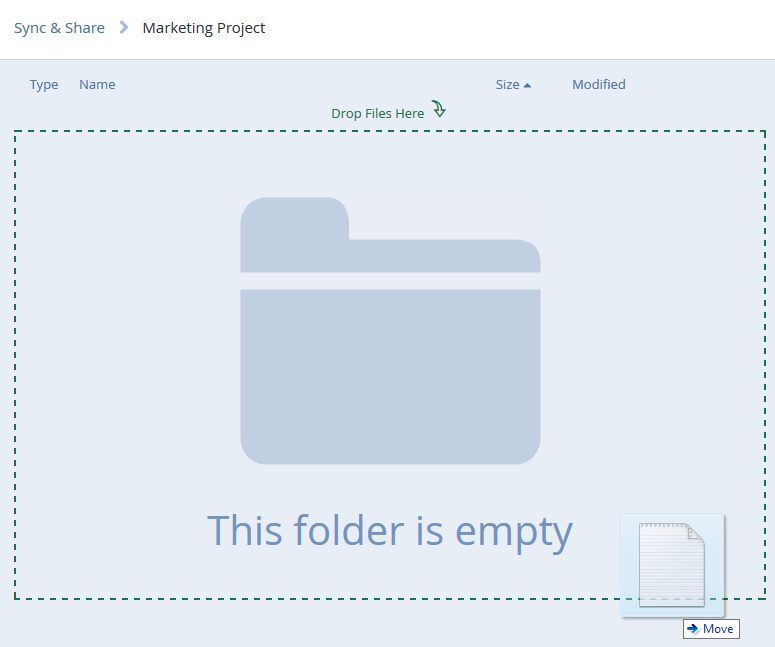
Uploading files
Open the Sync & Share tab.
Navigate into the folder you wish to upload the files to.
Click the Upload Files button and click the Choose Files... button.
Note: You can also just drag & drop the desired files and into the upload zone.
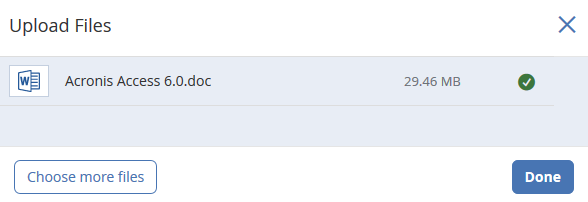
Select the desired files from your computer.
Once the files finish uploading, press Done.
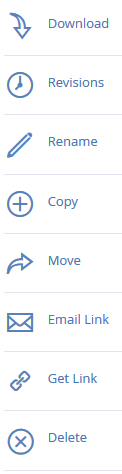
File and folder actions
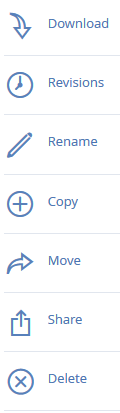
Clicking on a file or folder shows the available actions in the right sidebar.
Downloading a file
If you want to download a file, simply click on its name. You can also click on the row to the right of the file or folder name and press Download from the sidebar.
Note: When using Internet Explorer you have to make sure that Do not save encrypted pages to disk is unchecked in order to be able to download files. This setting is found under Internet Options -> Advanced -> Security.
Revisions and restoring older versions of files
This is a very powerful feature that allows you to access file history. If you have uploaded or synced multiple versions of the same file , you will have access to all versions of it. You can see the file size, when each revision was uploaded and by who. If desired, you can restore old versions and make them the current one or simply download them.
To restore an older version of a file:
Select the desired file.
From the right sidebar press Revisions.
Find the desired revision and select it.
Press Restore Selected.
Note: The current file version will not be deleted. It will become the second most recent one.
Copying a file or folder
If you want to copy a file or folder, do the following:
Click on the row to the right of the file or folder name and select Copy.
In the new lightbox, navigate to the folder where you want to paste the file and press Copy.
Moving a file or folder
Click on the row to the right of the file or folder name and select Move.
In the new lightbox, navigate to the folder where you want to move the file and press Move.
Sharing a Folder
Note: If you want to share a file or folder that was shared with you by another user, you need to have the permissions to invite other users to that share. If you do not have the permissions to invite other users, you will not be able to share the files and folders with another user. The option Sharing in the right sidebar will not be visible as well.
To share a folder with a colleague or business partner, do the following:
Note: Non-licensed users cannot invite or view other members even if they are given the rights. The user(s) must be licensed in order to use these features.
Click on Sync&Share.
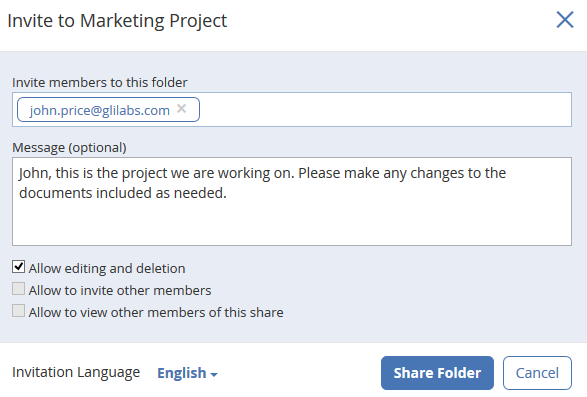
Click on the folder you want to share and select Sharing from the sidebar.
In the Sharing lightbox, enter an email address and an appropriate text message.
Select if the invited users should have only read-only access. When enabled, invited users will be able to only download and read documents included in the shared folder.
Select whether the invited users can invite other users to this share.
Select whether the invited users can see the other users that have access to this share.
Select the invitation's language and press Share Folder. An email containing your information and access instructions will be generated and sent to the recipient.
Sharing a single file
Note: If you want to share a file or folder that was shared with you by another user, you need to have the permissions to invite other users to that share. If you do not have the permissions to invite other users, you will not be able to share the files and folders with another user. The option Sharing in the right sidebar will not be visible as well.
Open the Acronis Access Web Interface.
If you've logged in with an administrator account, pressLeave Administration in the upper right corner.
Locate the desired file and click on the row next to its name.
Sending a link via email
Select Email Link from the sidebar.
Enter the desired expiration time and language for the invitation.
Select the access restrictions. Public means that anyone can access the link, while Acronis Access users only means that users must enter Acronis Access credentials in order to open it. 'Shared to' users means only the users that receive the email with the link will be able to access it.
Enter the email address(es) of the user(s) you want to receive the download link.
Select whether the link should expire immediately after the first use.
Press Send.
Sending a link via other methods
Select Get Link from the sidebar.
Enter the desired expiration time.
Select the access restrictions. Public means that anyone can access the link, while Acronis Access users only means that users must enter Acronis Access credentials in order to open it.
Select whether the link should expire immediately after the first use.
Press Get Link.
Share the link via whatever method you prefer.
Subscribing to email notifications
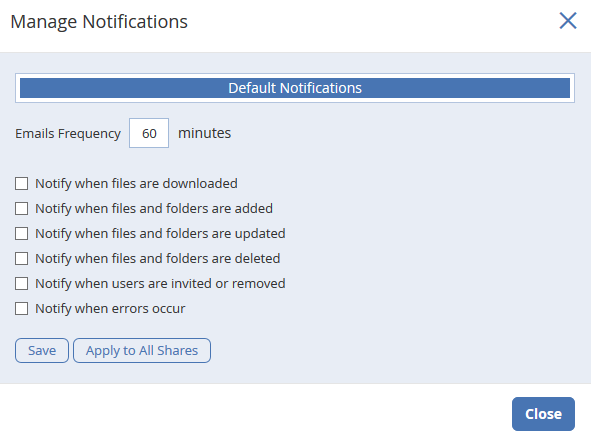
You can subscribe to email notification alerts for folders shared with you.
To do so, simply select or enter the shared folder and click on Notifications in the sidebar.
Select the conditions you want to be notified for and press Save&Close.
If at a later time you wish to un-subscribe from these emails, you can find the stop receiving link in any of the emails.