Adding project steps
You can add steps to any project, regardless of the project status.
To add a project step
- In the Management Portal, go to Task management > Projects.
- In the far right column of the project you want to add steps to, click the ellipsis icon (...), and then select Open.
- In the Project plan tab, click Add step in the relevant project phase row.
- In the Step information section, define the following:
- Title: The step name.
- Notes: An optional text description of the step.
- Assignee: Select the relevant team member from the dropdown.
- Status: Select one of New (set by default), In progress, Delayed, Pending start, or On hold from the drop-down list.
Start date: Define a start date for the step. The date you select will start from 00:00:00.
When you create the first step in a project, the project start date is automatically set as the default start date for the step.Due date: Define a due date for the step. The date you select will end at 23:59:59.
The step due date must be within the project start and due dates.
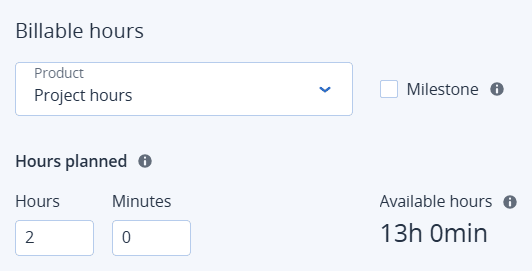
- In the Billable hours section, do the following:
- Select the relevant product to assign to the step. Only products that were added to the project budget are available for selection.
- In the Hours planned sub-section, define the number of hours and minutes the step should take. The number of hours should not exceed the displayed Available hours.
If you want the step to be a milestone, select the Milestone checkbox. This ensures the step will be automatically billed for when your billing model requires payment for each completed milestone. For more information, see Project billing.
- If you defined any custom fields to be applied to project steps, an Additional information section is displayed. In this section, define the custom fields as required. For more information, see Working with custom fields.
-
Click Save.
Alternatively, click Save this step and add a new step to save the step and add another step. Repeat the procedure above, as required.
The saved step is added to the relevant project phase.
A project ticket is also created, in which time spent on the step should be logged. The ticket can be viewed in the Tickets tab. For more information, see Working with project tickets.