Activating a management server
You must activate a management server by registering it in your Acronis account.
To activate an online management server
-
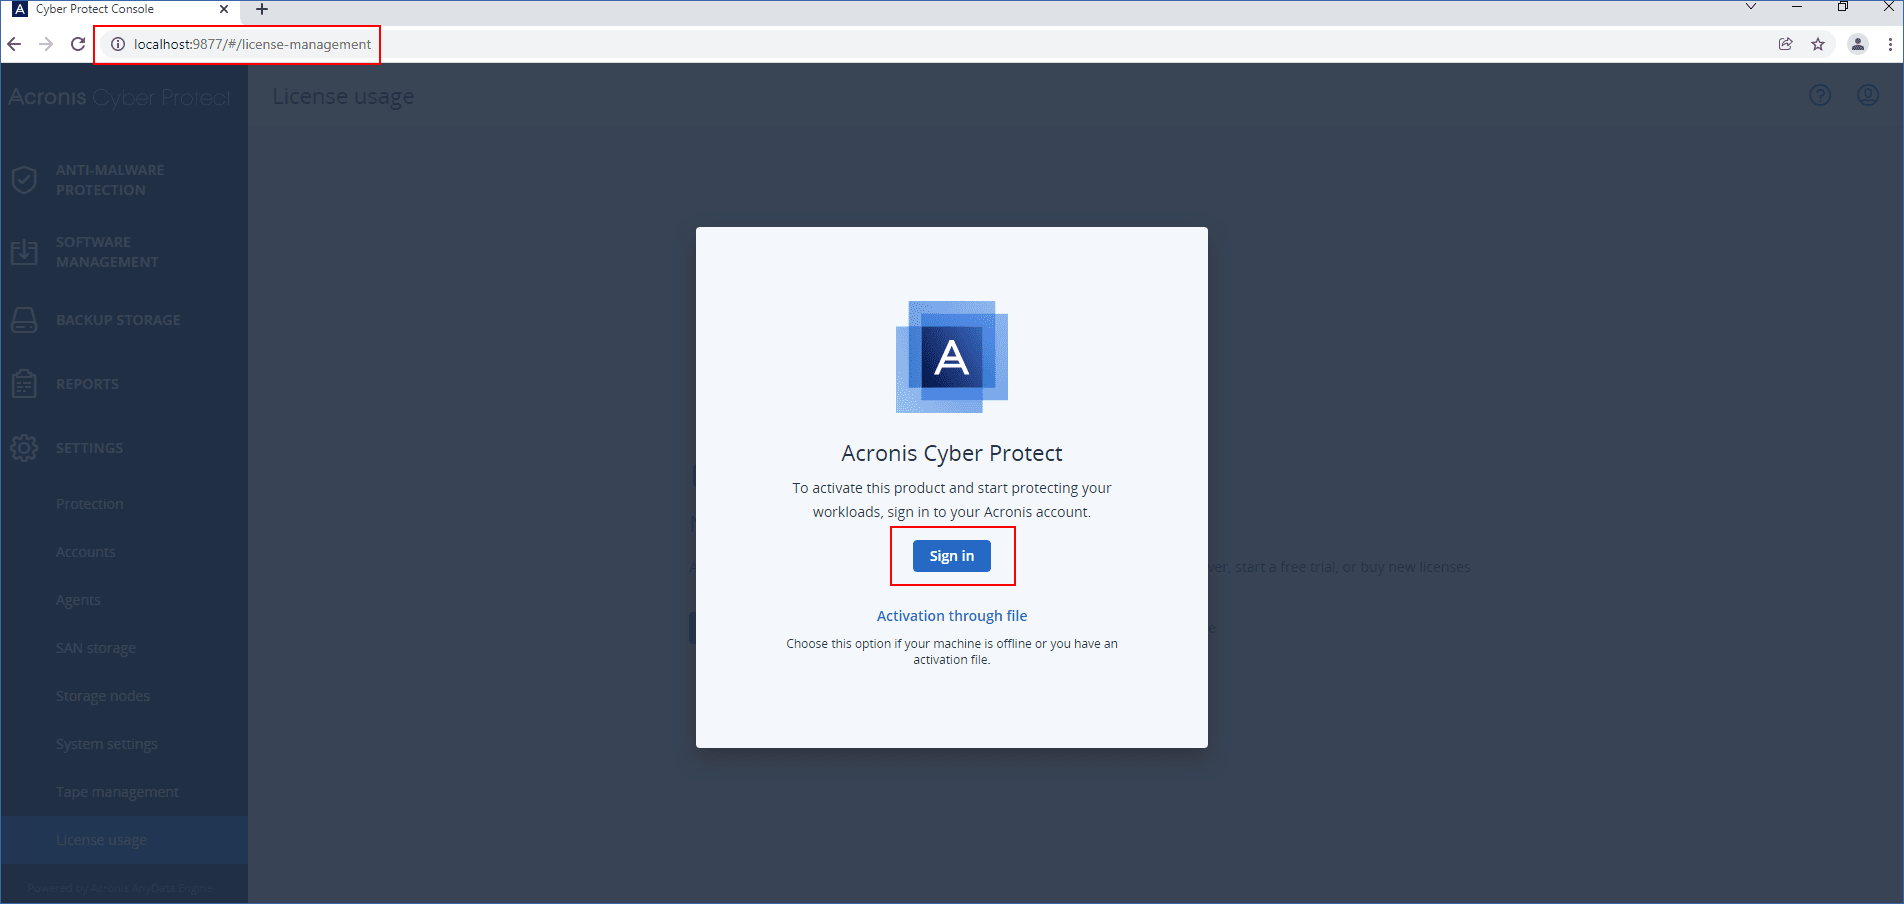
After installing Acronis Cyber Protect management server, open the local console (https://<IP>:<port>).
IP is the address of your management server, and port is the port on which the Cyber Protect console is available. By default, this port is 9877.
-
In the dialog that opens, click Sign in.
- Sign in to your Acronis account.
As a result, the management server is automatically registered and activated.
To start protecting your workloads, allocate one or more licenses to this server. For more information, see Allocating licenses to a management server.
Online management servers require Internet access to sync the licensing information to your Acronis account. If a management server is offline for more than 30 days, its protection plans will stop working and your workloads will become unprotected.
If you sign out from your Acronis account in the local console, the licensing information cannot be synced. If you do not sign in again within 30 days, the protection plans will stop working and your workloads will become unprotected.
To activate an offline management server
For this operation, you must use both the cloud and the local consoles.
To access the cloud console, you need a second machine that is connected to the Internet.
-
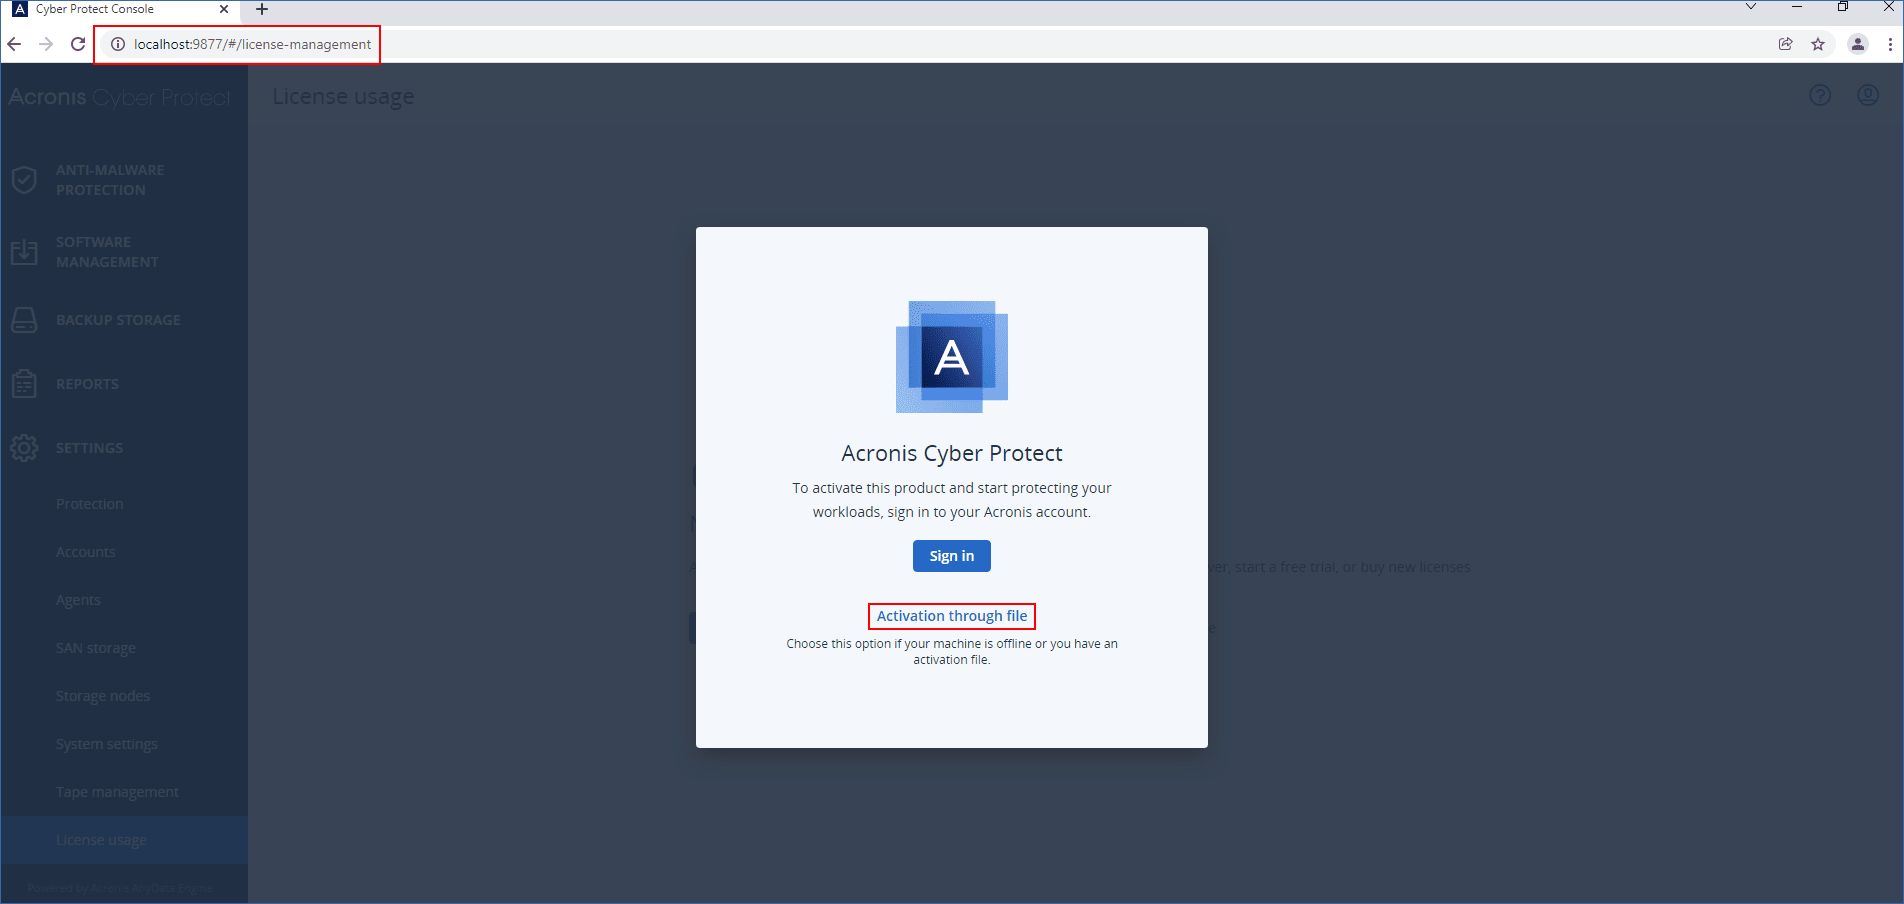
After installing Acronis Cyber Protect management server, open the local console (https://<IP>:<port>).
IP is the address of your management server, and port is the port on which the Cyber Protect console is available. By default, this port is 9877.
-
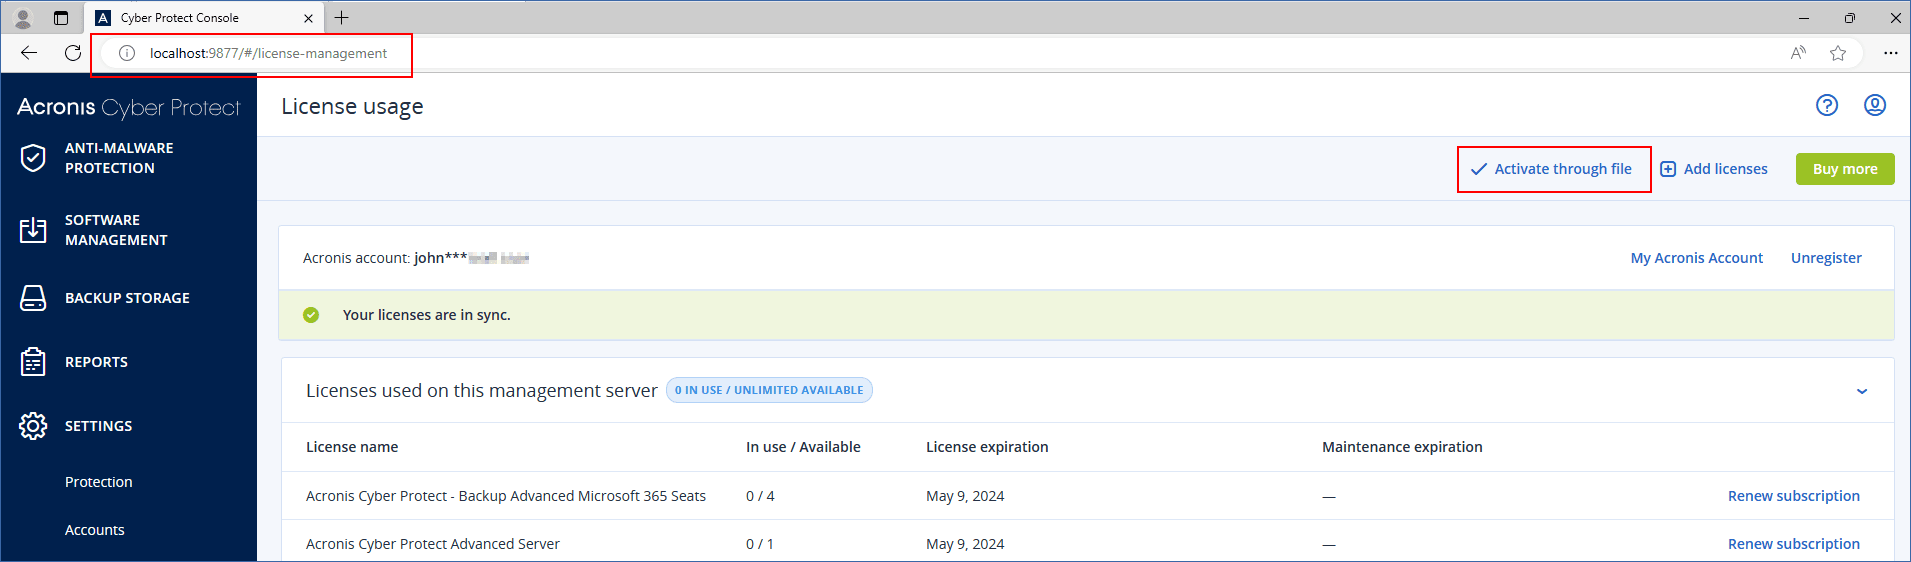
In the dialog that opens, click Activation through file.
-
Under I do not have an activation file, click Download the registration file.
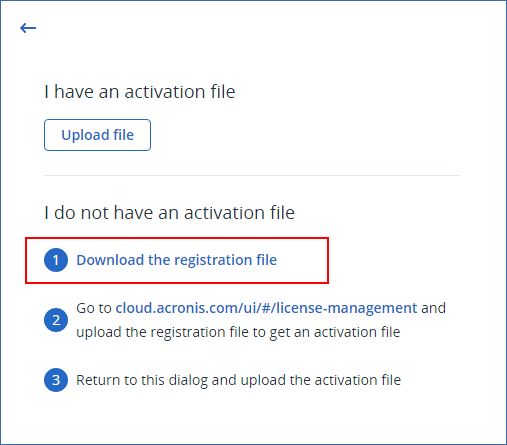
The registration file is downloaded to your machine.
- Keep the Activation through file dialog open.
- Copy the downloaded registration file to a drive that you can use on the machine that is connected to the Internet. For example, you can use a USB flash drive.
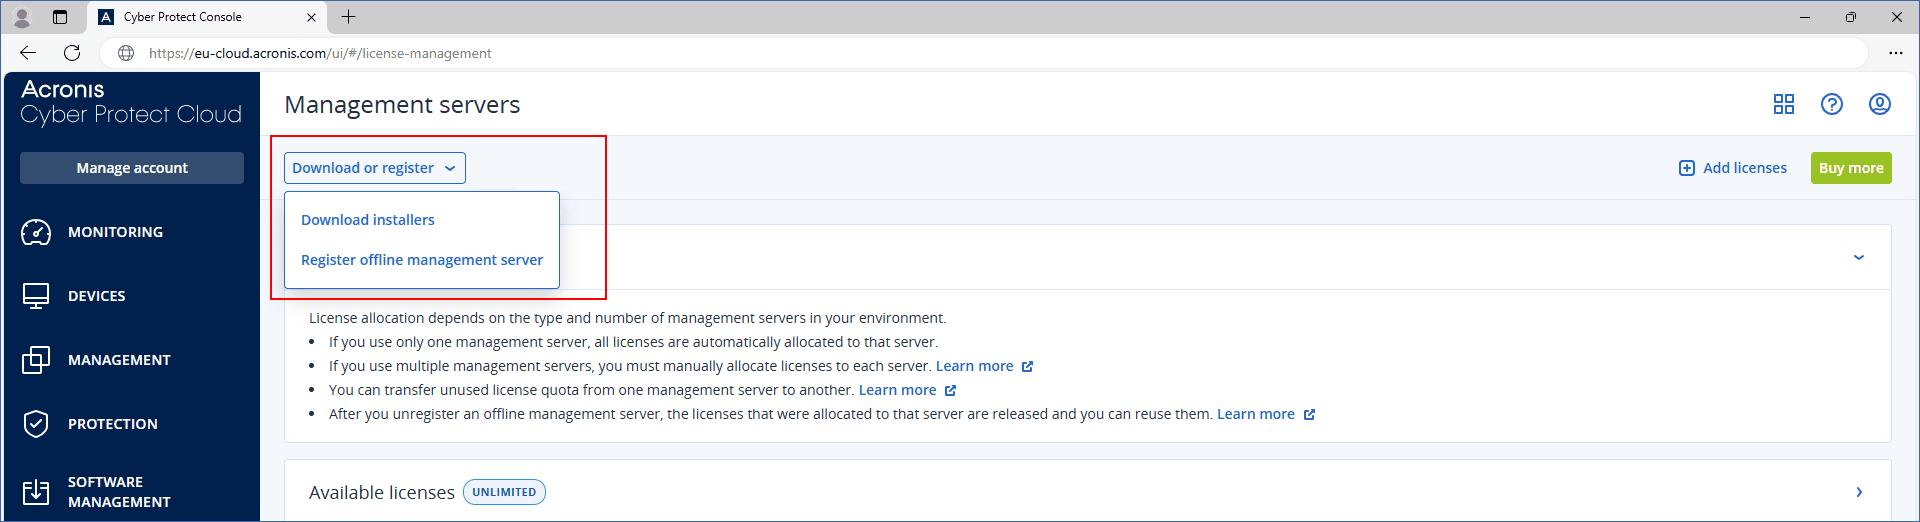
- On the machine that is connected to the Internet, log in to the cloud console (https://cloud.acronis.com), and then go to Settings > Management servers.
-
Click Download or register, and then click Register offline management server.
- In the dialog that opens, click Browse, and then select the registration file that you downloaded from your offline management server.
-
In the dialog that opens, click Download file.
An activation file is downloaded to your machine.
If this offline management server is the only management server in your environment, the licenses in your Acronis account will be automatically allocated to it. The activation file will contain this information, so no additional allocation is required.
If this is not the only management server in your environment, after the activation, you must allocate licenses by following the procedure in Allocating licenses to a management server.
- Copy the downloaded activation file to a drive that you can use on the offline management server. For example, you can use a USB flash drive.
-
In the local console of the offline management server (https://<IP>:<port>), go to the Activation through file dialog.
IP is the address of your management server, and port is the port on which the Cyber Protect console is available. By default, this port is 9877.
If the Activation through file dialog is not open, go to Settings > License usage, and then click Activate through file.
-
Under I have an activation file, click Upload file, and then select the activation file that you downloaded from the cloud console.
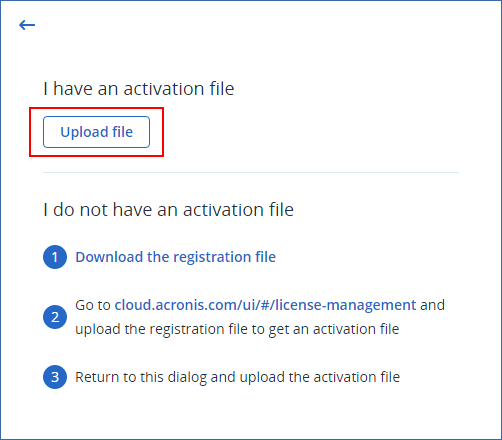
As a result, the offline management server is registered in your Acronis account and activated.
You might not be able to activate a management server that is running on a virtual machine if the UUID of the virtual machine is not unique. For example, the UUID might be duplicated when you clone a virtual machine or convert it with VMware vCenter Converter. If you face this issue, contact the Support team.
For more information about how to avoid UUID duplication and how to set a unique UUID on a VMware virtual machine, see Changing or keeping a UUID for a moved virtual machine (1541) in the VMware knowledge base.