Recovering backups by using bootable media locally
This procedure applies to Linux-based and Windows-based bootable media that are used locally, on the recovered workload.
For more information about using registered bootable media in the Cyber Protect console, see Recovering backups by using bootable media remotely.
Prerequisites and limitations
-
When recovering APFS-formatted volumes to a non-original machine or to bare metal, manually recreate the original disk configuration, by using Apple's Disk Utility. For more information, see https://support.apple.com/guide/disk-utility/welcome.
Starting with macOS 11 Big Sur, System volume cannot be backed up and recovered. To recover a bootable macOS system, you must recover Data volume, and then install macOS on it.
- You cannot access the backup locations on Acronis Cyber Infrastructure with bootable media that is run locally. To browse these backup locations, register the bootable media on the management server, and then, in the Cyber Protect console, go to Backup storage. When performing recovery, select the bootable media in Machine to browse from.
- Acronis Universal Restore is required when you recover data to dissimilar hardware.
Acronis Universal Restore is not available when the backup is located in Acronis Secure Zone.
To recover backups by using bootable media locally
Linux-based bootable media
-
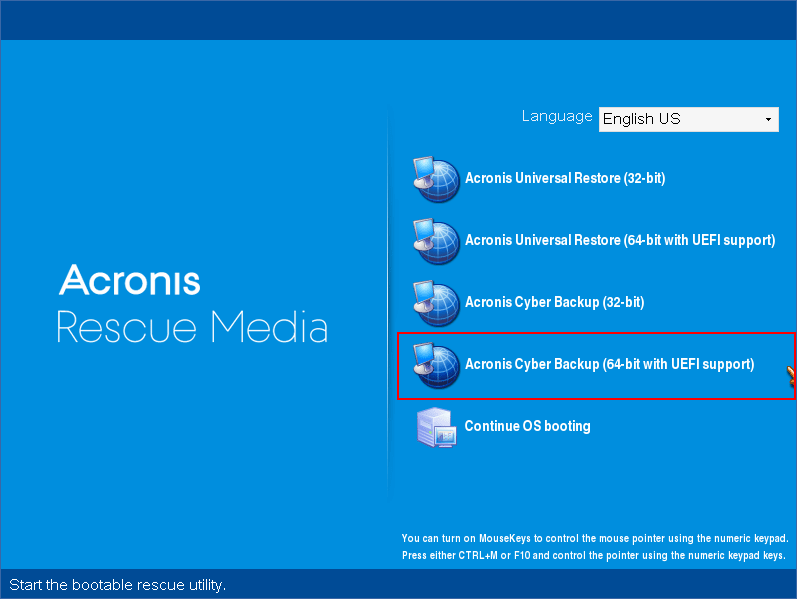
Boot the workload that you want to recover with bootable media.
Depending on the type of the bootable media, it might be called rescue media.
-
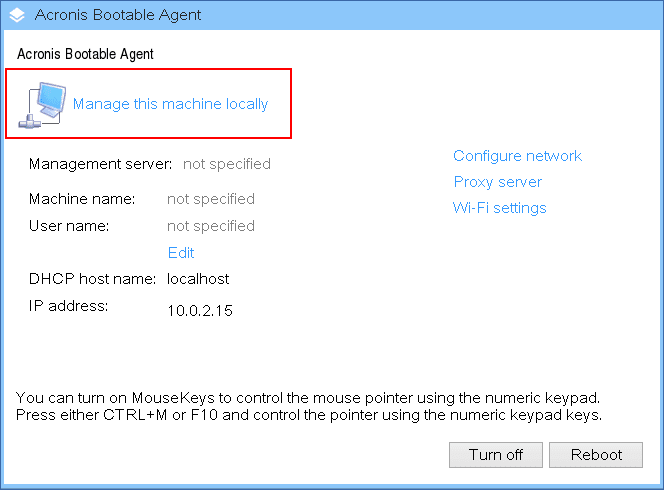
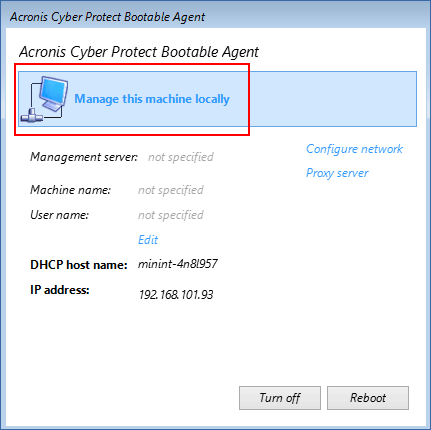
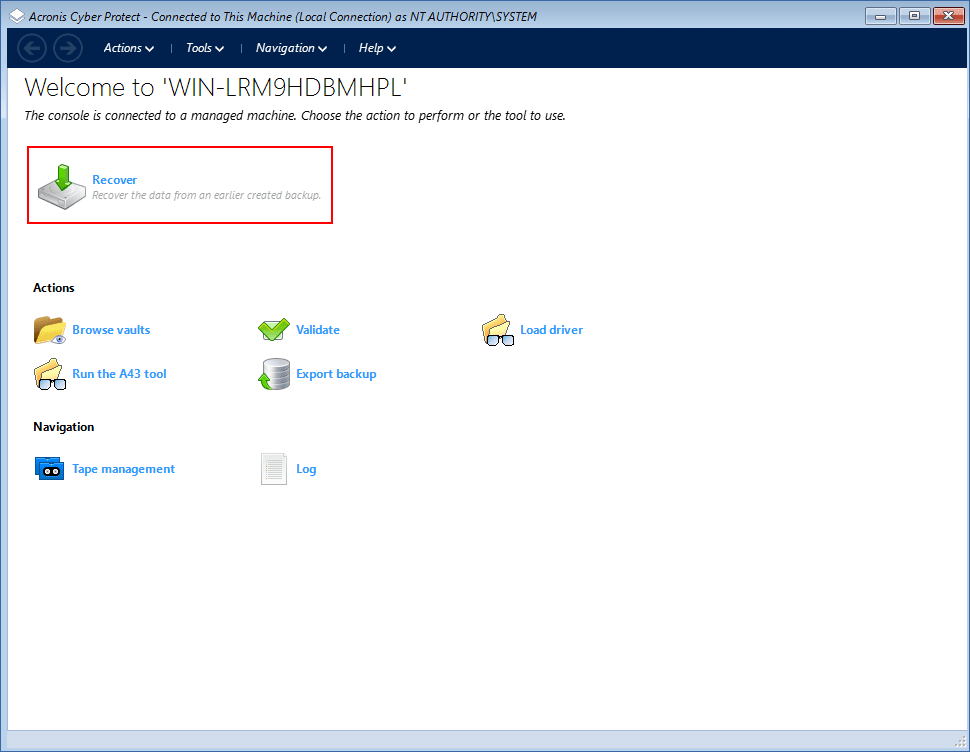
Click Manage this machine locally.
-
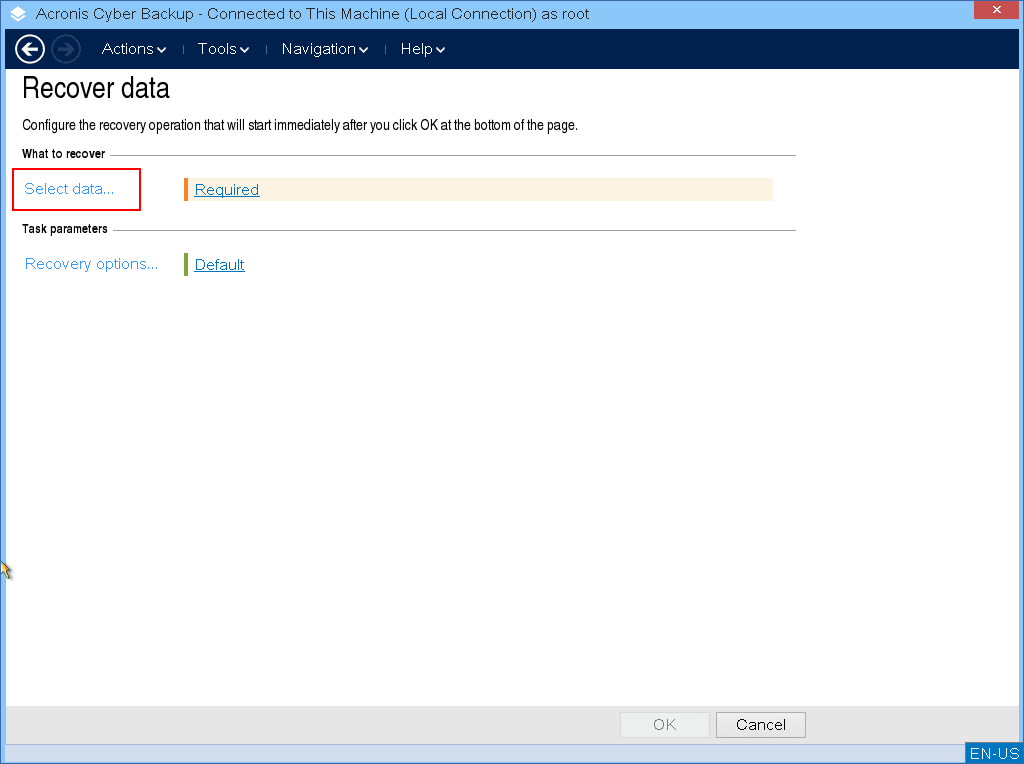
Click Recover.

-
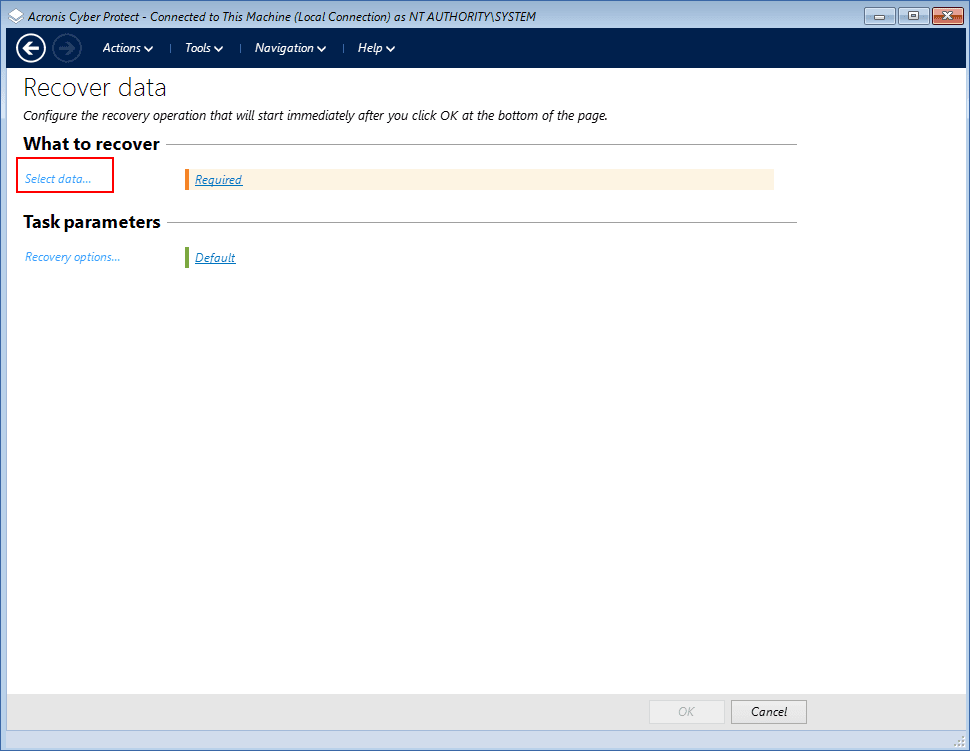
In What to recover, click Select data.
-
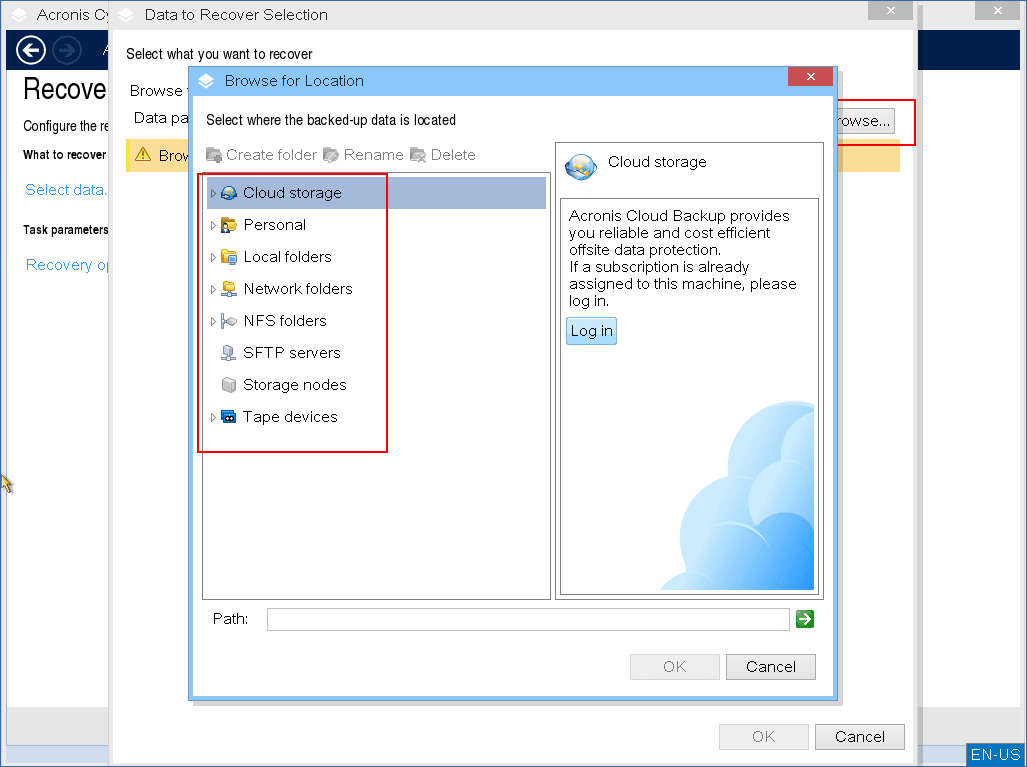
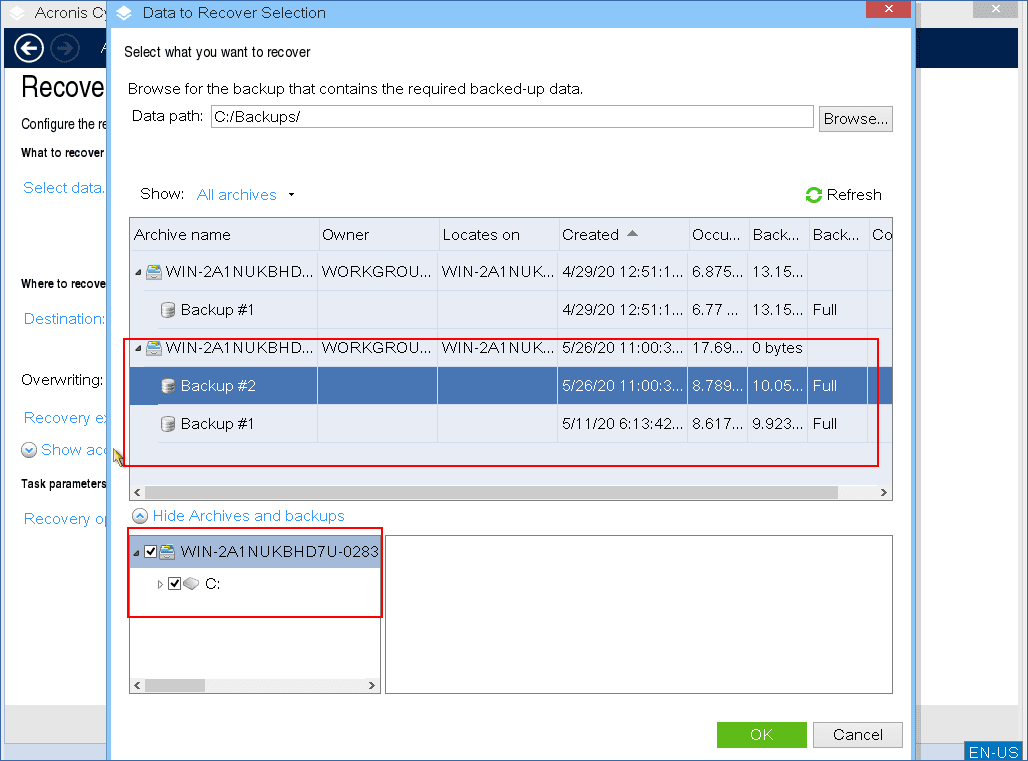
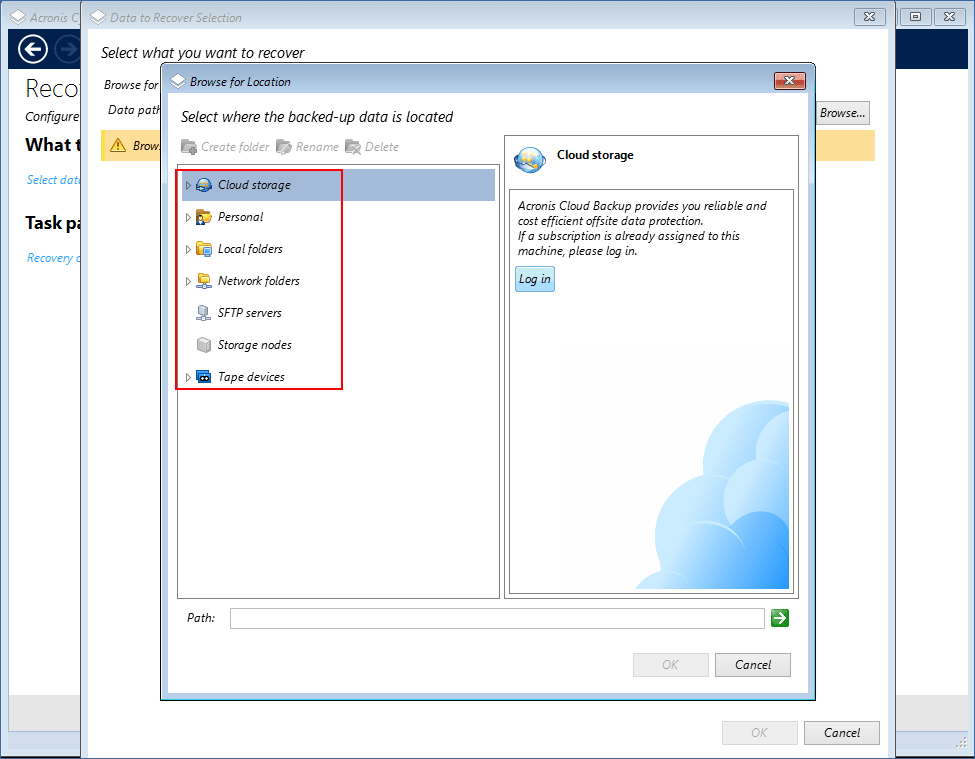
Click Browse, and then select the backup location.
-
[If the backup is in the cloud storage] Log in to the account to which the backed-up machine is assigned.
-
Click OK.
-
[If prompted] Specify the credentials to access the backup storage, and then click OK.
-
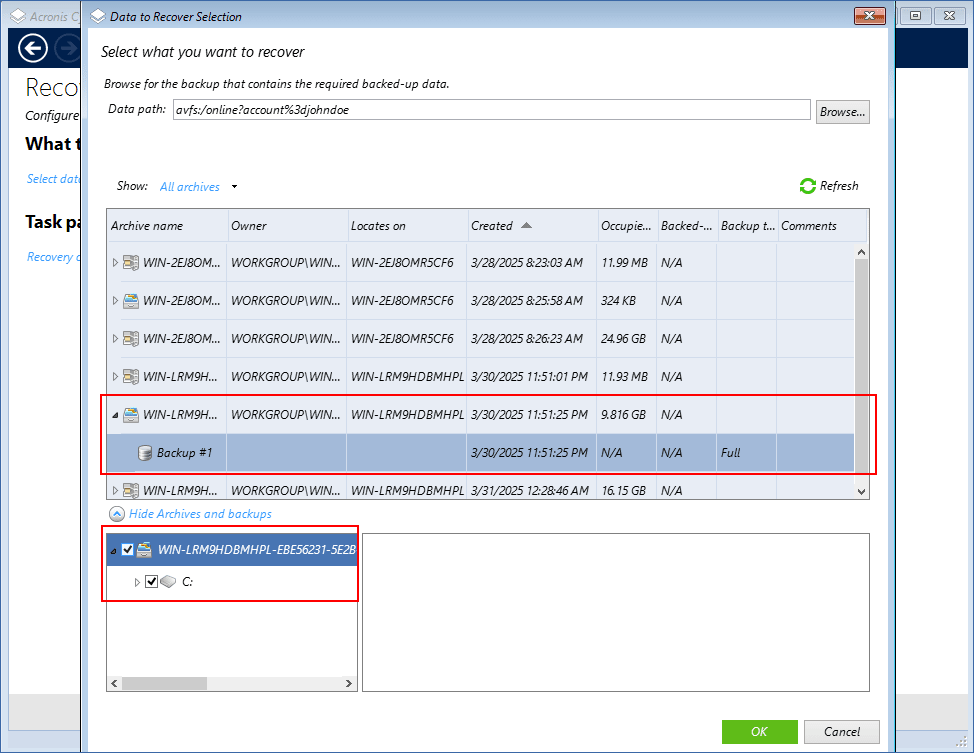
Select a backup archive and a backup (recovery point) from which you want to recover data.
-
[If prompted] Specify the backup encryption password.
-
[If you recover a disk-level backup] Select the recovery scope.
Disk-level backups contain volumes, disks, and files. File-level backups contain only files.
If the backed-up machine has dynamic disks or logical volumes (LVM), select Volumes. -
Select the items that you want to recover, and then click OK.
-
[When recovering disks or volumes] To change that automatic mapping between the backed-up disks or volumes and target disks or volumes, click the link under Recover to, map the disks or volumes manually, and then click OK.
Changing disk layout may affect the operating system bootability. We strongly recommend that you use the disk layout of the original machine.
-
[When recovering Windows disks] Select an option for recovering the NT signature.
-
[When recovering macOS volumes] To recover an APFS-formatted Data volume as a bootable macOS system, in the macOS Installation section, select the checkbox Install macOS on the recovered macOS Data volume. In this case, after the recovery, the system will reboot and installation of macOS will start automatically. Internet connection is required.
If you clear the Install macOS on the recovered macOS Data volume checkbox, the APFS-formatted Data volume will be recovered as a non-bootable volume. You can make this volume bootable by manually installing macOS on it.
-
[When recovering Linux volumes] If the backed-up machine has logical volumes (LVM) and you want to reproduce the original LVM structure, do the following:
- Ensure that the number of the target machine disks and each disk capacity are equal to or exceed those of the original machine, and then click Apply RAID/LVM.
- Review the volume structure, and then click Apply RAID/LVM.
- Confirm your choice.
-
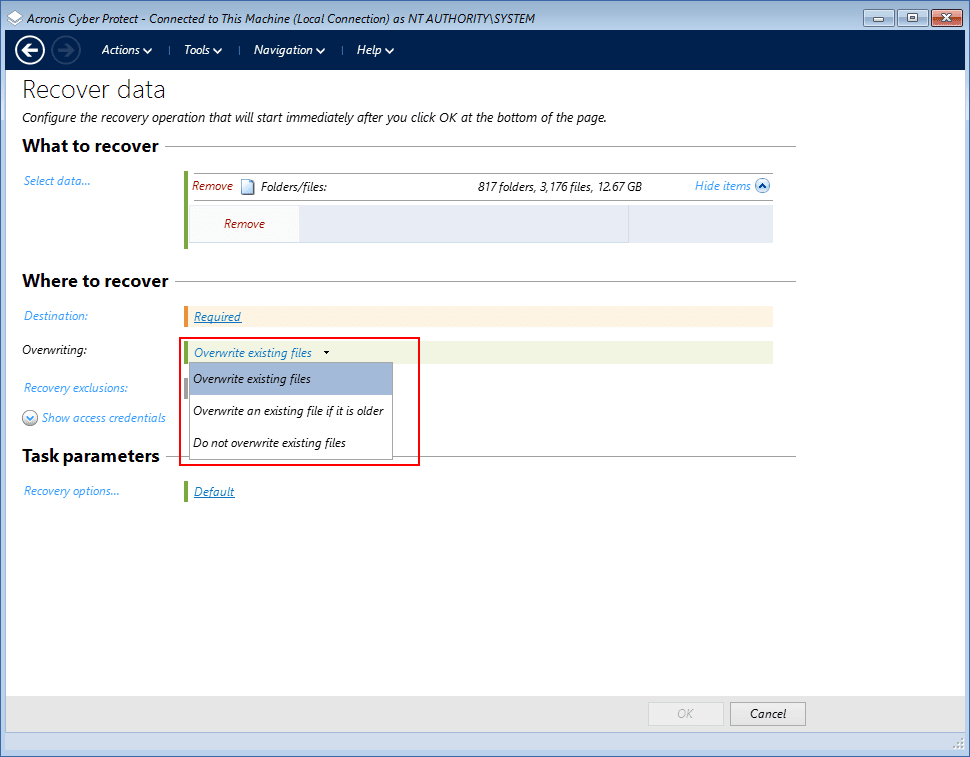
- [When recovering files] Click Destination, select recovery location, and then click OK.
-
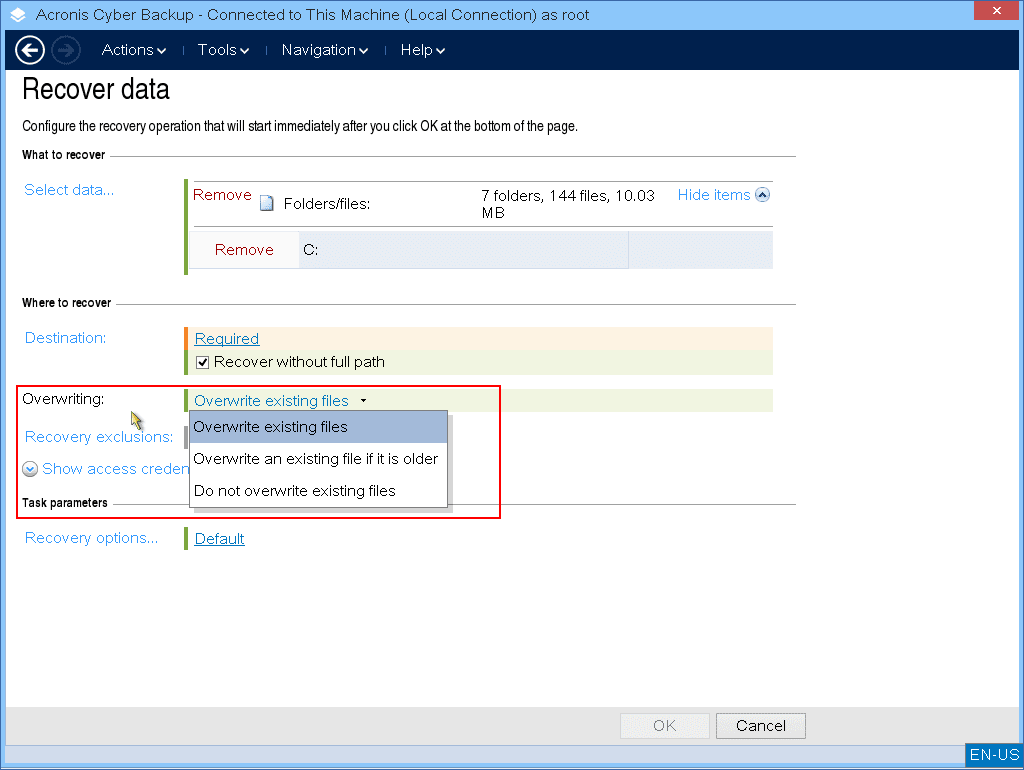
[Optional] [When recovering files] Configure the overwriting rules.
-
[Optional] [When recovering files] Configure the recovery exclusions, and then click OK.
-
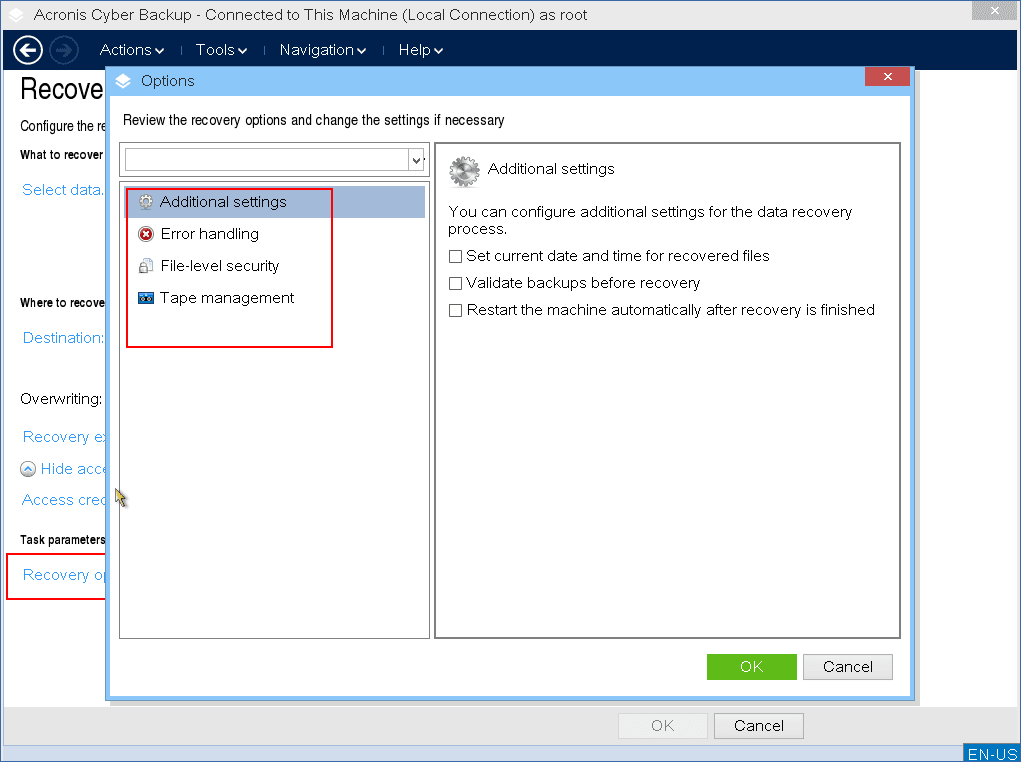
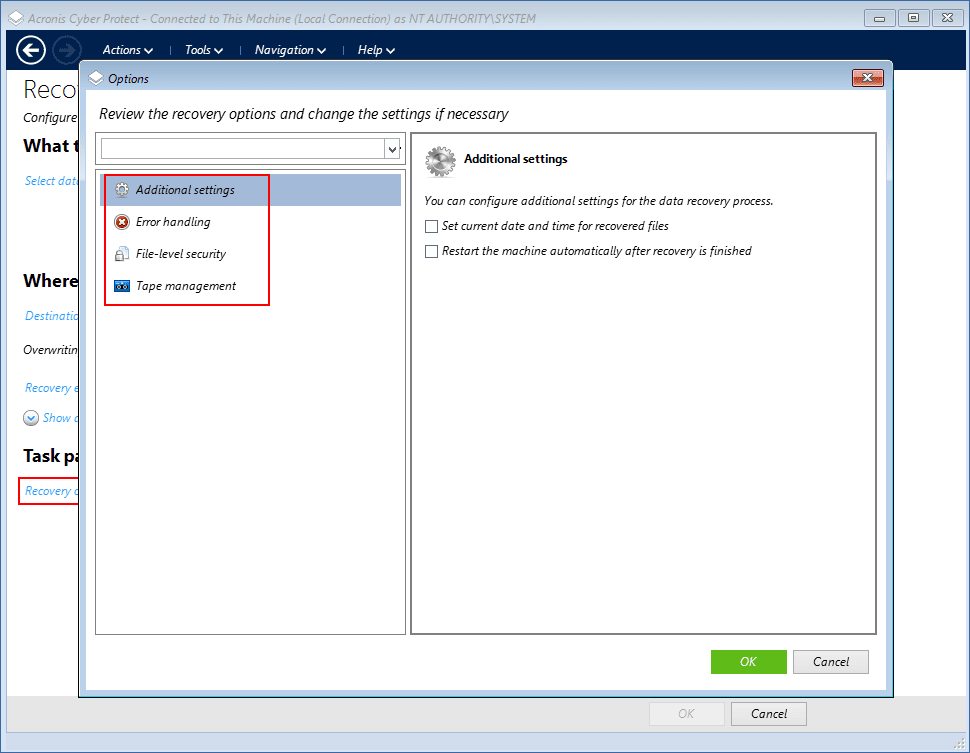
[Optional] Configure the recovery options, and then click OK.
- To start recovery, click OK.
Windоws-based bootable media
-
Boot the workload that you want to recover with bootable media.
-
Click Manage this machine locally.
-
Click Recover.
-
In What to recover, click Select data.
-
Click Browse, and then select the backup location.
-
[If the backup is in the cloud storage] Log in to the account to which the backed-up machine is assigned.
-
Click OK.
-
[If prompted] Specify the credentials to access the backup storage, and then click OK.
-
Select a backup archive and a backup (recovery point) from which you want to recover data.
-
[If prompted] Specify the backup encryption password.
-
[If you recover a disk-level backup] Select the recovery scope.
Disk-level backups contain volumes, disks, and files. File-level backups contain only files.
-
Select the items that you want to recover, and then click OK.
-
[When recovering disks or volumes] To change that automatic mapping between the backed-up disks or volumes and the target disks or volumes, click the link under Recover to, map the disks or volumes manually, and then click OK.
Changing disk layout may affect the operating system bootability. We strongly recommend that you use the disk layout of the original machine.
-
[When recovering disks] Select an option for recovering the NT signature.
- [When recovering files] Click Destination, select recovery location, and then click OK.
-
[Optional] [When recovering files] Configure the overwriting rules.
-
[Optional] Configure the recovery exclusions, and then click OK.
-
[Optional] Configure the recovery options, and then click OK.
- To start recovery, click OK.