Performing a failover
A failover is a process of moving a workload from your premises to the cloud, and also the state when the workload remains in the cloud.
When you start a failover, the recovery server starts in the production network. To avoid interference and unwanted issues, ensure that the original workload is not online and cannot be accessed via VPN.
To avoid a backup interference into the same cloud archive, manually revoke the protection plan from the workload that is currently in Failover state. For more information about revoking plans, see Revoking a protection plan.
You must create a recovery server in advance to protect your devices from a disaster.
You can perform failover only from recovery points (backups) that were created after the recovery server of the device was created.
At least one recovery point must be created before failing over to a recovery server. The maximum number of recovery points that is supported is 100.
You can follow the procedure below or watch the video tutorial.
To perform a failover
- Ensure that the original machine is not available on the network.
- In the Cyber Protect console, go to Disaster Recovery > Servers> Recovery servers, and then select the recovery server.
- Click Failover.
- Select Production failover.
- Select the recovery point (backup), and then click Start.
-
[If the backup that you selected is encrypted by using encryption as a machine property]
-
Enter the encryption password for the backup set.
The password will only be saved temporarily and will be used only for the current failover operation. The password is automatically deleted from the credentials store after the failover operation completes and the server returns to the Standby state.
-
To save the password for the backup set and use it in subsequent failover operations, select the Store the password in a secure credentials store... check box and then, in the Credentials name field, enter a name for the credentials.
The password will be stored in a secured credentials store and will be applied automatically in subsequent failover operations. However, saving passwords might conflict with your compliance obligations.
- Click Done.
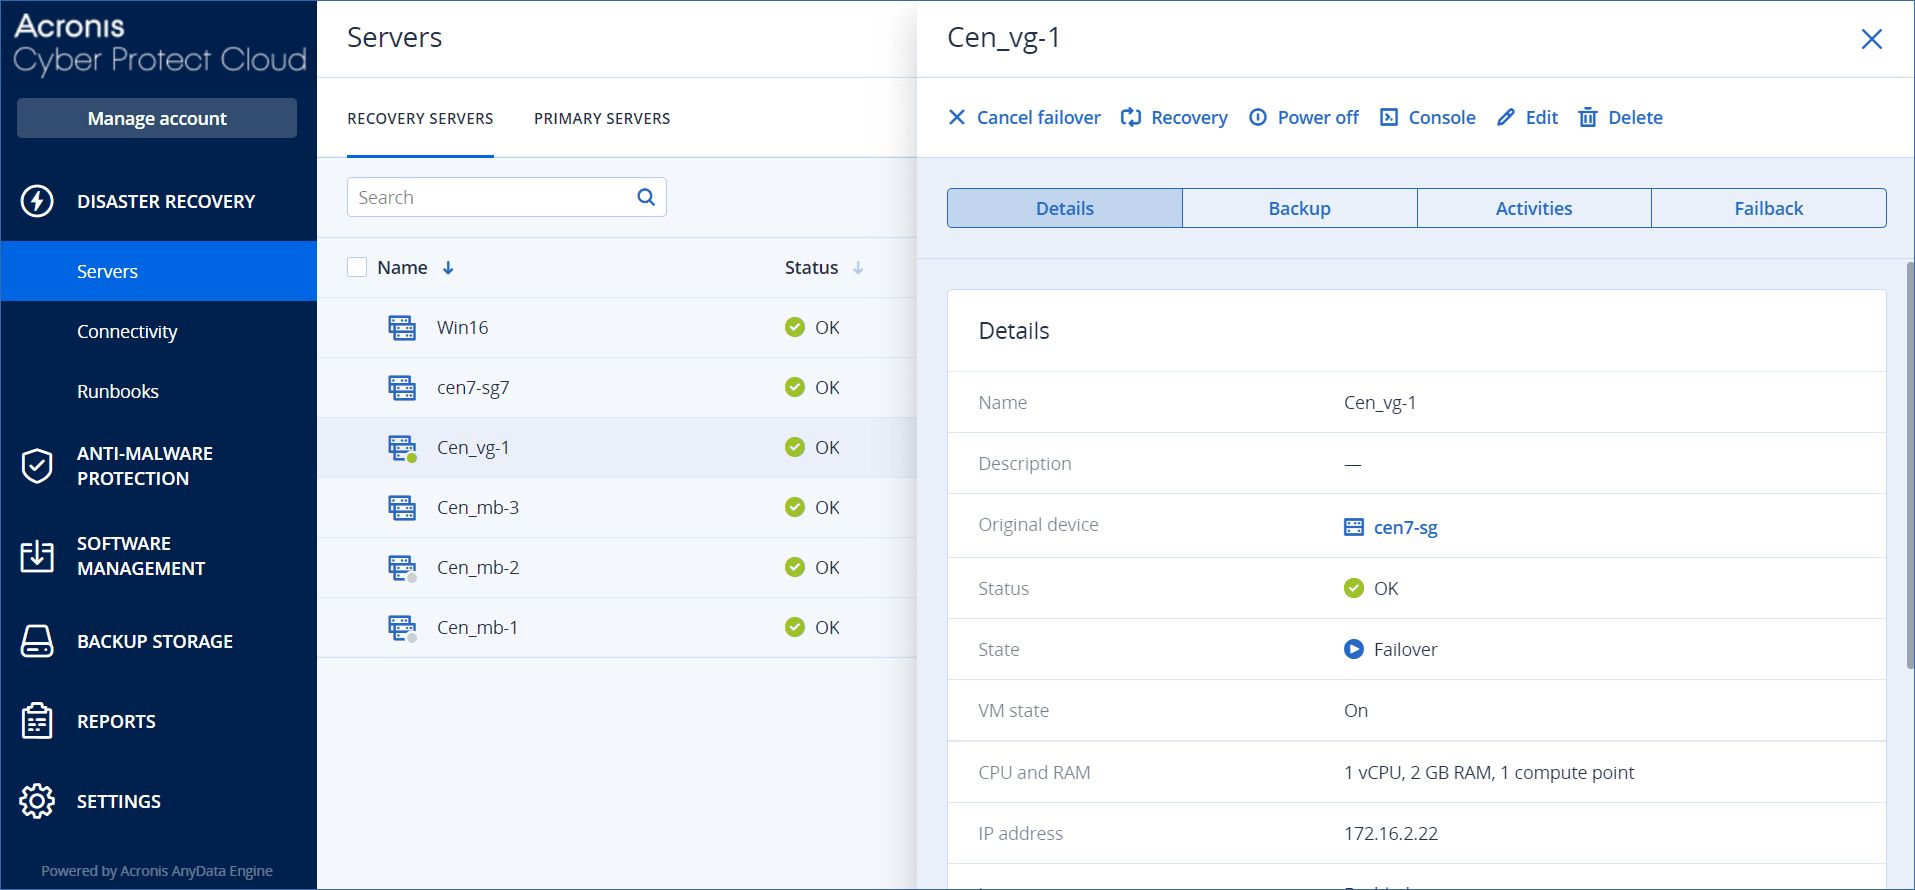
When the recovery server starts, its state changes to Finalization, and after some time to Failover.
It is critical to understand that the server is available in both the Finalization and Failover states. During the Finalization state, you can access the server console by clicking the Console is ready link. The link is available in the VM State column on the Disaster Recovery > Servers screen and in the server's Details view.

-
- Ensure that the recovery server is started by viewing its console. Click Disaster Recovery > Servers, select the recovery server, and then click Console.
- Ensure that the recovery server can be accessed using the production IP address that you specified when creating the recovery server.
Once the recovery server is finalized, a new protection plan is automatically created and applied to it. This protection plan is based on the protection plan that was used for creating the recovery server, with certain limitations. In this plan, you can change only the schedule and retention rules. For more information, refer to "Backing up the cloud servers".
How to perform failover of servers using local DNS
If your local site uses DNS servers to resolve machine names, recovery servers might fail to communicate after a failover. This happens because the DNS servers in the cloud are different from those on the local site. By default, newly created cloud servers use the DNS servers of the cloud site, but you can configure custom DNS settings. For more information, see Configuring custom DNS servers.
How to perform failover of a DHCP server
Your local infrastructure may have the DHCP server located on a Windows or Linux host. When such a host is failed over to the cloud site, the DHCP server duplication issue occurs because the VPN gateway in the cloud also performs the DHCP role. To resolve this issue, do one of the following:
- If only the DHCP host was failed over to the cloud, while the rest local servers are still on the local site, then you must log in to the DHCP host in the cloud and turn off the DHCP server on it. Thus, there will be no conflicts and only the VPN gateway will work as the DHCP server.
- If your cloud servers already got the IP addresses from the DHCP host, then you must log in to the DHCP host in the cloud and turn off the DHCP server on it. You must also log in to the cloud servers and renew the DHCP lease to assign new IP addresses allocated from the correct DHCP server (hosted on the VPN gateway).
The instructions are not valid when your cloud DHCP server is configured with the Custom DHCP option, and some of the recovery or primary servers get their IP address from this DHCP server.