Deactivating the PSA service
You can deactivate the PSA service if you no longer want to use the PSA functionality.
Deactivation is immediate. However, you can select to immediately delete the settings and data stored in PSA, or schedule their deletion in 30 days.
If you select to delete all PSA data immediately, all PSA data and settings are removed from the system. If you later decide to start using PSA again, you will need to activate the PSA service, and redo the onboarding. For more information, see Setting up PSA.
If you select to schedule the deletion of PSA data in 30 days, your settings and data are preserved and you can reactivate PSA at any time in the next 30 days. You are not charged for PSA usage during this 30-day retention period.
For more information about reactivating, see the procedure below.
To deactivate the PSA service
-
In Management Portal, click Settings > Billing and quoting, and then select PSA service.
The displayed screen includes details on the number of current PSA users.
- Click Deactivate PSA service.
- In the displayed dialog, enter any feedback you would like to share.
-
Select one of the following options:
-
Schedule the deletion of PSA data for 30 days from now (the actual deletion date is shown).
This option allows you to reactivate PSA at any time during the next 30 days, as described in the procedure, below. -
Delete all your PSA data now.
This option immediately deletes all PSA data and settings, and cannot be reversed.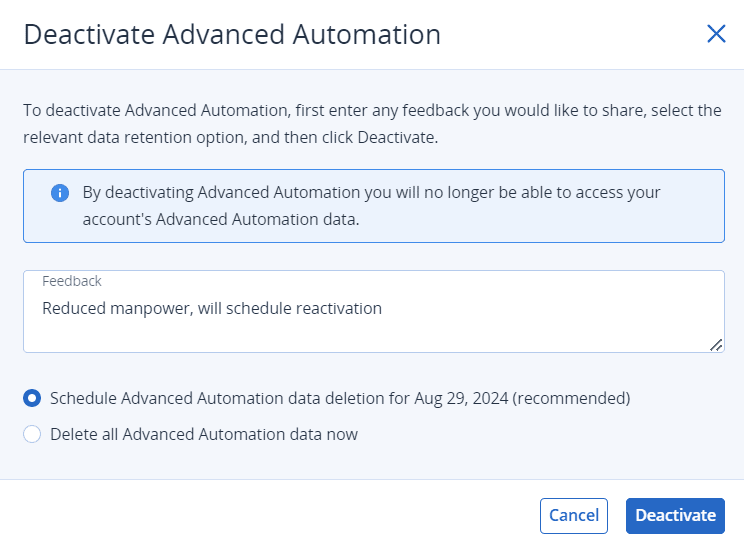
-
-
Click Deactivate.
If you selected to schedule the deletion of PSA data in 30 days, the main PSA landing page is displayed. You can click Reactivate at any time in the next 30 days to reactivate the service. For more information about reactivating, see the procedure below.
If you selected to delete all PSA data now, the main PSA landing page is displayed, but only with the option to Activate the PSA service. You will need to complete the onboarding process if you want to activate PSA again.
To reactivate the PSA service
-
In Management Portal, click Settings > PSA.
-
Click Reactivate.
The Reactivate option is only available if you selected to schedule the deletion of PSA data in 30 days, as described in the above procedure. -
In the confirmation dialog, click Reactivate.
If you did not previously complete the onboarding process, the onboarding wizard screen is displayed. Configure the relevant PSA options. For more information, see Activating PSA.Although the PSA service is now reactivated and most of your settings are restored, you will need to manually perform the following:
-
Review and update PSA roles for the users in your tenant.
-
Review and activate accounting and payment platform integrations, if previously in use.
-
Review and configure RMM integrations, if previously in use.
You should update all active RMM integrations to enable third-party alerts for ticket synchronization. -
Review and configure incoming and outgoing email servers.
-
Check expiration dates in contracts, and update as required.
-
Your tenant's users may also need to manually enable Outlook for calendars.
-