Creating a PSA ticket
In addition to the automatic creation of tickets by PSA, PSA users can also manually create a ticket.
To create a PSA ticket
-
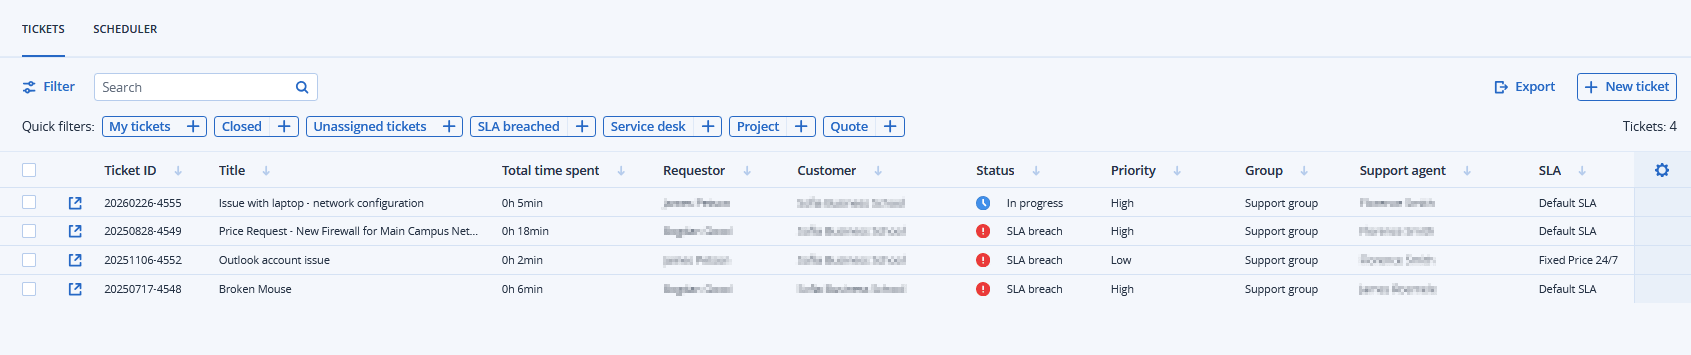
Go to Task management > Service desk.
The Tickets tab appears. It lists all the current tickets.
-
Click + New ticket.
When PSA is activated for your account, you can also click New > Client ticket from Management Portal toolbar at the top of the screen, even when you are not in the service desk module.
The Create new ticket screen appears.
The header row displays the ticket timer. This can be paused and restarted by users working on the ticket.
You can also set the ticket timer to automatically pause if the user navigates away from the ticket screen. For more information, see Setting default PSA values.

-
Clear the Billable checkbox.
This option is selected by default. It defines if the ticket is billable or not. Depending on the SLA applied to the ticket (see the steps below), the checkbox can also be selected or cleared. For example, if the SLA is of the Subsequent calculation type, the checkbox will be selected (to ensure the work reported on the ticket is billable).
If the SLA is of the Fixed price type, the checkbox is cleared (to ensure any work on the ticket is not billable).
-
Clear the Email the customer checkbox.
This option is selected by default. It defines if ticket updates are emailed to the end user or not.
-
Enter a Ticket title.
-
In the Customer information section:
-
Select the End user from the dropdown list.
Customer name, Phone number, and Superior are auto-populated, where relevant.
-
Override the auto-populated values, if required.
-
-
In the Configuration item or service section:
-
Select a service (if available):
-
Managed service
This option is selected and pre-filled with the relevant details if the managed service product type is available in the contract. When selected, find the contract part to which the device is assigned, and then verify the SLA on that contract part and apply it to the ticket.
If there are no managed service product types in the contract, this option is disabled.
-
ICT service
This option is selected and pre-filled with the relevant details if the ICT (information and communication technology) service product type is available in the contract. When selected, the SLA from the ICT service contract part is applied to the ticket.
If there are no ICT service product types in the contract, this option is disabled.
-
-
[Optional after selecting a service] Select a device from the Configuration item dropdown list.
The list shows devices that are linked to the selected managed or ICT service. Unknown CI is shown if there are no integrations, or if the device is unknown.
The listed devices include those with products and services - for example, Disaster Recovery, and Cyber Protection - and RMM integrations. If the product or RMM integration provides a remote control option for a listed device, you can connect remotely from the ticket using the RDP protocol or HTML5 client.
If you select a device after selecting a service, the SLA does not change. It remains the SLA that belongs to the service.
If the configuration item has been linked to a specific user, the relevant device is automatically associated with the ticket when the ticket is created.
-
Select Priority from the dropdown list.
-
Select SLA from the dropdown list.
-
-
In the Support agent section:
-
Select the Support agent to assign to the ticket.
The default is the current user or technician.
-
Select a Category for the ticket.
-
Select the Support group for the ticket.
You can set the ticket as 'unassigned' by selecting Support group > Ticket pool. This means that, until the ticket is assigned to someone, it is considered as unassigned, and appears as such in the Tickets tab, dashboards, and reports.
-
-
In the Ticket description section:
You can set the Ticket description section to mandatory in the Service desk settings.
-
Select a Status for the ticket.
The default is New.
The system generates an estimated SLA target date for your information. The final SLA target date is set when you save the ticket.
-
Add recipients in the email notification To, Cc, and Bcc fields.
A maximum of 20 recipients can be added to each field.
If the End user field was defined (see above), the selected recipient cannot be removed from the To field.
The PSA mobile application does not show the To, Cc, and Bcc fields. However, when the ticket is updated, notifications to the To, Cc, and Bcc recipients are supported. These notifications are sent if the Email the customer checkbox is selected.
-
Add rich text descriptions and comments (including images and other media files, up to a maximum of 25 MB) in the text box. Any of the following formats and types can be added or dragged and dropped into the text box:
-
Media: .avi, .mp4, .mp3
-
Emails: .eml, .msg
-
Images: .png, .gif, .jpeg, .jpg, .heic, .bmp, .tiff, .svg
-
Document and log files: .doc, .docx, .xls, .xlsx, .ppt, .pptx, .txt, .log, .pdf
-
Archives: .zip, .rar
-
-
Select a Canned response from the dropdown list.
If you select a canned response, it replaces any email notification content that you define.
-
Select a Billing activity type from the dropdown list.
Only products with the attribute Product for activity-based ticket billing assigned to them are available.
-
-
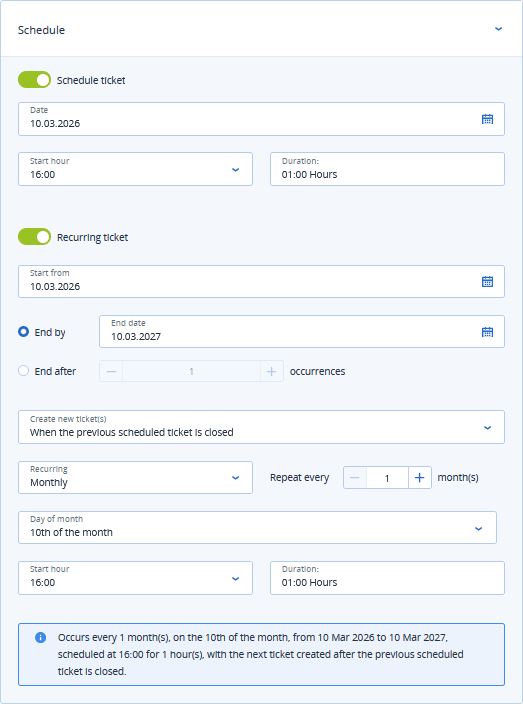
Click the Schedule section to schedule the ticket and to define a recurring schedule for it.
-
Turn on the Schedule ticket toggle switch to schedule the ticket.
For more information, see Scheduling a PSA ticket.
-
Turn on the Recurring ticket toggle switch to define a recurring schedule for the ticket.
For more information, see Defining recurring PSA tickets.
-
-
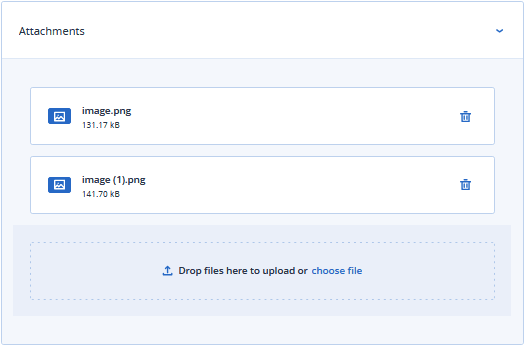
Click the Attachments section to add file attachments to the ticket.
To upload, drop files onto the panel or click the file selector.
To delete a file, click the trash can icon.
-
Click the Billable items section to link ticket products to the ticket.
-
Click the Internal notes section to add internal notes and actions.
-
Click Create.