In order to set up your first virtual machine (VM) on Microsoft Azure cloud, you first need to create a new Microsoft Azure account. Setting one up is very easy — just follow the steps below (depending on where you are, your screens may look a little different.)
Microsoft Azure offers a free 30-day trial period to all new account holders.
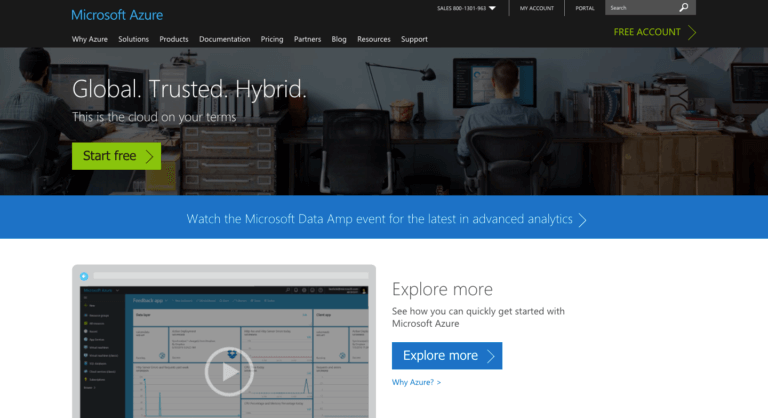
Go to https://www.azure.com and click the green “Start free” button.
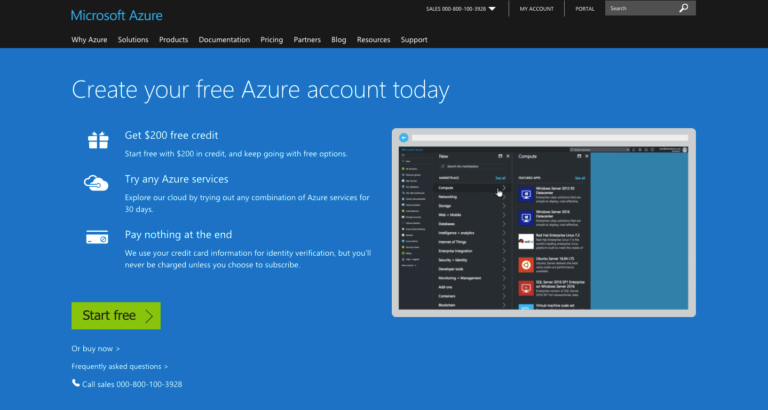
Next, click another “Start free” button.
If you already have an account with Microsoft, for example, Microsoft 365, you’ll be prompted to log in.

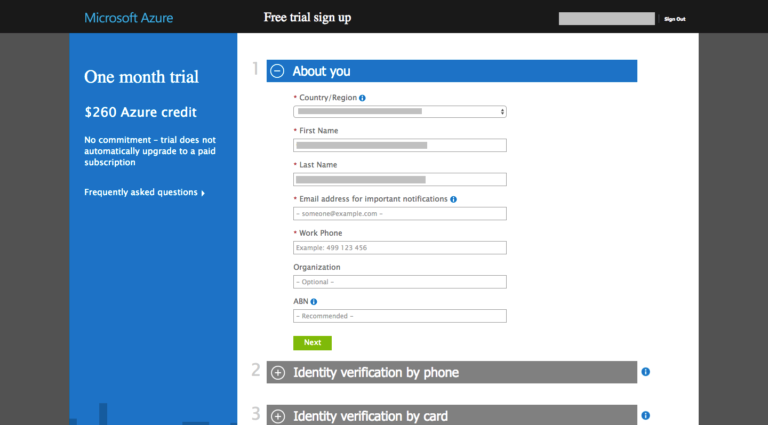
When you log in, some of your details may already be there.
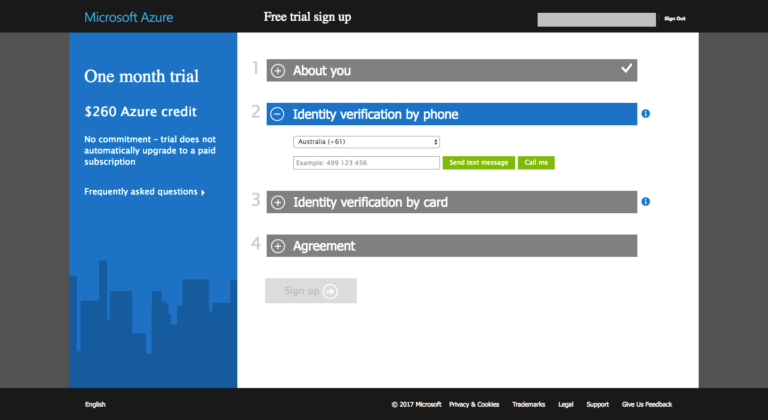
Follow the prompts to verify your account by phone (I used SMS).
You’ll also need to supply a valid credit card. Prepaid credit cards won’t work — you’ll need a “normal” credit or debit card. There is no charge involved with the setting up of a trial account. Microsoft just wants to see your card to verify your identity. There will be, however, a record for a $0 transaction on your bank statement. In my bank it looks like this:

Next – tick “I agree” and click “Sign Up.”
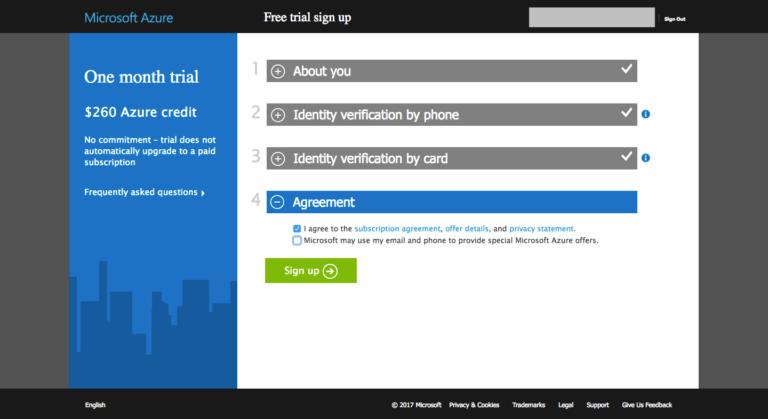
Within a few seconds, your account will be ready.
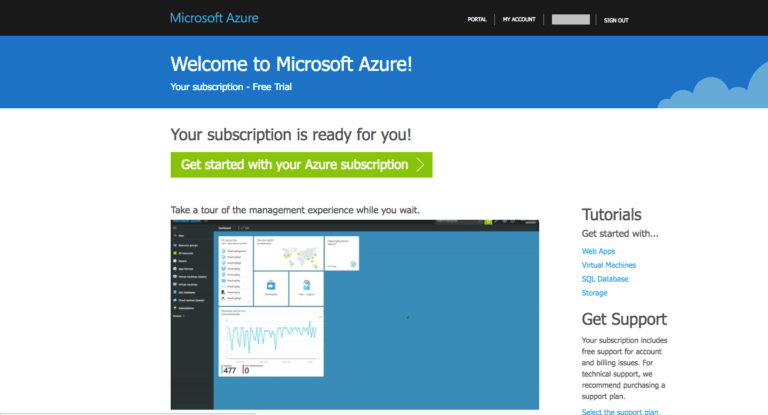
That’s it! Your Microsoft Azure account has been created.
To continue, click the “My Account” link at the top right corner or go straight to the Microsoft Azure Portal: https://portal.azure.com/
NEXT: How to create Windows and Linux virtual machines (VM) in Microsoft Azure
About Acronis
A Swiss company founded in Singapore in 2003, Acronis has 15 offices worldwide and employees in 50+ countries. Acronis Cyber Protect Cloud is available in 26 languages in 150 countries and is used by over 20,000 service providers to protect over 750,000 businesses.


