If you’re familiar with Linux or use Linux at work or at home, you may like to test Acronis Backup 12.5 on a Linux server.
Assuming that you already created a Linux VM, now is the time to log in. You’ll need your VM’s IP, user name and password.
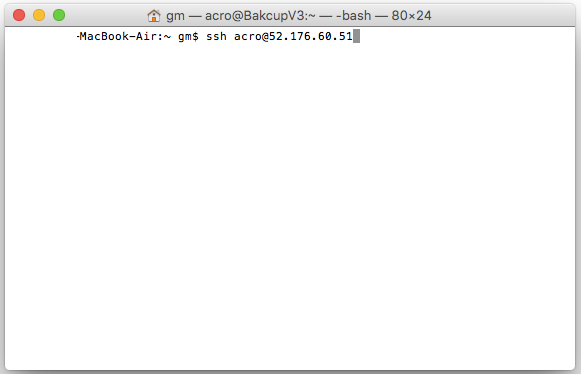
Open your favorite SSH client (e.g., Terminal on a Mac or Putty on Windows), type the following command, substituting “username” with your username and IP-address with your VM’s IP address, and hit Enter.
ssh username@IP-address
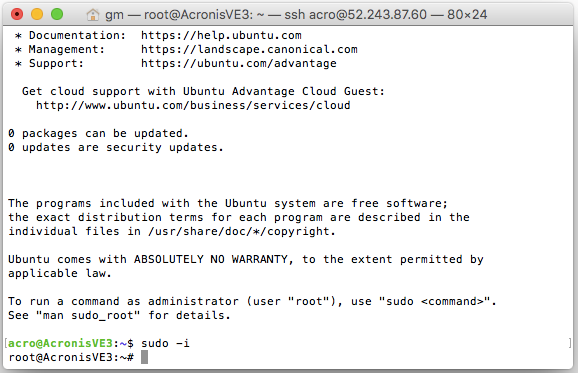
Next, switch to the main “root” user to get full access rights to this server:
sudo –i
Since we’re using Ubuntu, we need to make sure we have all required packages for this backup (See https://dl.managed-protection.com/u/backup/help/12/user/en-US/index.html#22619.html )
Run the following commands to install the required packages:
sudo apt-get install rpm sudo apt-get update sudo apt-get install linux-headers-`uname -r` sudo apt-get install linux-image-`uname -r` sudo apt-get install gcc-<package version> sudo apt-get install make sudo apt-get install perl
Now you’re ready to install Acronis client.
Go back to your Acronis Backup 12.5 Download Beta page and copy the link to download the installation file.
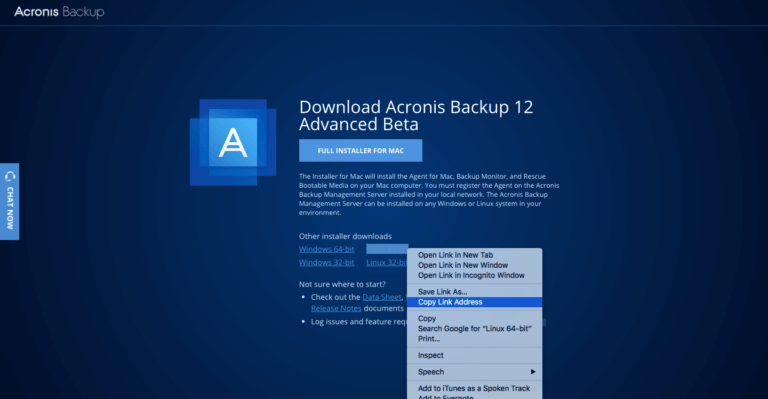
In my case, it is https://download.acronis.com/ABA12/Beta/Backup_Agent_for_Linux_x86_64_Beta.bin
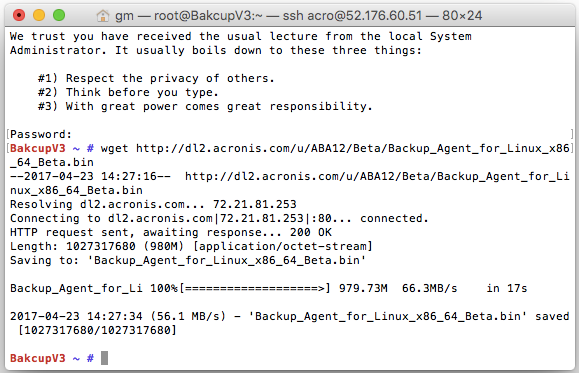
Next, type
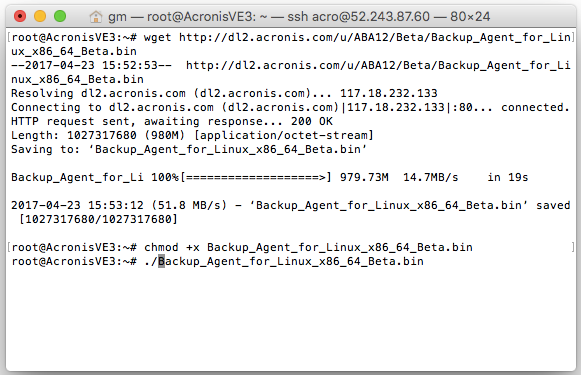
wget https://download.acronis.com/ABA12/Beta/Backup_Agent_for_Linux_x86_64_Beta.bin
into the terminal window and hit enter to download the file.
Make the downloaded file executable:
chmod +x Backup_Agent_for_Linux_x86_64_Beta.bin
Then run the installer by typing
./Backup_Agent_for_Linux_x86_64_Beta.bin
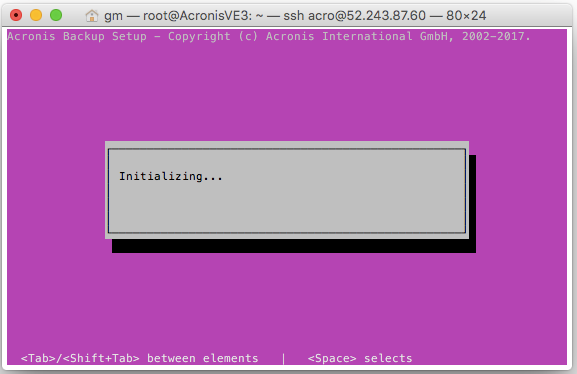
The installation process will start and after a few seconds you’ll see this:
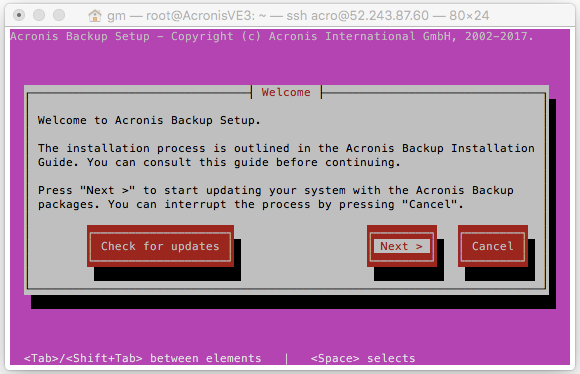
Then follow the prompts. Select “Next>” and hit enter.
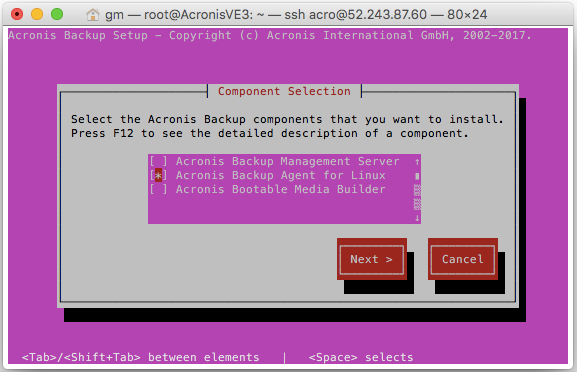
We only need the backup agent, so make sure it’s the only option that is checked (use the arrow keys and space to select). Hit ”Next>”
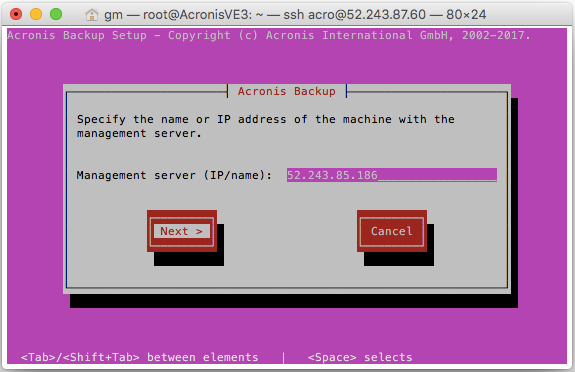
Enter the management server IP (in our case it’s the first Windows VM we created above). Hit “Next>”
When you see the following screen, your installation is complete.
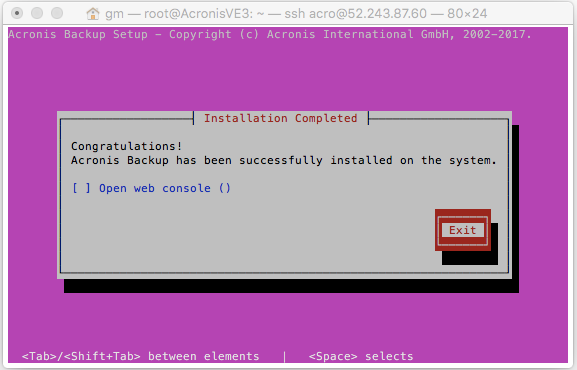
You can now exit the installer and go back to the management console to configure backup plans for this VM.
About Acronis
A Swiss company founded in Singapore in 2003, Acronis has 15 offices worldwide and employees in 50+ countries. Acronis Cyber Protect Cloud is available in 26 languages in 150 countries and is used by over 21,000 service providers to protect over 750,000 businesses.