Assuming that you already created your Windows VM on Microsoft Azure and opened the required ports (“endpoints”), you’re ready to log in and install Acronis Backup 12.5.
There are two main software parts of Acronis Backup 12.5; both installed the same way, with the same installation file:
1. Acronis Backup Management Server — the main web-based “control panel” from which you can manage all your backup jobs. It’s installed on a Windows or Linux machine and is accessible through a web interface.
2. Acronis Backup client — a lightweight software module that connects remote servers to the main Acronis Backup Management Server node. You’ll need to install Acronis backup client software on each VM that you wish to protect. You can also install Acronis Backup client on the server that runs the Acronis Backup Management Server — just select both options during the installation.
Are you ready to log in? Assuming that you have your VM’s user name and password handy, you just need to find your VM’s IP address.
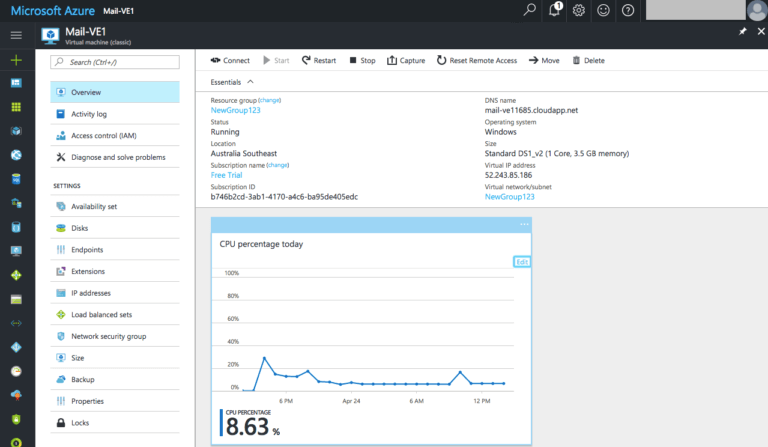
Find your Windows VM in the Azure portal and open the overview screen. All you need from here is the VM’s Virtual IP address.
The best way to connect to a remote Windows VM is through a remote desktop (RDP) client. On a Mac, it’s called “Microsoft Remote Desktop” and on Windows, it’s called “Remote Desktop Connection.” Whichever you use, it makes no difference.
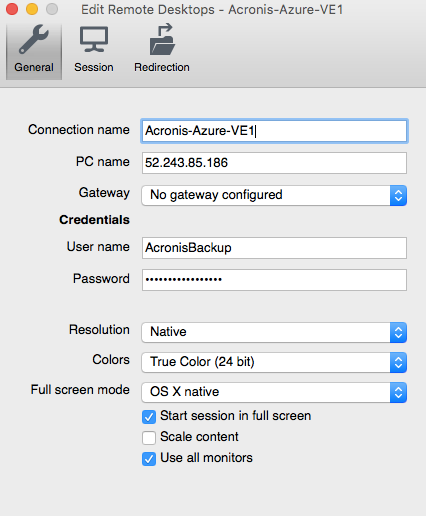
On a Mac, it looks like this:
Connection name: enter a descriptive name for this connection
PC name: the IP address of your VM on Microsoft Azure
User name: your VM’s user name
Password: your VM’s password
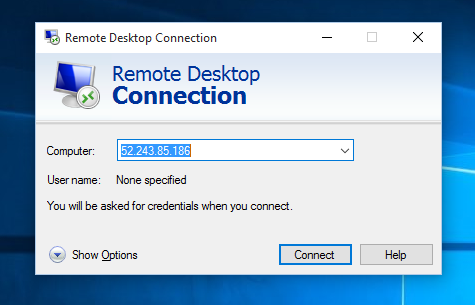
On a Windows machine (e.g., your laptop), you just need to enter the IP address in the “Computer” box and follow the prompts after clicking “Connect.”
Before we install Acronis Backup 12.5, we need to disable the IE Enhanced Security Configuration that complicates web browsing (and we need to use a web browser to download Acronis Backup 12.5 installation file).
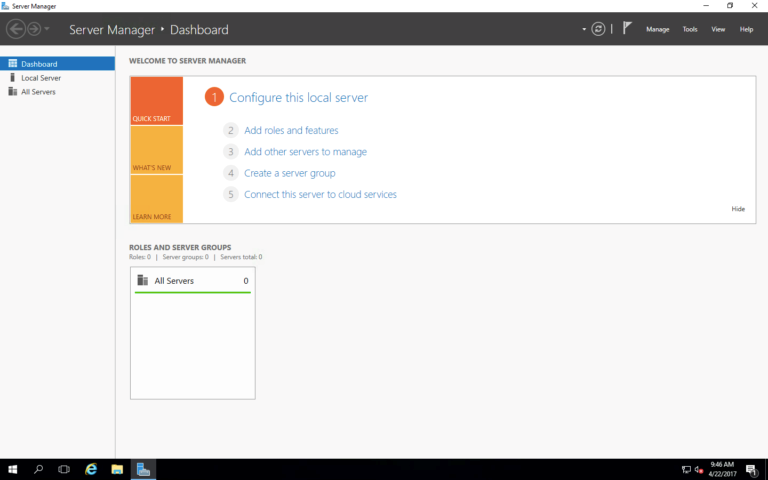
When you first log in to your VM, you should see a “Server Manager” interface. If it doesn’t open automatically, launch “Server Manager” from the Start menu.
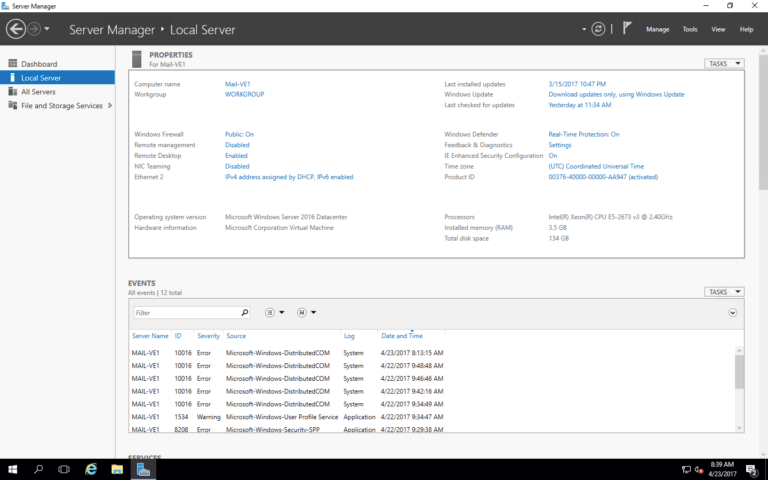
Click “Local Server” on the left. Find IE Enhanced Security Configuration on the right and click “On.”
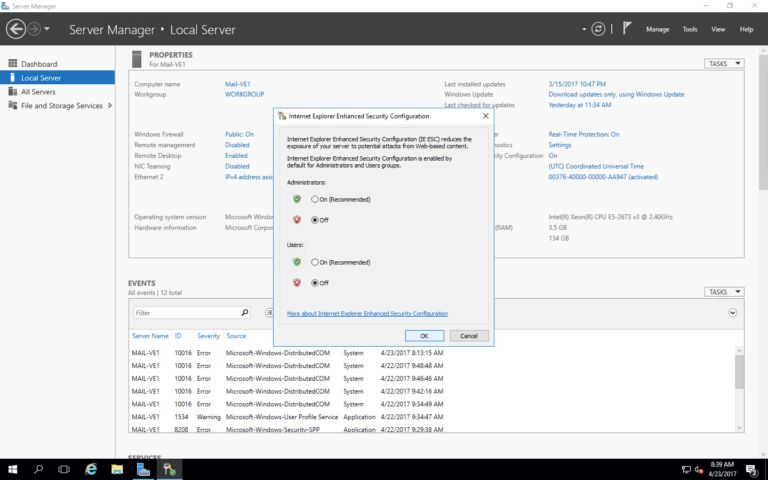
On a pop-up, set both Administrators and Users to “OFF” and click “OK.”
That’s it! Close the Server Manager window and launch Internet Explorer. You’ll now be able to access all sites without restriction.
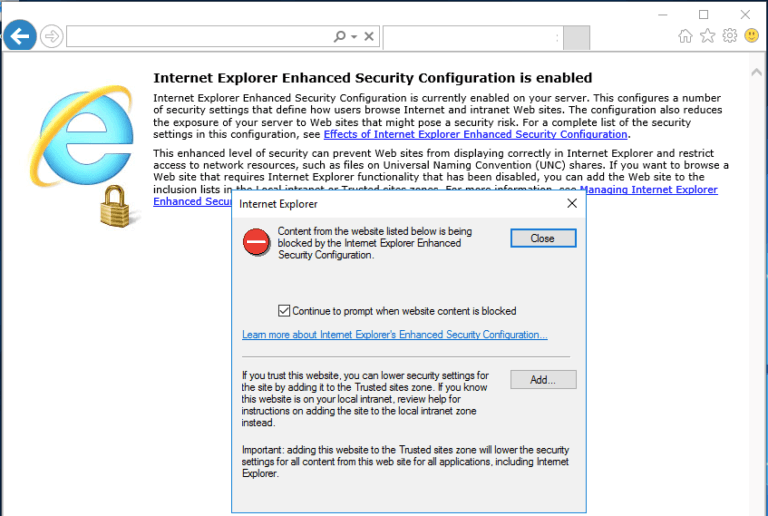
If you still can’t access websites and see a screen like this, make sure you did the above steps correctly.
Now we’re ready to download and install Acronis Backup 12.5d!
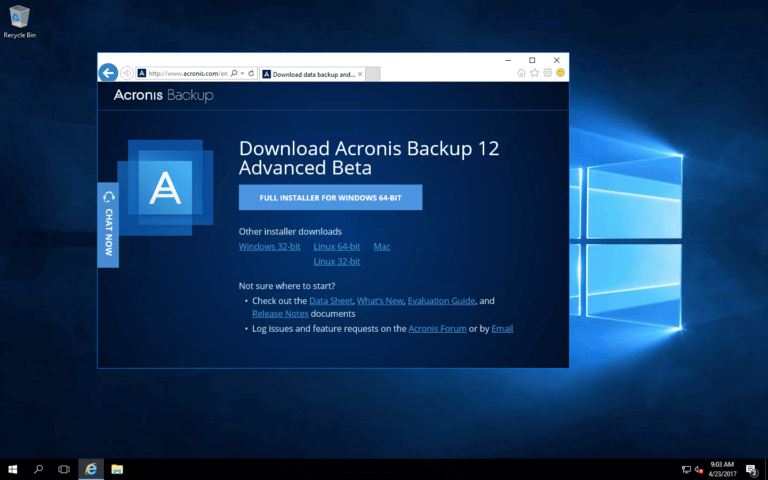
Assuming that you’ve already signed up for the Acronis Backup 12.5, open a web browser on your VM and go to this page: https://www.acronis.com/en-us/enterprise/download/acronis-backup-beta/.
Your VE’s operating system should be recognized automatically and you should see the following screen. Click the “Full Installer for Windows 64-bit” button to download the installation file.
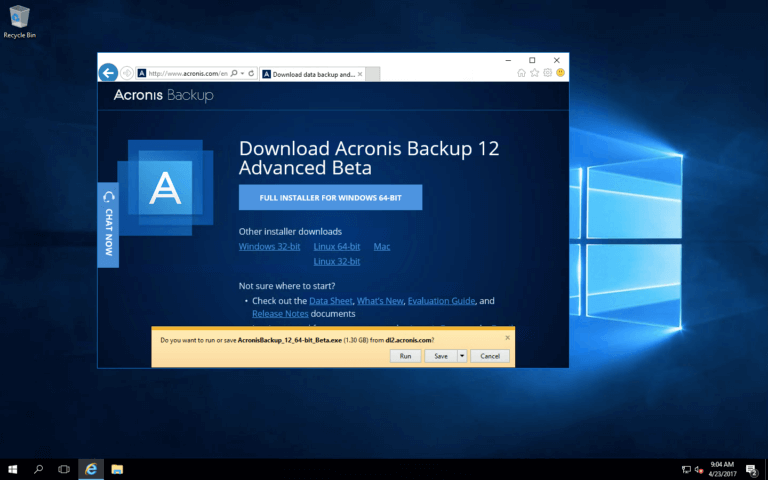
Click “Save” and wait for the file to download.
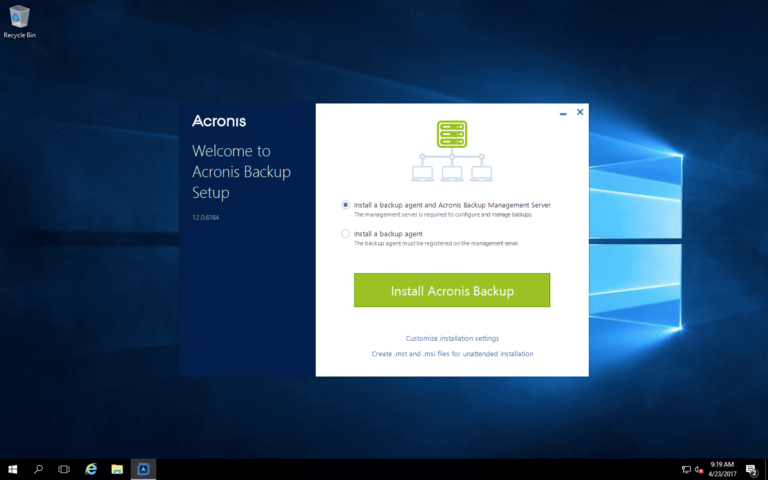
Run the installation file that you just downloaded and follow the prompts.

Select the first option “Install Backup Agent and Acronis Backup Management Server”. Click the “Install Acronis Backup” button.
Once the installation completes, you’ll see a link to your management console (also can be accessed with a new shortcut icon on the desktop). You’ll also see a warning that this VE is not protected (it will disappear after you create a backup plan for this VM).
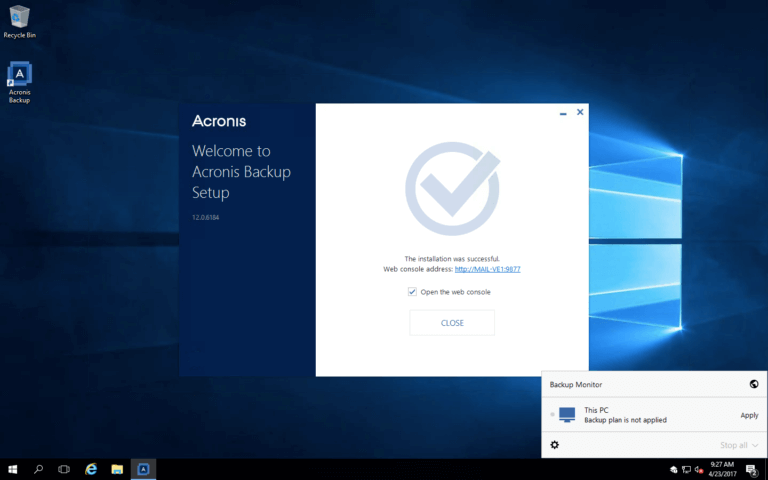
Open the management by clicking on the link or double-clicking on the desktop icon. Use your VE’s Administrator’s username and password to log in if it doesn’t log you in automatically.
USEFUL TIP: Your Acronis Backup management interface is likely to have the following URL: http://localhost:9877/. If you substitute the “localhost” with the IP address of your VM, you should be able to access this web management interface remotely, even from your home laptop.
Now you need to activate the installation. Click “Start Trial “ at the bottom of the window:

You’ll need an Acronis account. Since the Beta signup form doesn’t let us create our own password, we need to reset it in order to log in. Click the “Forgot Password” link and follow the prompts.
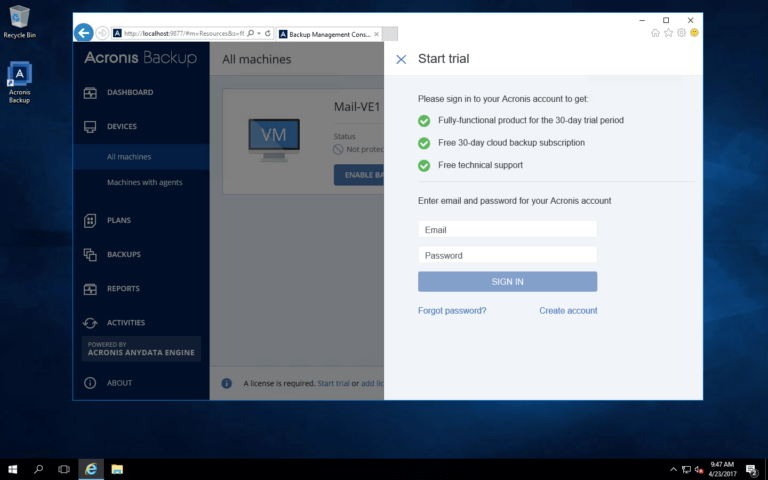
Within a few minutes, you’ll receive an email with a link to reset your password. Just follow the prompts. Use the new password sign in. You’ll see a green tick at the bottom of the page. Now you can enable your first backup.
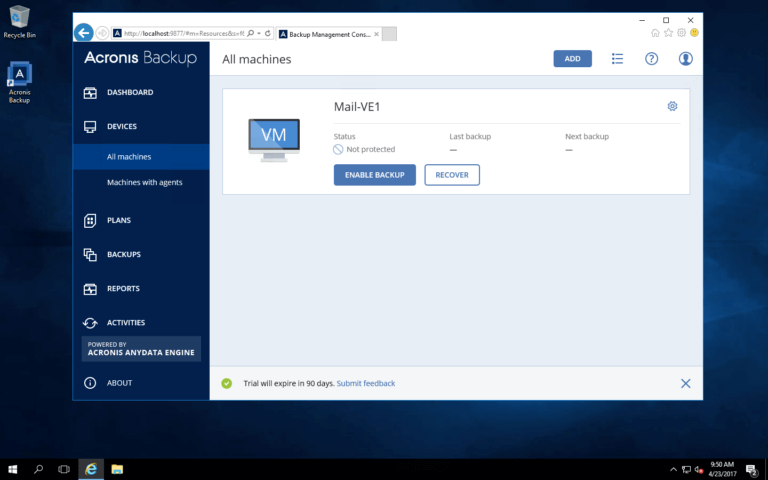
You should already see this VM listed in Devices – All machines with the status of “Not protected.” Just click “Enable Backup” and follow the prompts to setup your first backup.
You can also follow the Evaluation Guide!
Now, you need to decide where to store your backups — locally on this VM or remotely in the cloud (Acronis offers 1TB of free cloud storage for Beta testing).
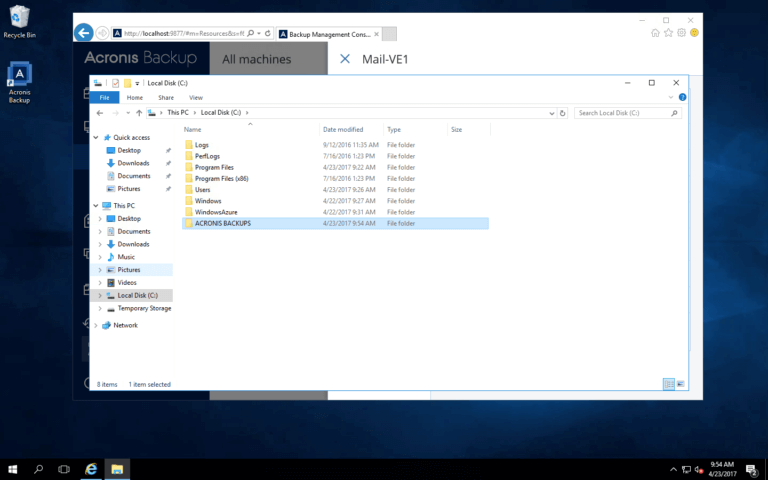
To test local storage, you may wish to create a separate folder for this purpose, just to make things easy.
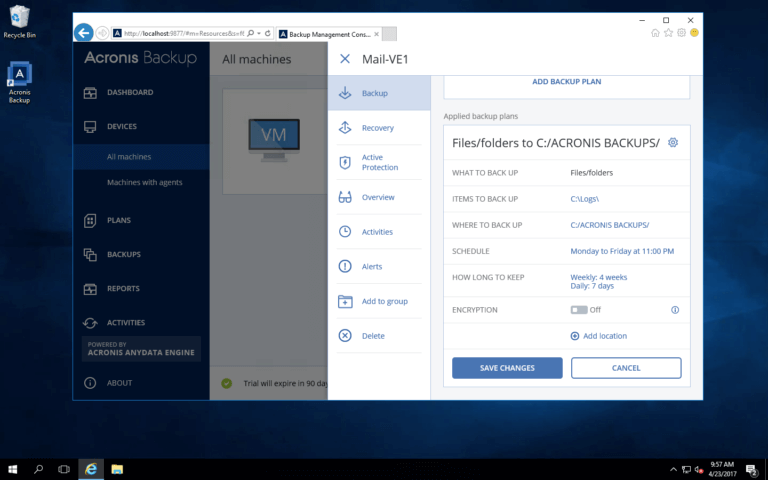
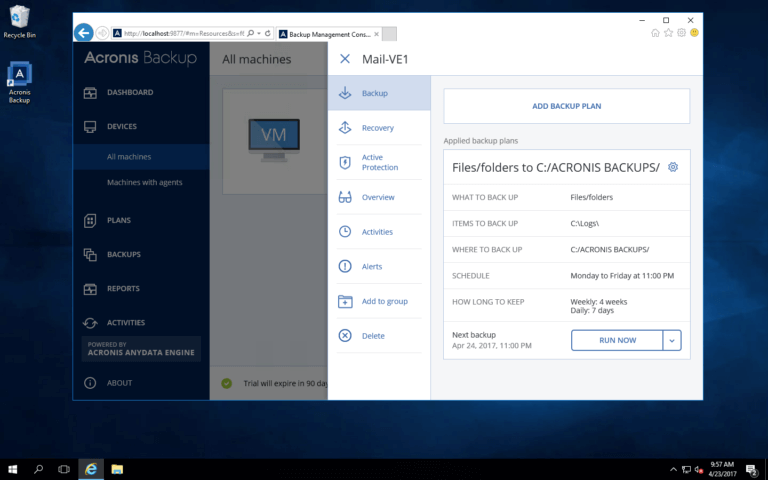
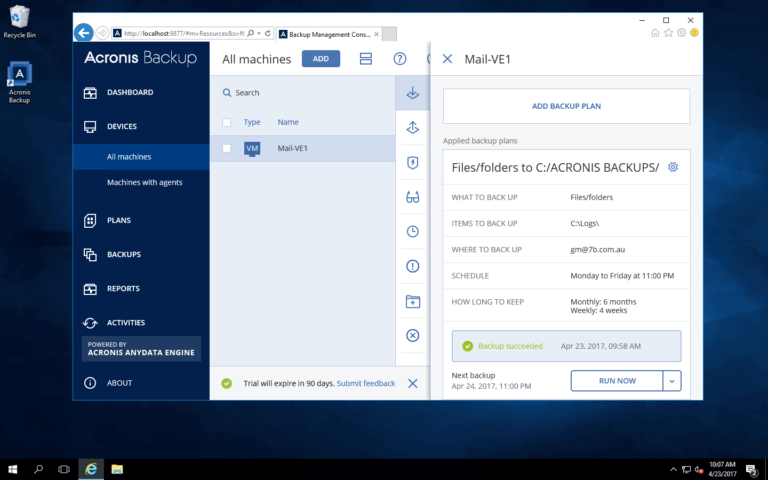
There are many options in the backup plan settings. Select what you want to back up and where you want to store the backup files, and click “Save Changes.”
Click “Run Now” to run your first backup!
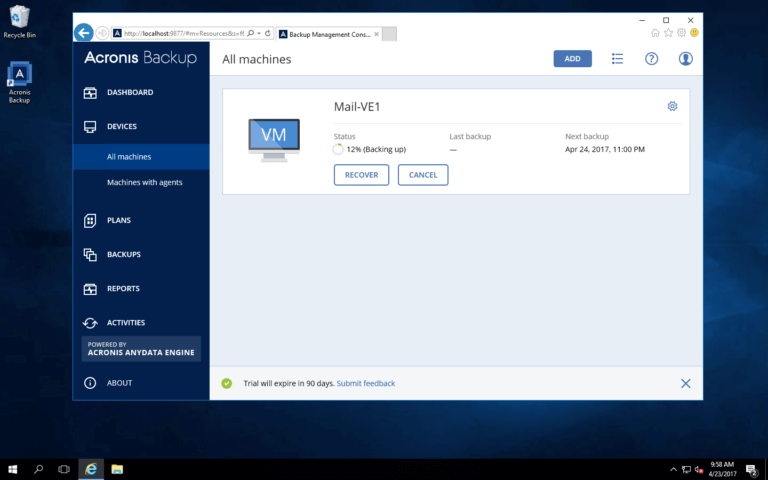
You can now close the settings dialog window and see the backup progress on the main screen.
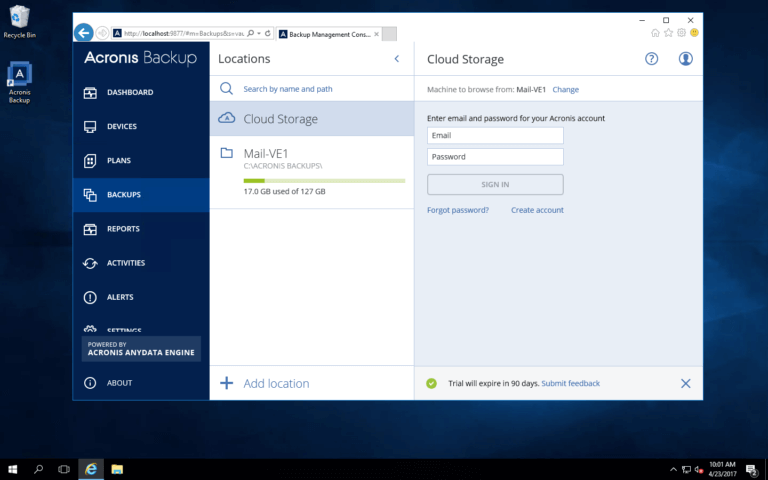
There is, however, another location to store your backups: Acronis Cloud — and you have 1TB of free space included free as part of Acronis Beta program. Go to Backups, click “Cloud Storage,” and log in using the username and password that you used to activate your trial subscription.
Now let’s go back to our first VE and change it’s backup location to the Cloud. Select the machine you want to edit and click the little cogwheel to make edits.
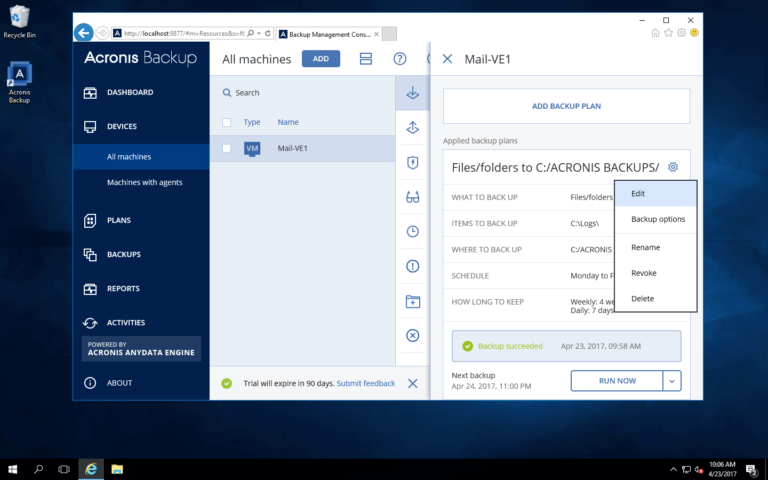
Click on “Where to Backup” and select “Cloud Storage.”
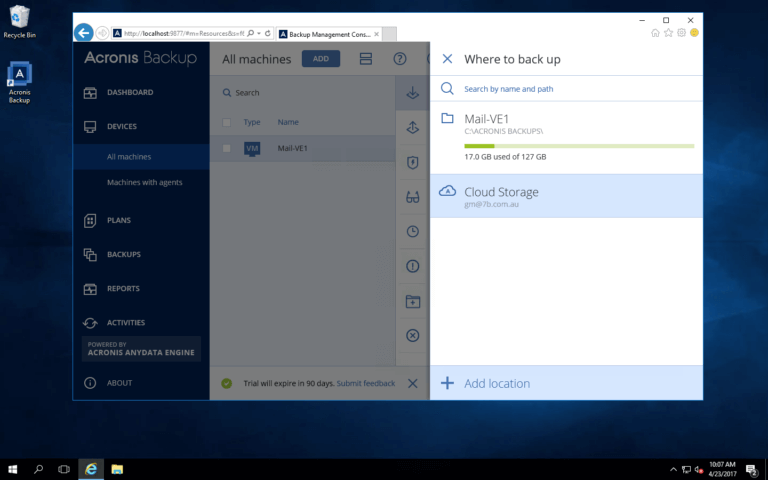
Save Changes and run your backup again.
Now, these backups will be stored in the Acronis cloud!
NEXT: How to add a Windows VM to an existing Acronis Backup 12.5 cluster
About Acronis
A Swiss company founded in Singapore in 2003, Acronis has 15 offices worldwide and employees in 50+ countries. Acronis Cyber Protect Cloud is available in 26 languages in 150 countries and is used by over 20,000 service providers to protect over 750,000 businesses.